Underlayment choices for hardwood floors in moisture prone basements
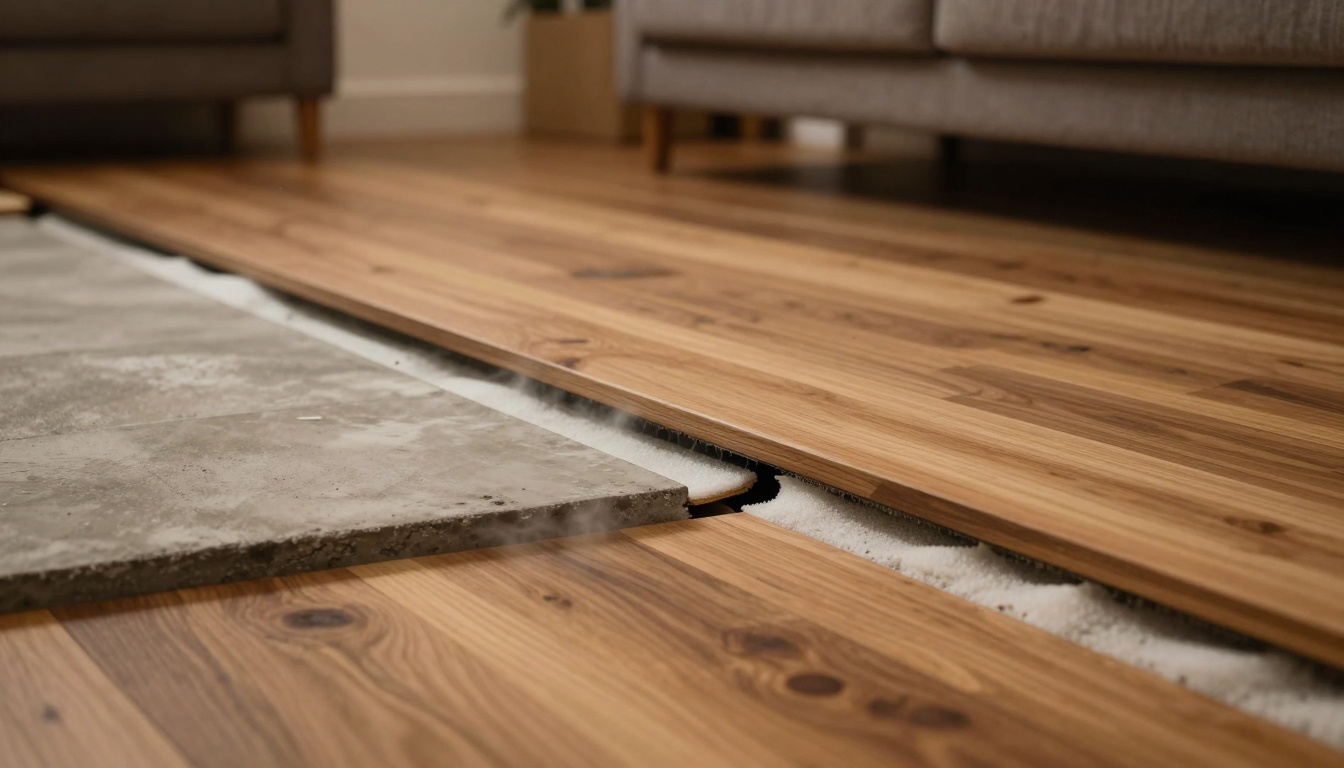
Basements can be the perfect place for a warm, welcoming hardwood floor, but they’re also where great floors go to die if we ignore moisture. The concrete slab looks solid and harmless, yet it can release water vapor for years, even when the surface feels dry.
If we’re planning to install new flooring downstairs, the underlayment is not a “nice to have.” It’s the layer that decides whether the wood stays flat and quiet, or starts to cup, squeak, and gap.
Why basements punish hardwood (and why underlayment matters so much)
Concrete acts like a slow-release sponge. Moisture vapor moves up through the slab and meets cooler basement air, then pressure changes and humidity swings do the rest.
Underlayment in a basement has three jobs:
- Moisture control: slows or blocks vapor moving into the wood.
- Comfort and sound: adds softness and reduces hollow footfall noise (mainly for floating floors).
- Small-subfloor forgiveness: bridges tiny imperfections and helps the floor feel more solid.
If we skip the right moisture layer, we can end up with boards that swell, edges that curl, or a musty smell trapped under the floor.
Start with moisture testing, not product shopping
Before we pick a basement hardwood underlayment, we want to know what the slab is doing today, not what it “seems like.”
A practical approach looks like this:
Measure moisture: A flooring pro can use in-slab or surface testing methods, plus jobsite humidity readings.
Check drainage: Gutters, grading, and downspouts matter because exterior water becomes interior vapor.
Control the room: Dehumidification and stable HVAC reduce seasonal spikes that stress wood.
For homeowners who like a deeper explainer on vapor barriers over concrete, this guide on vapor barrier best practices for flooring over concrete is a helpful overview.
Match the underlayment to the installation method
Not every hardwood installation uses the same build-up. In basements, the method often decides the underlayment.
Floating engineered hardwood (most common basement approach)
Floating floors typically use engineered planks with a click system. Here, underlayment is usually a combo pad that may include an attached vapor barrier.
This setup is popular because it avoids nails into concrete and can be faster to install.
Glue-down engineered hardwood
Glue-down can work well, but the adhesive choice matters. Many systems rely on moisture-mitigating adhesives or a separate moisture membrane. If the slab is borderline, a basic foam pad won’t save it.
Nail-down hardwood (rare in basements, but possible with a built subfloor)
Solid hardwood over a basement slab is usually risky unless we build a dry, stable subfloor system first. When we do, the underlayment layers change completely.
The underlayment options that actually make sense in moisture-prone basements
1) Polyethylene vapor barrier (simple, effective, often required)
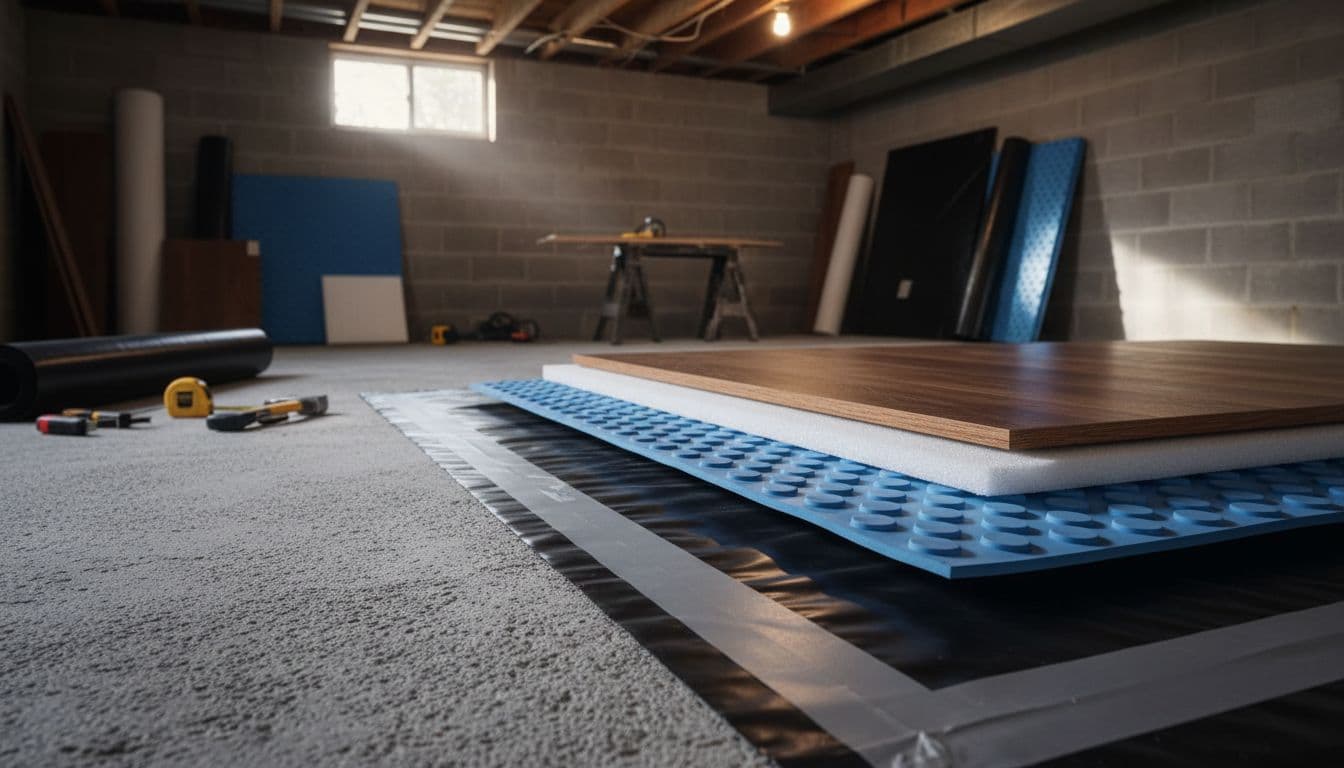
A taped polyethylene sheet is the most straightforward vapor blocker for concrete. Seams must be overlapped and taped, and edges should be detailed correctly at walls and penetrations.
This layer is often paired with another underlayment on top (depending on the flooring system). For a plain-language refresher on underlayment types and what they do, Lowe’s has a solid reference: the complete guide to floor underlayment.
Where it shines: Basements with moderate humidity where we need a true vapor block under a floating system.
Where it fails: When installers leave seams untaped, or trap bulk water from an active leak.
2) Vapor barrier underlayment rolls (2-in-1 pads)
Some underlayments come with a vapor barrier film attached, designed for floating engineered hardwood. These are fast and clean, but only if they meet the flooring manufacturer’s requirements for vapor control.
For product-style context on how vapor barrier underlayments are positioned and why seams matter, this article is useful: choosing a vapor barrier underlayment.
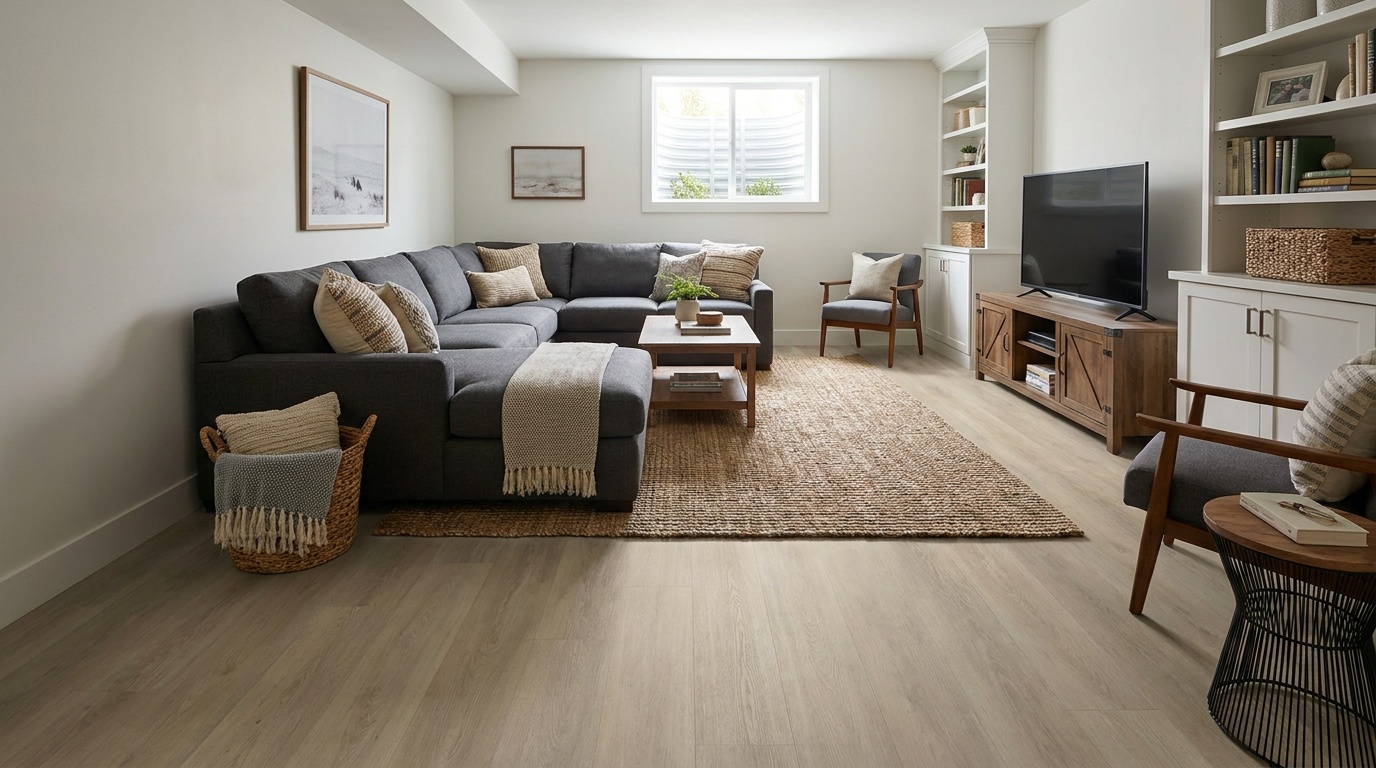
Where it shines: Finished basements where we want comfort and noise control without building height.
Where it fails: When the slab moisture level is too high for the rating, or when padding is too thick and makes the floor feel bouncy.
3) Dimpled membranes (air-gap style moisture management)
A dimple membrane creates a small air space that helps manage vapor and minor condensation under the floor assembly. This is different from “blocking” moisture; it’s more like giving vapor a path and reducing direct contact.
Where it shines: Basements that tend to feel clammy, even with a dehumidifier running.
Where it fails: If the system isn’t designed as a full assembly (wrong top layer, poor seam detailing).
4) Rubber or cork underlayment (sound-focused, not a stand-alone vapor fix)
Rubber and cork can reduce footfall noise and add comfort, but they’re not automatically a vapor barrier. In a basement, we usually treat them as the “comfort layer,” not the moisture solution.
Where it shines: Basement media rooms where sound control matters.
Where it fails: When used alone over concrete in a damp environment.
5) Sleeper system and plywood subfloor (best “reset button,” adds height)
If we need a basement to behave more like the rest of the house, we can build a subfloor system over the slab, often involving a vapor barrier layer and a wood subfloor layer. This creates a better surface for certain wood installations.
Where it shines: Older basements, uneven slabs, or when we want the feel of a more traditional wood floor system.
Where it fails: Tight ceiling heights, or when bulk water issues aren’t solved first.
Quick comparison table: common basement hardwood underlayment choices
| Underlayment choice | Best for | Moisture protection level | Main tradeoff |
|---|---|---|---|
| Taped polyethylene sheet | Floating engineered over concrete | High (when detailed right) | Adds steps, needs careful taping |
| Combo vapor-barrier pad | Quick floating installs | Medium to high (depends on rating) | Can be under-specced for wet slabs |
| Dimple membrane | Clammy basements, moisture management | Medium to high (system dependent) | Costs more, adds thickness |
| Rubber or cork | Sound reduction | Low alone, medium with barrier | Needs a separate vapor layer |
| Sleeper + plywood subfloor | Maximum stability and comfort | High (when assembled right) | Height, cost, complexity |
Details that make or break basement hardwood floors
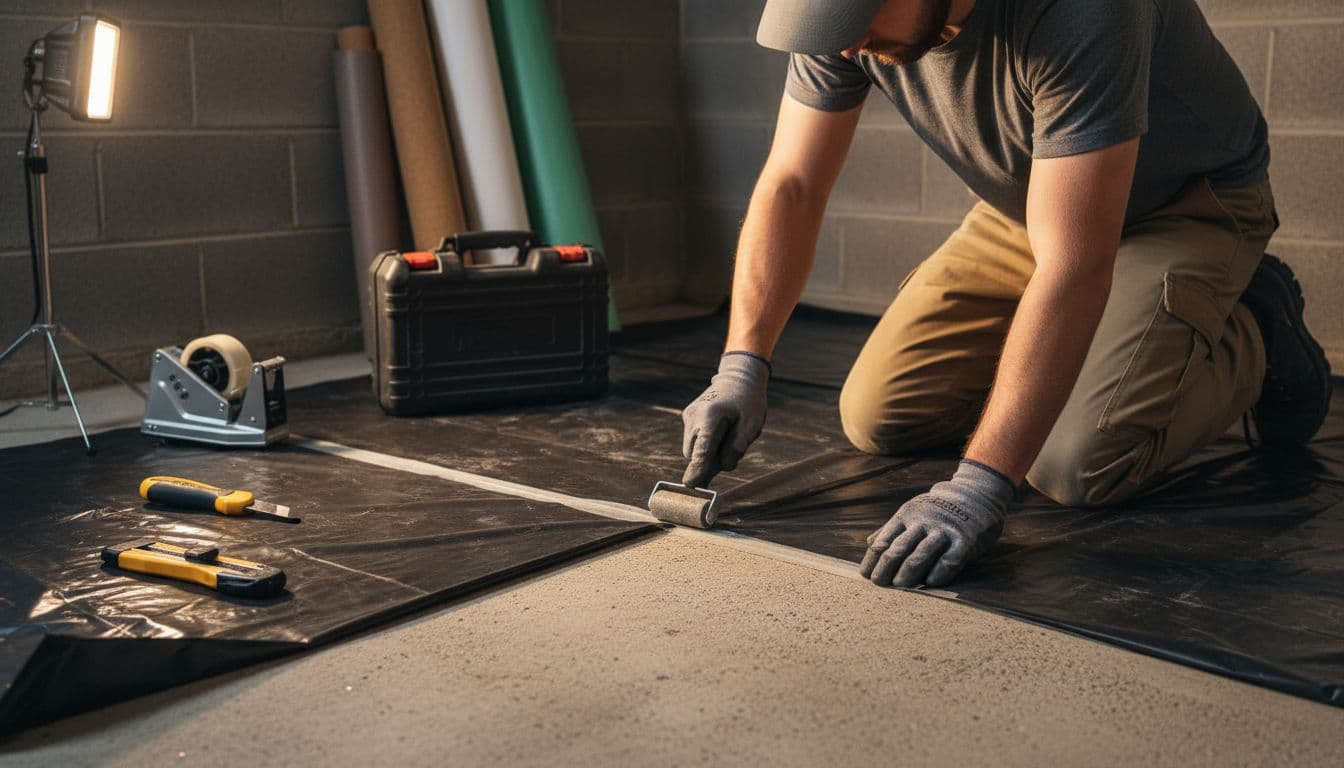
Basement installs fail more from details than from product choice. We watch these points closely:
Seam sealing: Taped seams are not optional. Leaky seams let vapor funnel into the floor.
Perimeter gaps: Wood needs room to expand, especially in humid months.
Acclimation: Engineered planks still need time in the space so the wood and room can settle into a normal range.
Humidity control: A basement dehumidifier is often part of the flooring system, not an accessory.
If you want a manufacturer-style overview of why moisture-resistant underlayment matters, MP Global’s guide explains the risk well: moisture barrier underlayment guide.
How basement underlayment choices affect refinishing and long-term value
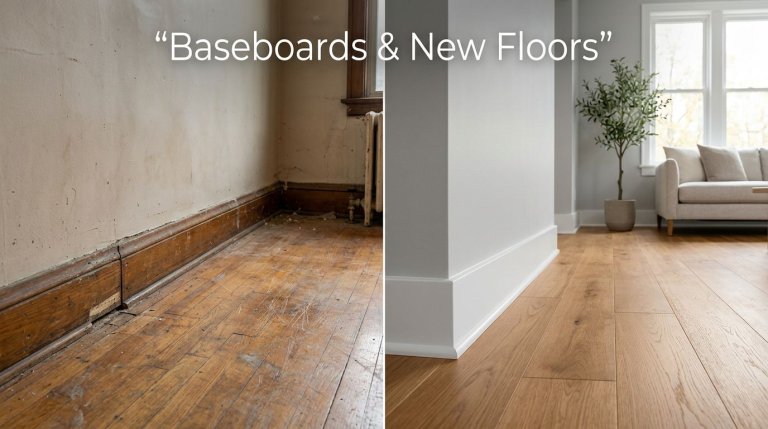
Even with the right underlayment, wood is still wood. If a basement floor takes on moisture and cups, jumping straight to hardwood floor sanding can make things worse because sanding a wet, distorted floor locks in problems.
We fix the moisture conditions first, then evaluate whether sanding and refinishing makes sense.
When the system is done right, the hardwood floor benefits show up fast: warmer feel than bare concrete, a more “upstairs” look, and easier cleaning than many soft surfaces.
Basement flooring also ties into bigger plans. If we’re already investing in finishes, it’s smart to coordinate floors with other upgrades, especially if we plan to remodel kitchen and bathroom to add to value of house.
When we should call a pro (and what we should expect)
Basements don’t forgive guesswork. If we’re seeing damp spots, white powder on the slab, or a history of water intrusion, it’s time to bring in help.
When we hire CummingFloors and a remodeling company, we like a process that feels clear:
- In-home evaluation with real samples so we can see colors under our lighting.
- Moisture checks and careful measurements before pricing.
- A quote that’s truly all-in, including prep, underlayment, trim work, and cleanup.
Conclusion: build the floor like a system, not a single product
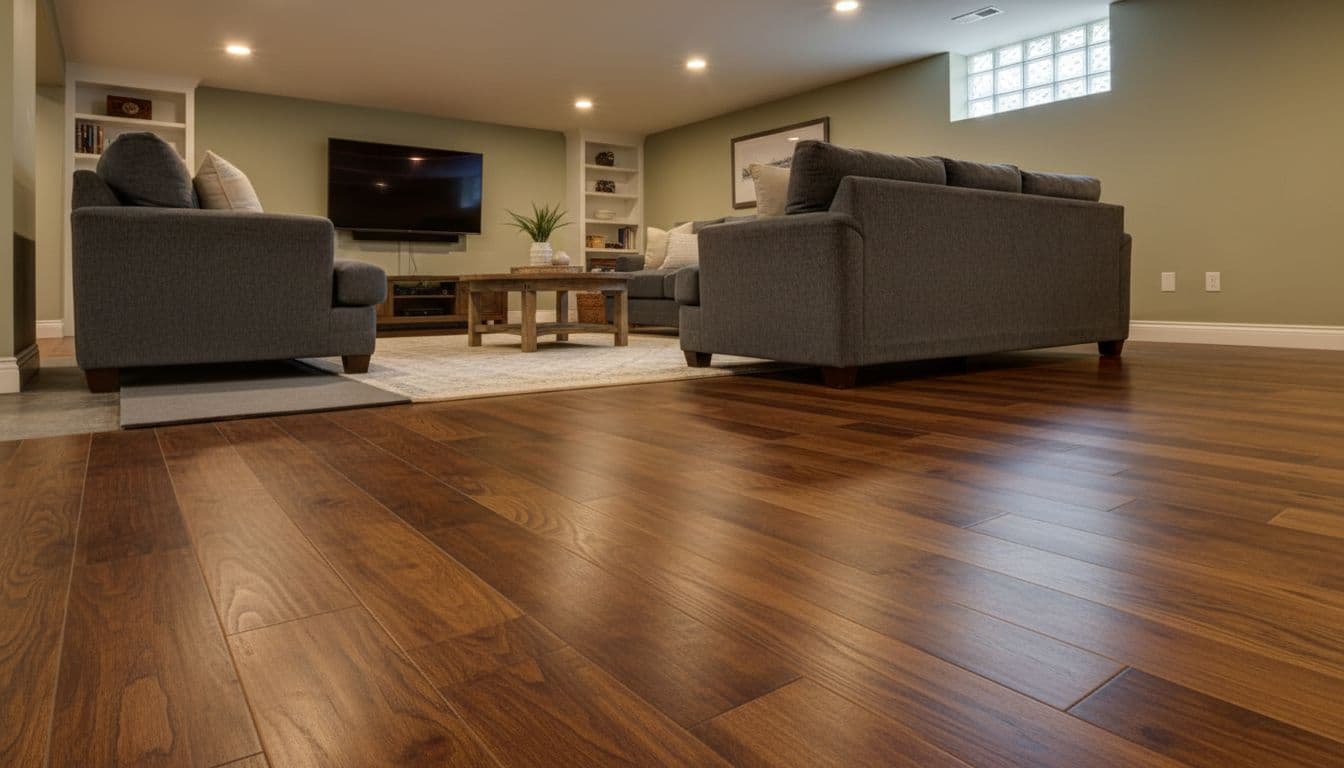
A successful basement hardwood underlayment plan starts with moisture reality, then matches the underlayment to the install method and the slab’s condition. If we treat underlayment as the foundation, not an afterthought, we get a basement floor that feels like part of the home.
When we’re ready to move forward, we can call CummingFloors to walk the slab, review options, and price the right assembly. Done right, basement hardwood underlayment turns a risky space into one we actually want to use.