Hardwood scratches from furniture: 5 easy fixes without sanding
A chair scoots back, a table shifts an inch, and suddenly our hardwood floor has a new scratch that catches the light every time we walk by. It’s frustrating because the rest of the room can look great, but our eyes keep landing on that one spot.
The good news is that most furniture scratches are finish-level damage, not deep wood damage. That means we can often handle hardwood scratch repair at home, without jumping straight to hardwood floor sanding.
Below are five practical fixes we can do, plus a quick way to figure out which one fits our scratch.
First, figure out what kind of scratch we’re dealing with
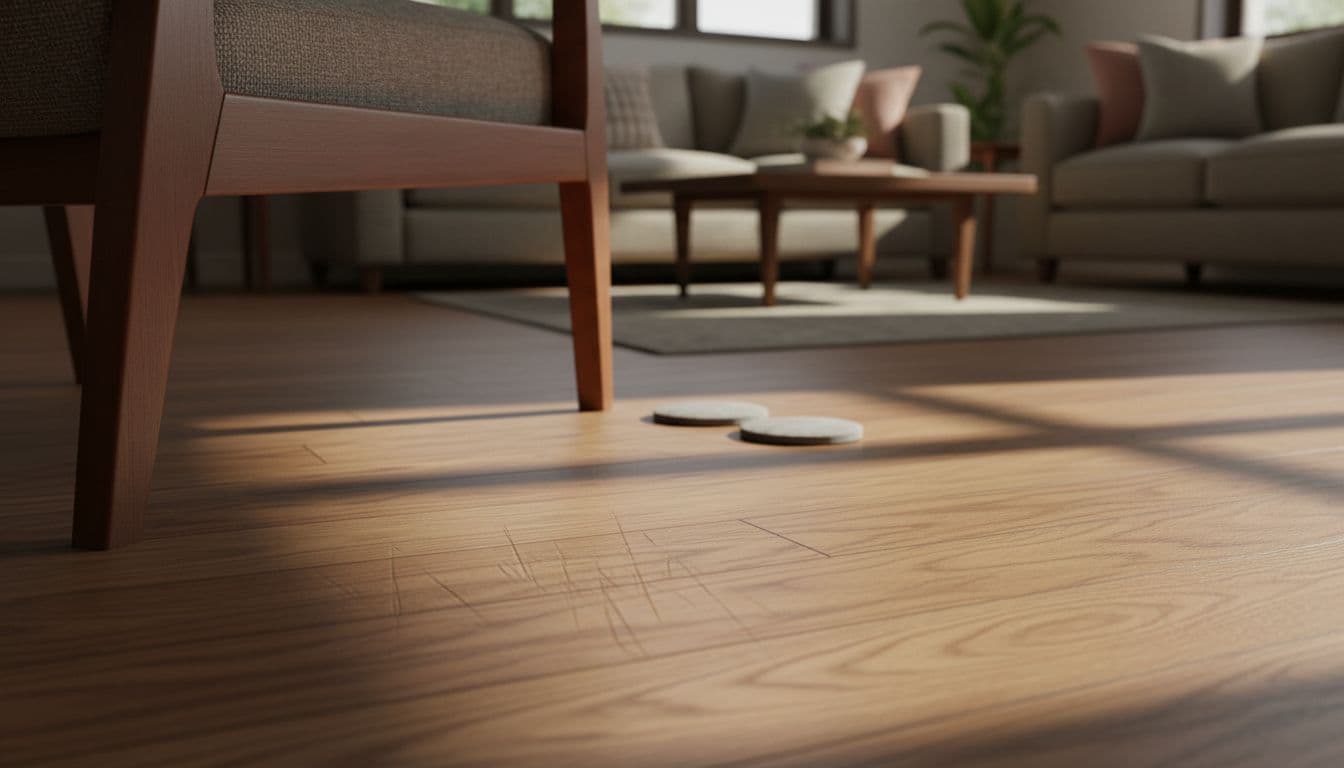
Before we “repair” anything, we want to confirm whether it’s really a scratch in the wood, or just a mark on the finish.
Here’s a simple check:
- Wipe the area with a slightly damp microfiber cloth. If the mark fades or disappears, it may be surface dirt, rubber transfer, or scuffing from the furniture feet.
- Run a fingernail across the line. If our nail doesn’t catch, it’s usually a light finish scratch (best case).
- If our nail catches, it’s a deeper scratch or a small gouge. We can still fix it without sanding, but we’ll use a filler style method.
One more tip: we should always test any product in a closet corner first. Floors can have different stains and sheen levels, even in the same house.
Fix #1: Clean, then “blend” light scratches with a walnut
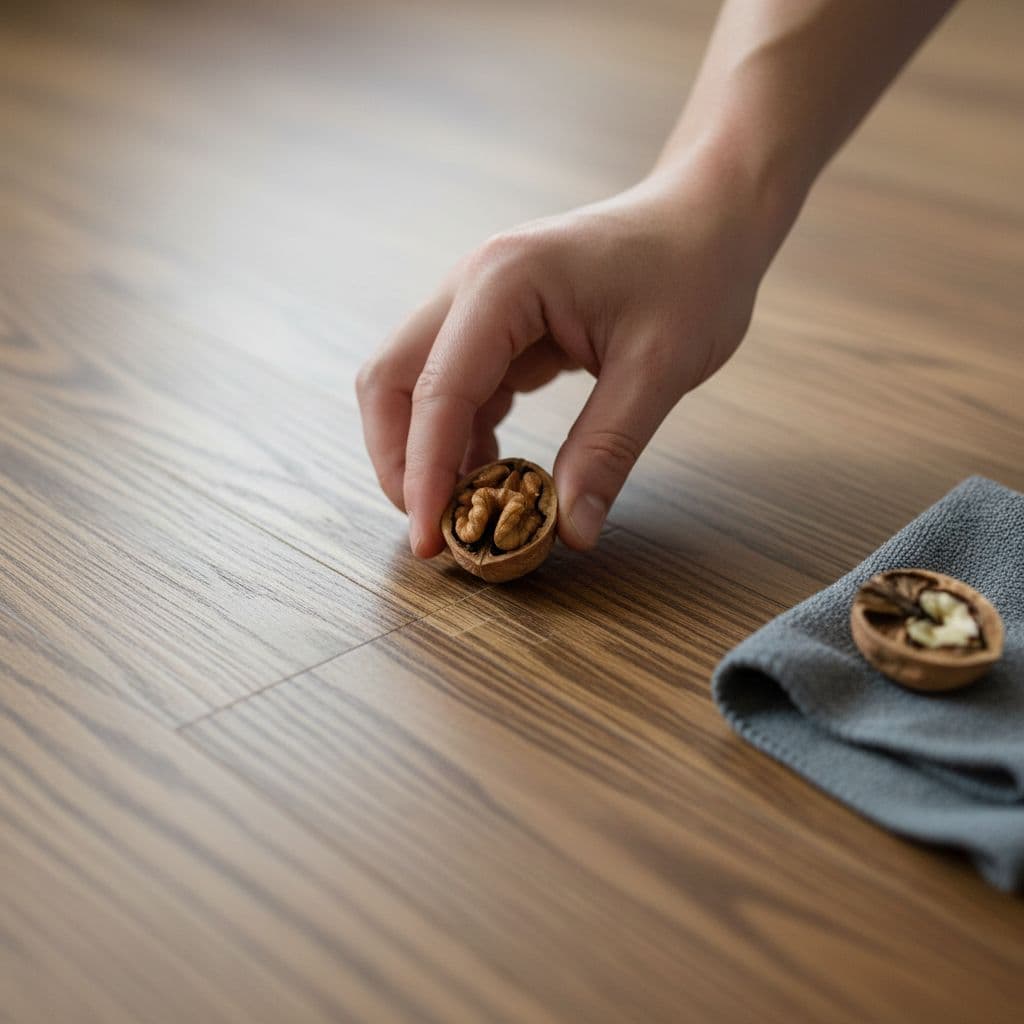
This sounds like a folklore trick, but for small, light scratches it often works because the natural oils and brown tone can make the scratch less visible.
What we do:
Step 1: Clean the area with a hardwood-safe cleaner and let it dry.
Step 2: Break a walnut in half and rub the meat along the scratch, following the grain.
Step 3: Let it sit for 2 to 5 minutes.
Step 4: Buff with a clean microfiber cloth.
This is best for pale “white” scratches where the finish looks hazy. It won’t fix deep grooves, but it can make them stop screaming at us in sunlight.
Fix #2: Use a wood stain marker for color match (fast, controlled)
A stain marker is one of the most controlled ways to hide a scratch, especially when the scratch is thin but noticeably lighter than the surrounding floor.
We want a color that’s slightly lighter than the floor at first. We can always add another pass, but going too dark is harder to undo.
What we do:
Step 1: Clean and dry the scratch.
Step 2: Shake the marker, then apply lightly along the scratch with the grain.
Step 3: Immediately blot with a cloth to soften the line.
Step 4: Let it dry fully before walking on it.
If the scratch crosses several boards, we should adjust pressure as we go. Floors have natural variation, so a perfect “single color” line can look fake if it’s too uniform.
Fix #3: Fill deeper scratches with a colored wax stick (no sanding needed)
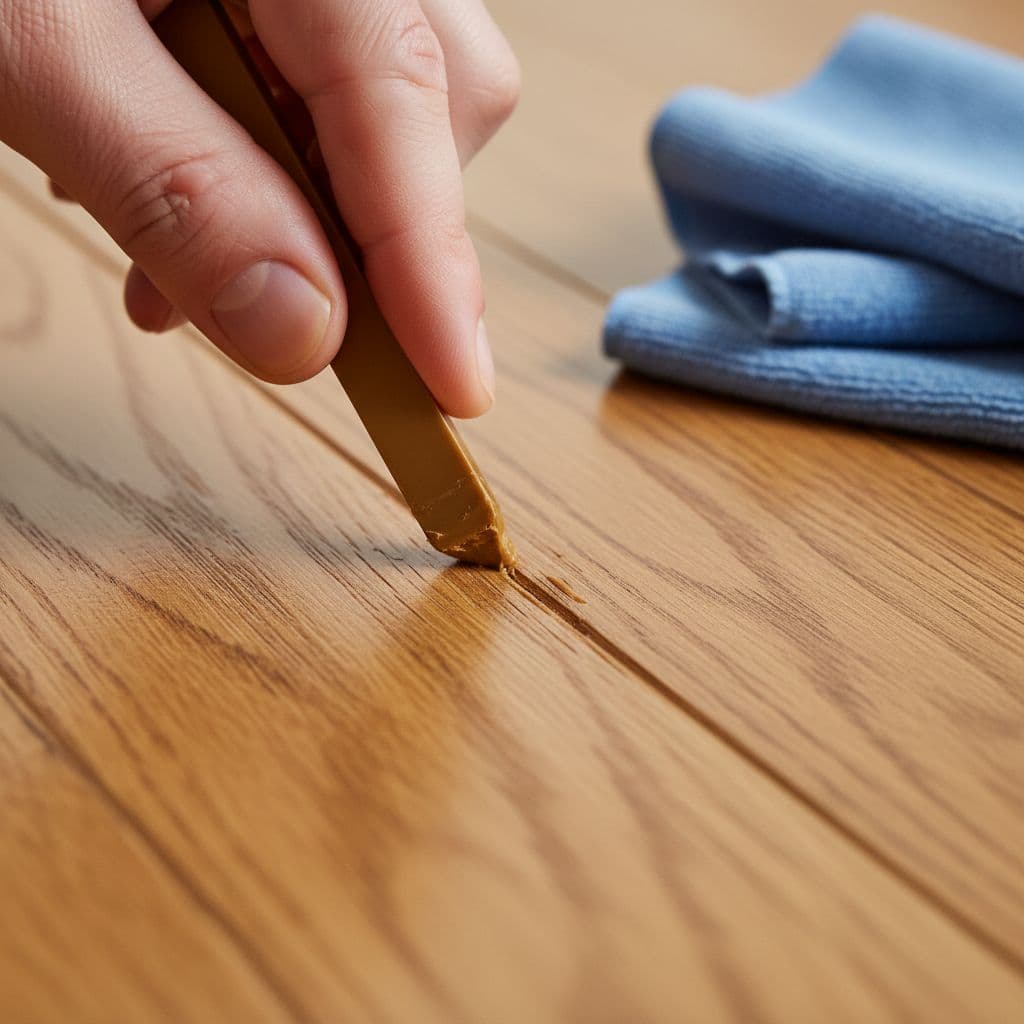
When our fingernail catches, we usually need to fill the scratch, not just recolor it. Colored wax sticks are made for this. They don’t require sanding, and they can reduce both the look and the feel of the scratch.
What we do:
Step 1: Clean the scratch and let it dry completely.
Step 2: Choose a wax color close to the floor, or blend two colors if needed.
Step 3: Press wax into the scratch, moving with the grain.
Step 4: Scrape excess gently with a plastic edge (like an old gift card).
Step 5: Buff lightly with a microfiber cloth.
Wax isn’t a perfect match for every floor, but it’s a solid solution for scratch lines caused by furniture feet, dog nails, or a dragged basket.
Fix #4: Lift furniture dents with moisture and gentle heat
Not all “scratches” are scratches. Sometimes furniture leaves a compressed dent that looks like a dark line or shadow. If the wood fibers are crushed but not torn, we can often lift them.
What we do:
Step 1: Place a small drop of water on the dent (not a puddle).
Step 2: Lay a damp cloth over the spot.
Step 3: Touch a warm iron to the cloth for a few seconds.
Step 4: Check progress and repeat in short bursts.
We’re not trying to cook the floor. We’re using a bit of steam to help the wood swell back. After it dries, the dent often looks flatter and less obvious. If the finish turns cloudy, that’s a sign we used too much heat or moisture.
Fix #5: Spot-seal a finish scratch with a clear coat touch-up
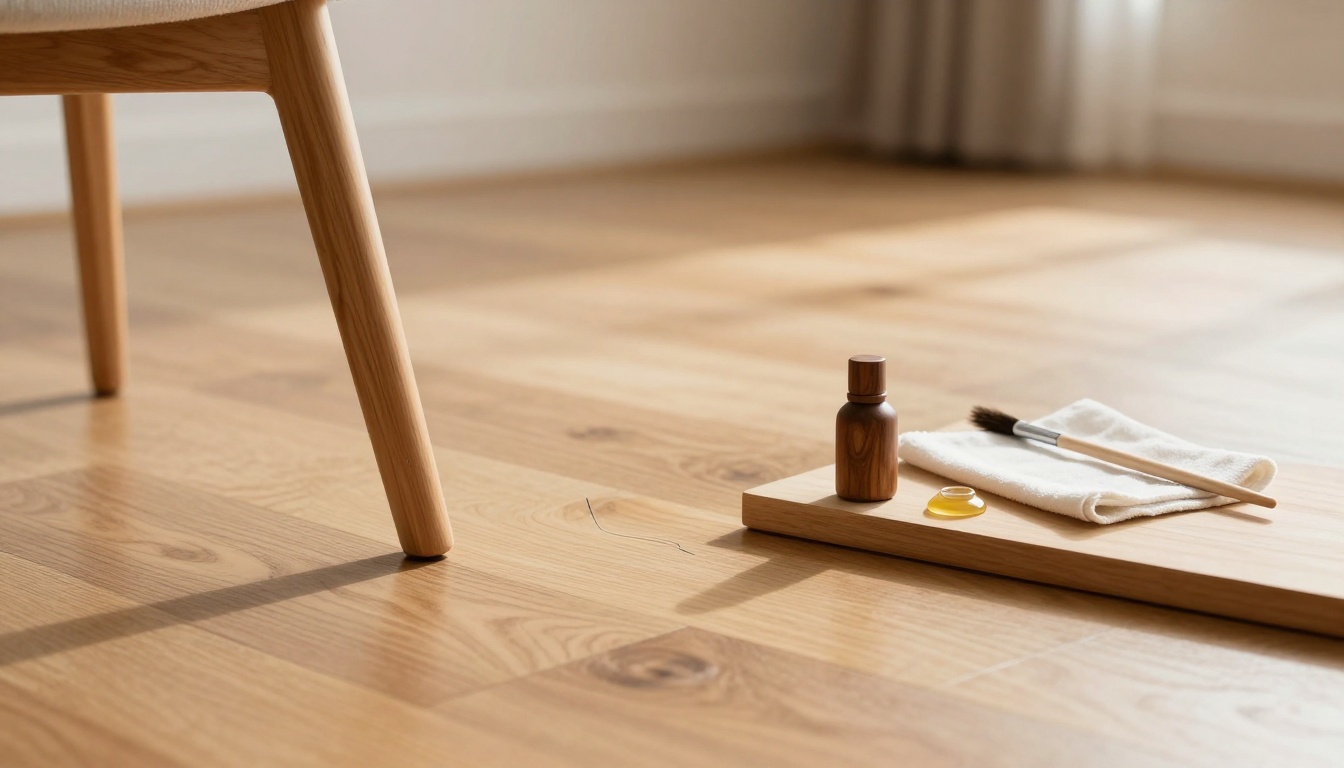
Sometimes the scratch is mainly in the topcoat. The color is fine, but the finish has a thin cut that reflects light differently. In that case, a clear finish touch-up can help the scratch stop flashing at us.
What we do:
Step 1: Clean and dry the area, then remove any wax or oily residue.
Step 2: Use a small artist brush to apply a thin line of compatible clear coat.
Step 3: Let it dry, then apply a second thin coat if needed.
The key is thin layers. A thick blob can leave a ridge that looks worse than the scratch. If we’re not sure what finish is on the floor (polyurethane, water-based, oil-based), it’s smarter to get guidance before we coat anything.
Keep it from happening again (the easiest “repair”)
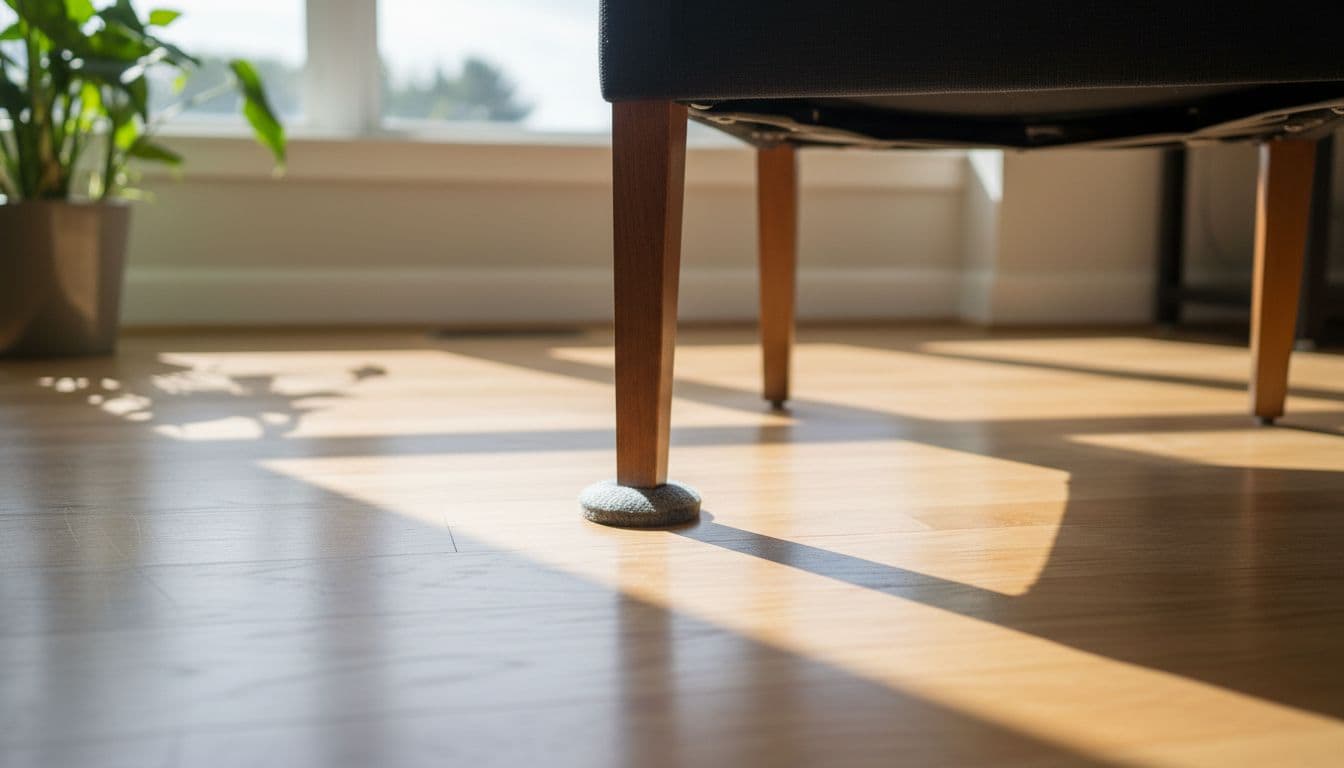
Once we fix the scratch, we want it to stay fixed. A few small habits make a big difference:
Felt pads matter: Use larger pads for heavier chairs, and replace them when they get gritty.
Lift, don’t drag: Even a slight twist can grind debris into the finish.
Add rugs in “push zones”: Under dining chairs and rolling desk chairs is a common problem area.
Keep the floor clean: Grit acts like sandpaper under furniture legs.
This is also where we get to enjoy the classic hardwood floor benefits: easy daily cleanup, long life, and a look that fits almost any style.
When a scratch is a sign we need a pro (or a bigger plan)
If we’re seeing widespread scratches, gray wear paths, peeling finish, or deep gouges through multiple boards, quick fixes may only buy time. That’s when professional refinishing or replacement starts to make sense.
- Hardwood floor sanding is often the right call when the finish is worn across a whole room, not just one line.
- If the floor is thin, uneven, or heavily patched, we may decide to install /hardwood-floor-installation/new flooring instead, especially during a renovation.
Many of our customers make these choices while planning a bigger upgrade. If we’re going to remodel kitchen and bathroom to add to value of house, floors become a visual anchor. A scratched-up wood floor can make even a new vanity or new counters feel less finished.
When we want a clean answer fast, we can call Cumming Floors for an in-home consultation. We’ll bring sample options, take precise measurements, and give a clear quote based on what the floor actually needs, whether that’s targeted repair, refinishing, or a full replacement. On install day, our crew can handle removal, trim details, and cleanup so the project doesn’t sprawl across the house.
Call Cumming Floors & Remodeling for help (770) 906-4732
Furniture scratches happen, but most don’t require drastic work. With the right method, we can handle hardwood scratch repair in an afternoon and make the damage fade into the grain. If the scratches keep multiplying or the finish is failing, that’s our cue to step up to refinishing or a full flooring update. Either way, the goal stays the same: a floor that looks good in real life, not just in perfect lighting.