How to choose a moisture barrier for basement hardwood stairs
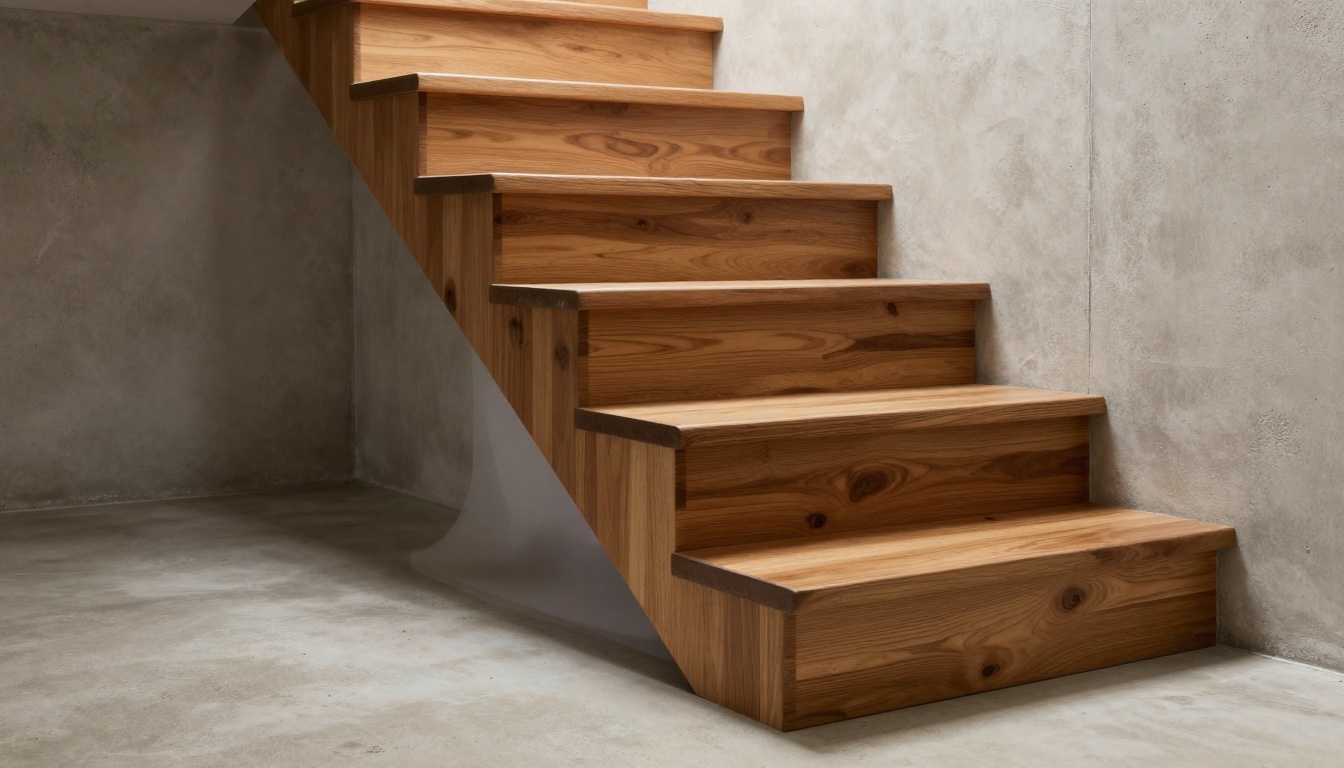
Basement stairs can look simple, but they behave like a science project. Concrete holds moisture, basements swing in humidity, and stairs add lots of edges and fasteners where wood can move. That’s why picking a moisture barrier basement stairs system is less about “what’s popular” and more about what’s happening under your treads.
When we help homeowners plan a stair upgrade, we start with moisture facts, then match the barrier to the stair build, the wood type, and the installation method. Do that, and the stairs feel solid underfoot, finish evenly, and stay that way.
Why basement hardwood stairs fail without the right moisture control
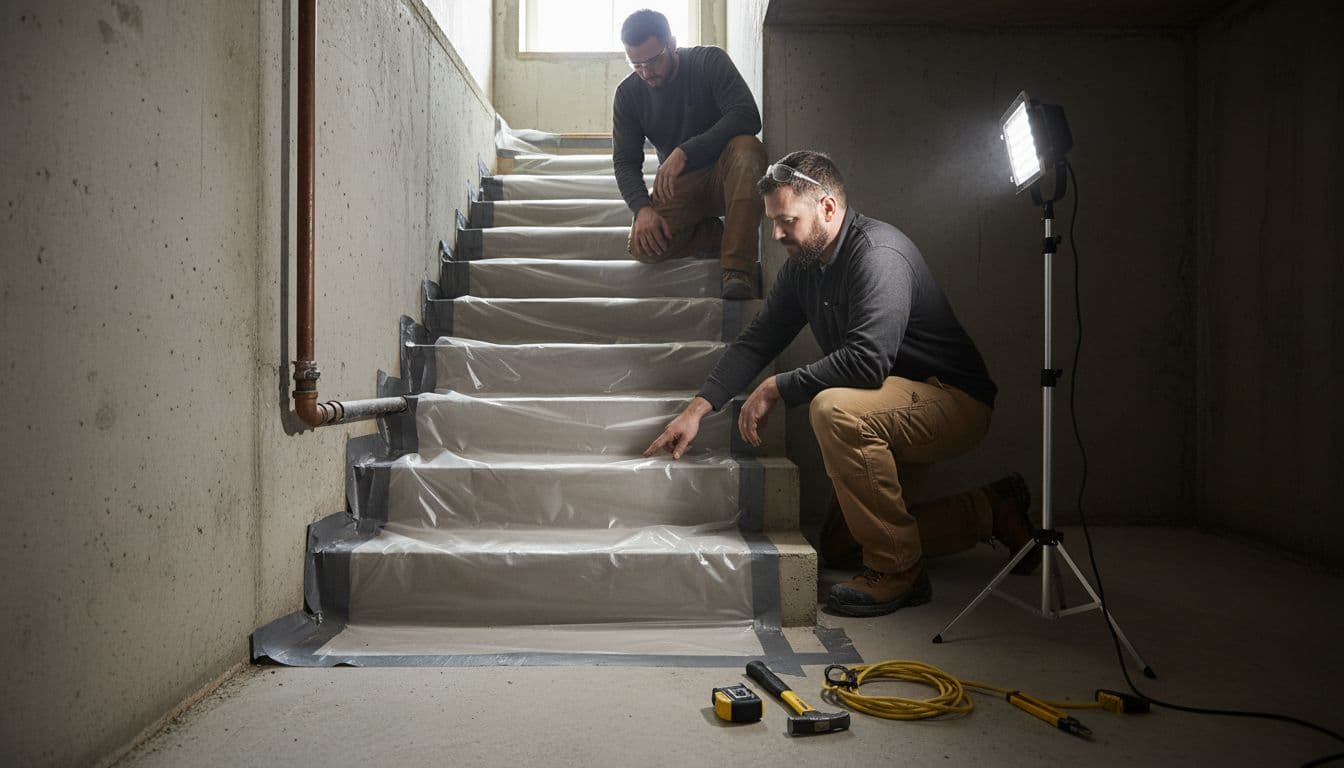
A basement is basically a moisture source with walls. Even when it looks dry, water vapor can move through concrete and collect at cooler surfaces. On stairs, that moisture often shows up as:
- Cupped or crowned treads
- Squeaks that weren’t there on day one
- Darkened edges near walls or stringers
- Finish problems, like hazy spots or poor adhesion
A hardwood floor can handle normal seasonal change, but basement conditions can push it past “normal” fast. Getting the barrier right is cheap compared to tearing out a stair finish later.
Start with measurements, not guesses (moisture testing that actually helps)
Before we pick any membrane or underlayment, we like to confirm two things: how much moisture is in the concrete and how damp the wood components are.
What we check in the home
- Concrete moisture: A concrete moisture meter reading helps us spot “hot zones” near exterior walls, sump areas, or bottom landings.
- Basement humidity: If the space runs humid for weeks at a time, the best barrier in the world still won’t save wood from swelling.
- Wood acclimation: Treads and risers need time in the house to settle to the same environment they’ll live in.
For homeowners who want a simple refresher on barrier basics, this overview of what a moisture barrier is and when it’s needed is a good starting point.
Moisture barrier options for basement stairs (and when each one makes sense)
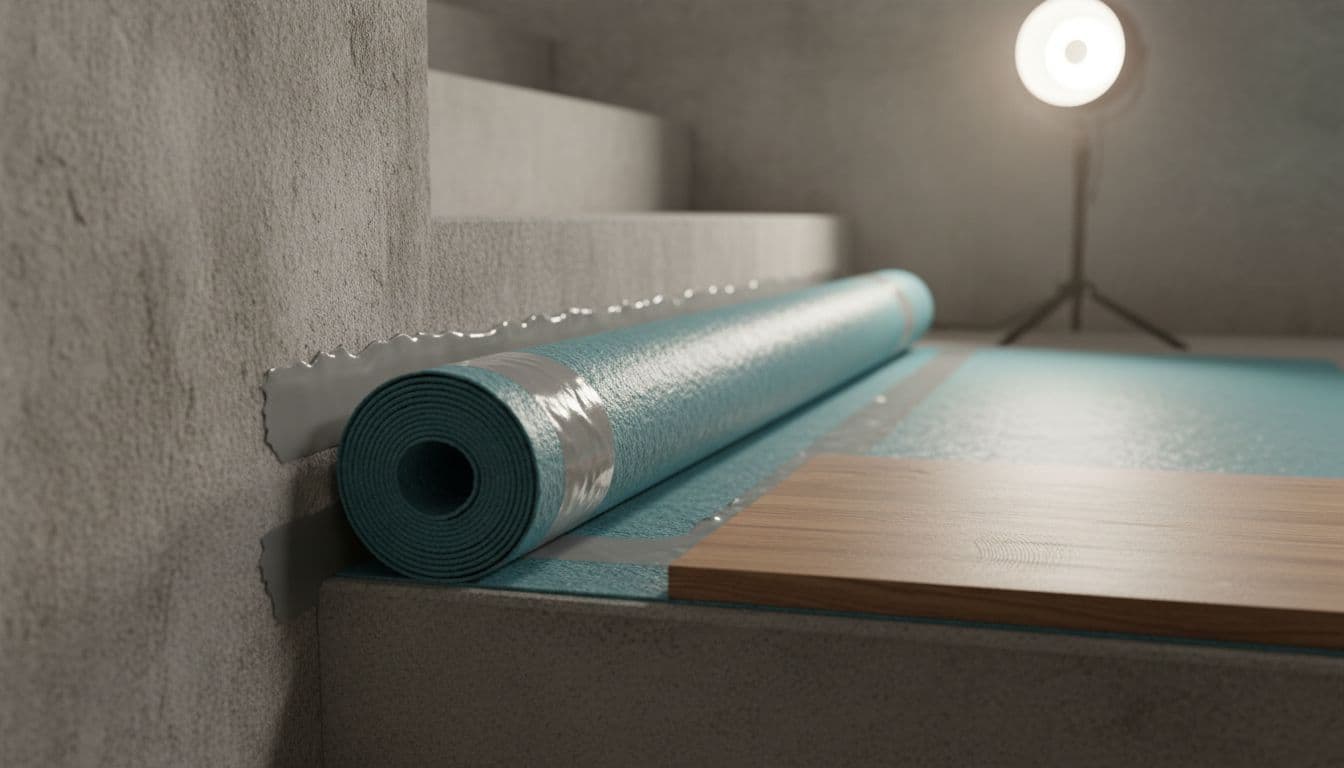
There isn’t one “best” product for every stairwell. We choose based on moisture level, the substrate (concrete vs wood), and how the treads will be attached.
Polyethylene sheeting (classic vapor barrier)
This is the familiar plastic sheet approach. It’s common when we’re separating wood framing from concrete surfaces and we need a straightforward vapor block.
Where it works well
- Between concrete and wood components that don’t need adhesive bonding to the slab
- Areas where we can detail seams and edges cleanly
Watch-outs
- It can trap moisture if the assembly can’t dry in any direction
- It isn’t ideal where a tread adhesive needs to bond directly through the layer
Vapor retarder underlayment (thin roll goods)
Underlayment products often combine cushioning and vapor control. On stairs, we use them selectively, because stairs need firm support, not squish.
A manufacturer-style guide like this moisture-resistant underlayment overview can help you understand the differences in underlayment categories.
Where it works well
- When the stair build needs a thin, consistent separation layer
- When we’re controlling minor vapor movement, not active moisture problems
Watch-outs
- Some products are meant for floating floors, stairs usually are not floating
- Too much compressibility can lead to movement and noise
Liquid-applied waterproofing or moisture membranes (paint-on systems)
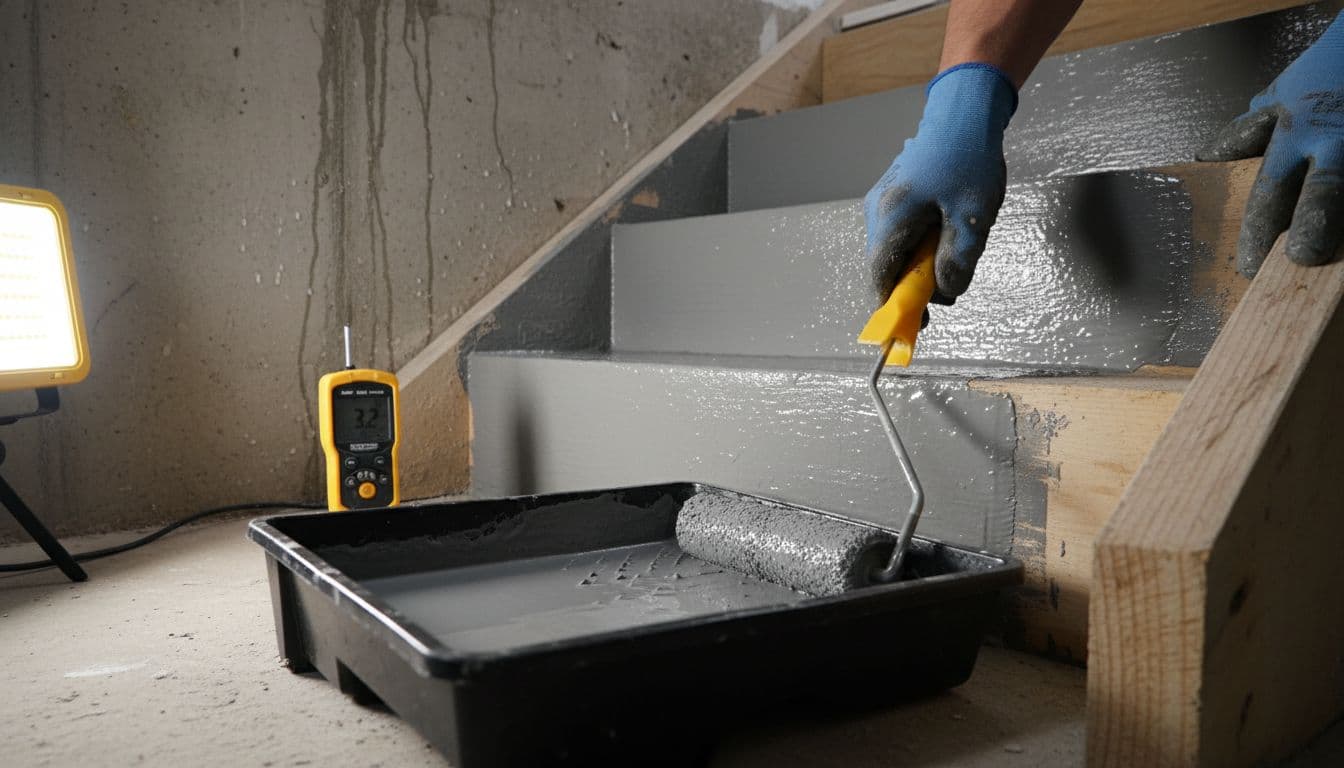
When we need a continuous layer that conforms to corners and stair geometry, liquid membranes can be a strong choice. They can also pair well with certain adhesives, depending on the system.
Where it works well
- Concrete stair treads and risers with tricky edges and transitions
- Situations where sheet goods are hard to seam tightly
Watch-outs
- Dry time matters, rushing it causes failures
- Coverage rates and required thickness vary by product
Quick comparison table
| Barrier type | Best fit on basement stairs | Main advantage | Main limitation |
|---|---|---|---|
| Poly sheet (6-mil class) | Separating wood from concrete | Simple, low cost | Not great where adhesive bonding is needed |
| Vapor retarder underlayment | Light vapor control, thin build-ups | Easy to handle on small areas | Some products compress, stairs need firm support |
| Liquid-applied membrane | Concrete steps, tight corners | Continuous coverage | Needs proper cure time and correct thickness |
Match the barrier to how the stairs are built (concrete vs wood stringers)
Choosing the barrier gets easier once we confirm what we’re actually installing over.
Concrete stairs or concrete landings
Concrete can push vapor upward. We often prefer a system that creates a continuous, well-sealed layer at the concrete interface, especially at the bottom landing where moisture is usually highest.
Wood-framed stairs in a basement
Even when the stairs are framed in wood, the bottom plates and stringer supports may sit near concrete. That’s where localized vapor blocking helps, so the framing doesn’t feed moisture into the treads.
Solid vs engineered treads
Engineered wood usually handles basement conditions better than solid wood because it’s built to resist movement. Solid treads can work, but only when moisture is controlled and the stairwell stays stable.
Stair-specific installation details that make the barrier actually work
A “good product” fails fast with sloppy details. On basement stairs, we pay extra attention to the small stuff:
- Seam overlap: Many sheet barriers are installed with about 6 to 8 inches of overlap, then sealed with compatible tape.
- Turn-ups at edges: At walls and stringers, we like a clean edge detail that blocks vapor paths, without creating a bump that telegraphs through trim.
- Fastener planning: Nails and screws can puncture barriers. We plan attachment points so we’re not turning the barrier into Swiss cheese.
- Adhesive compatibility: Some glues won’t bond well to certain plastics or coatings. We follow the tread and adhesive specs so the stair doesn’t loosen later.
When we refinish stairs vs replace them (and how moisture changes the plan)
Sometimes the smartest move isn’t to tear everything out. If the structure is sound and the treads have enough thickness, hardwood floor sanding and refinishing can bring stairs back to life.
Moisture still matters, though. If moisture is causing staining, cupping, or recurring squeaks, sanding alone is like painting over a leak. We first correct the moisture path, then refinish, or we install new flooring on the stair system with the right moisture layer built in.
Either way, we keep the bigger picture in mind. Many homeowners want the stair update to match a main-level hardwood floor, or coordinate with tile and LVT choices. It’s one reason people ask us about hardwood floor benefits, like warmth, long-term durability, and how well it fits a classic home style.
And if you’re planning to remodel kitchen and bathroom to add to value of house, the basement stairs matter more than you’d think, because they’re part of the “flow” buyers notice when they walk the home.
Getting help with your basement stair moisture barrier (and saving money)
We make the selection process straightforward: we review options, bring samples to the home when needed, measure carefully, and give a clear quote that matches the real conditions on site. That way you’re not picking a barrier based on a label, you’re picking it based on your basement.
Call (770) 906-4732 for a free estimate. If you show us any existing quote from another contractor, we’ll do it 5% less.
Conclusion
Basement stairs punish shortcuts. The right moisture barrier basement stairs setup depends on the substrate, the wood, and the way the treads will be attached. When we test moisture first and detail seams, edges, and adhesives correctly, the stairs stay quieter, flatter, and easier to maintain. If you’re ready to move forward, we can help you choose the barrier that fits your home, then build the stair finish to last.