How to Repair Chipped Tile Without Replacing the Floor
A dropped pan, tool, or glass bottle can leave a small crater in an otherwise sound floor. In many cases, you can repair chipped tile without tearing out surrounding pieces or replacing the whole floor.
The right fix depends on the chip’s depth, location, and cause. A shallow flaw in a sound ceramic tile, including chipped porcelain tile, often accepts a color-matched epoxy patch. A crack, loose tile, or moisture problem calls for a different response.
Start by finding out whether the damage is cosmetic or structural.
Key Takeaways
- A small, shallow chip in a stable ceramic or porcelain tile can often be repaired with a color-matched, tile-rated two-part epoxy.
- Cracks, loose tiles, hollow sounds, loose grout, or moisture concerns require investigation and may call for tile replacement instead of a cosmetic patch.
- Clean and dry the damaged area, protect the surrounding glaze with painter’s tape, mix the epoxy carefully, and allow it to cure fully before foot traffic.
- Replace a damaged floor tile when the chip extends into a crack, the tile moves, or the surrounding floor lacks proper support.
- Contact a professional when damage occurs in a shower, near a drain, or alongside recurring cracks and signs of substrate movement.
Decide Whether the Tile Needs a Patch or Replacement
Look closely at the damaged area under bright light. A chip limited to the glazed surface or a small missing corner usually responds well to a small patch. Run a fingertip over the tile, but wear gloves if the edge feels sharp.
Then press gently on each side of the tile. Movement, a rocking edge, or a hollow sound when tapped can point to a bond problem below. In that case, a cosmetic repair may hide the visible damage while the tile continues to loosen.
| Tile condition | Recommended response |
|---|---|
| Small, shallow chip with no crack | Fill the missing area and blend the surface |
| Minor edge chips near a wall or cabinet | Repair, then blend the edge |
| Chip in the middle of a sound tile | Patch if the missing area is shallow |
| Crack extending beyond the chip | Replace the tile |
| Tile moves, sounds hollow, or has loose grout | Investigate and replace if needed |
| Damage in a porcelain tile shower or near a drain | Investigate moisture and substrate movement before patching |
A chip in the middle of a tile does not always require replacement. However, it is more visible than an edge chip, so color matching matters more. If the chip reaches the tile body, has sharp sides, or continues as a hairline crack, replacing it produces a more durable result.
A patch restores a shallow missing spot. It cannot stabilize a tile that has lost its bond to the subfloor.
We also advise replacing tiles that have several chips across the same area. Repeated damage can point to a heavy impact zone, poor support below the tile, or movement in the floor assembly.
Materials for a Small Tile Repair
For a small tile repair project involving ceramic tile or chipped porcelain tile, choose a two-part epoxy resin or epoxy filler rated for tile, stone, or porcelain. For the closest color match, select a color match epoxy with tintable components.
Check the product label carefully. A filler designed for a porcelain countertop may not withstand regular floor traffic. A stone repair system often includes color compounds that let you adjust the shade before application.
Keep the materials simple and clean:
- Use a two-part epoxy filler, ideally in white, off-white, or clear, depending on the tile color.
- Gather one color paste or artist-grade pigment for fine color adjustment.
- Keep isopropyl alcohol, cotton swabs, and clean lint-free cloths nearby.
- Use painter’s tape to protect the glazed tile surrounding the chip.
- Have mixing cups, wooden sticks, nitrile gloves, and a plastic spreader ready.
- Keep a sharp utility blade or single-edge razor for trimming cured filler.
- Use fine wet-dry sandpaper only if the product instructions allow sanding.
A Coconix tile and stone repair kit is one example of a chip repair kit with color compounds. Read the manufacturer’s instructions before mixing because cure times and mixing ratios differ by product.
Bondo can fill a small chip in a dry area, but we don’t recommend it for most floor tile repairs. It is harder to color-match, can require painting, and is less suited to a glazed, frequently cleaned surface. A tile-rated option is the better choice.
Avoid using regular grout as a face repair. Even epoxy grout is made for joints, not for rebuilding the glazed surface of a tile.
How to Repair Chipped Tile With Color-Matched Epoxy
Before filling a chipped porcelain tile, clean the area thoroughly. Wax, soap residue, floor polish, and loose dust can prevent the epoxy from bonding.
- Clean and dry the chip. Wipe the damaged spot with isopropyl alcohol, then let it dry fully. If the work is in a porcelain tile shower, confirm the cavity is dry and the waterproofing remains intact before applying filler. Remove loose fragments with the tip of a utility blade, but don’t widen the chip.
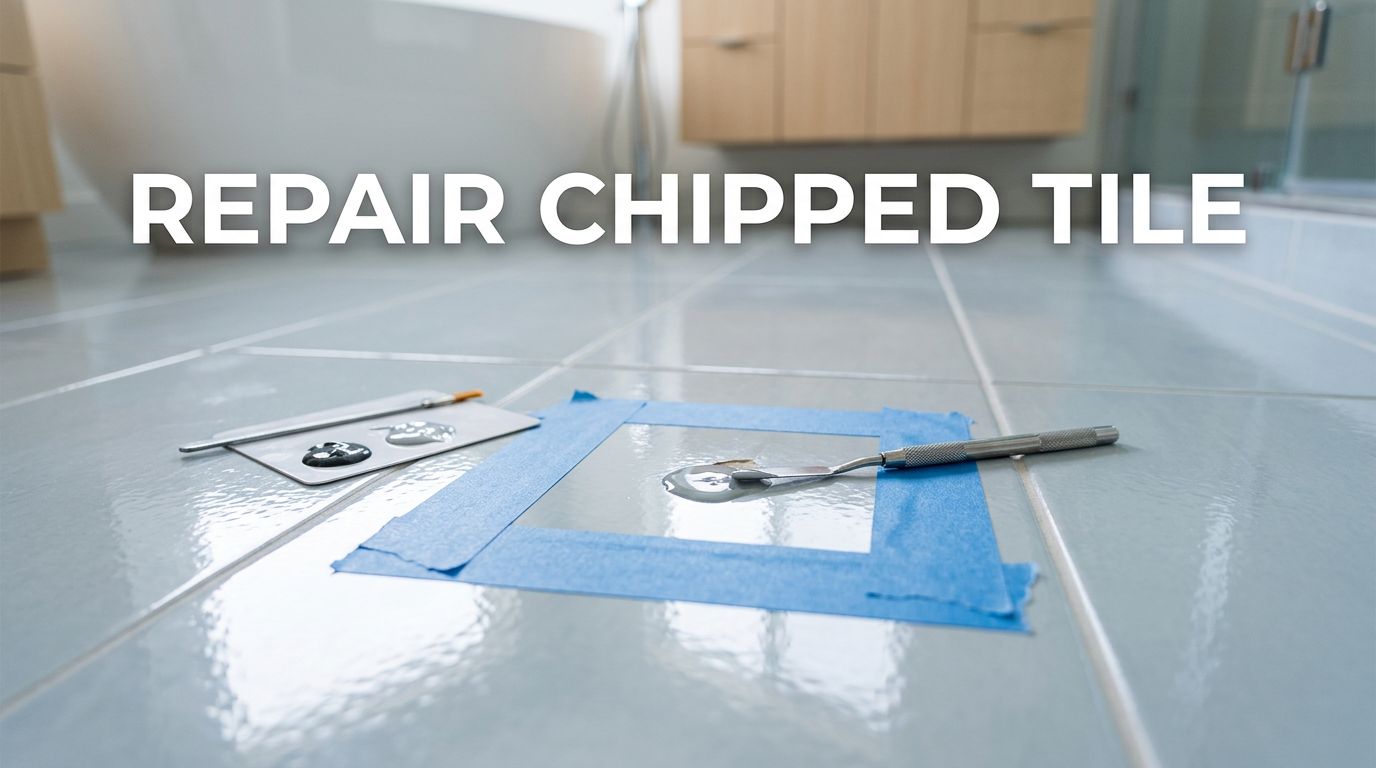
- Tape the surrounding surface. Place painter’s tape close to the chip edges. The tape protects the intact glaze and makes cleanup easier.
- Mix only a small amount of epoxy. Follow the product ratio exactly. Many products use equal amounts of resin and hardener, but the label controls.
- Tint the mixture slowly. Add a tiny amount of color paste at a time. Start with the tile’s main background color. A patch that is slightly too dark usually stands out more than one that is slightly light.
- Test the color before filling. Spread a dab on scrap cardboard, plastic, or the tape beside the tile. Epoxy often changes slightly as it cures, so give the sample a few minutes before adjusting it.
- Press the tile filler into the chip. Use a toothpick, small putty knife, or plastic spreader. Pack it firmly into the missing area, then leave it barely higher than the tile surface.
- Level the repair after curing. Once the epoxy reaches the stage listed on the label, trim the excess with a sharp blade. If sanding is allowed, use fine paper gently and keep the work inside the repaired spot.
Color-matching becomes easier when you separate color from pattern. First match the tile’s lightness or darkness. Then adjust warmth with a touch of yellow, red, brown, or gray. For a speckled porcelain tile, blend the background first. You can add tiny tinted dots only after the base patch has set.
Most repair products need at least 24 hours before foot traffic. Cool rooms, thick fills, and humid conditions can extend the curing time. Epoxy that feels dry on top may still be soft underneath, so keep shoes, pets, and cleaning tools off the repair until it is fully cured.
Temporary fixes can reduce the visual distraction while you schedule a repair. A stain pen, paint marker, or carefully chosen nail polish can darken a bright white chip on a dark tile. These options don’t rebuild the missing surface, and regular mopping can wear them away.
Replacing a Damaged Floor Tile
When a crack runs through the tile or the floor feels loose, complete tile replacement is the safer repair. Save leftover replacement tiles from every installation. Matching the original tile years later can be difficult because dye lots, finishes, and sizes change.
Remove the damaged tile carefully so you don’t break the pieces around it. Use a hammer and chisel to remove it in controlled passes from the center outward.
- Remove the grout around all four sides with a carbide grout saw or an oscillating tool fitted with a grout blade. An angle grinder with a diamond wheel works, but it creates dust and can easily scar adjacent tile.
- Cover nearby tile edges with painter’s tape. Put on safety gear, including eye protection, gloves, and a properly fitted dust mask, before breaking the tile.
- Start near the center of the damaged tile with a hammer and chisel. Break it into manageable pieces, working inward before lifting them out.
- Remove old thinset mortar with a chisel or scraper until the substrate is flat. Work slowly around backer board and waterproofing membranes.
- Dry-fit the replacement tile. It should sit level with its neighbors before installation.
- Spread fresh thinset mortar with the trowel size recommended for the tile. If using tile adhesive, choose a product appropriate for that tile. Press the replacement into place, use spacers, and check surface alignment with a straightedge.
- Let the mortar cure as directed, then fill the grout joints, using epoxy grout in wet areas when the product and installation conditions call for it. Avoid walking on the new tile until the mortar and grout have cured.
A replacement tile must sit flat and fully supported. Too much thinset can create lippage, while too little leaves weak spots under the tile.
When a Local Contractor Should Inspect the Damage
Call professional tile installers when a damaged tile is part of a porcelain tile shower, bathroom floor, entry, or kitchen where moisture or subfloor movement may be involved. A small defect can reveal a larger problem behind the finished surface.
Homeowners often search for “bathroom remodeling contractor near me” or “basement finishing company near me” when cracks recur. A small tile repair project can become a substrate investigation when movement continues. If inspection finds a damaged or shifting concrete slab, the scope may expand to slab replacement.
As a remodeling company in Cumming, we inspect the tile, grout, transitions, and substrate before recommending a patch or replacement. We also install new flooring in Cumming, including luxury vinyl and hardwood that meet cleanly at kitchen and bathroom transitions.
A kitchen and bathroom remodeling company in Cumming, GA should account for floor height, tile layout, waterproofing, and cabinet clearances before work begins. A porcelain countertop requires separate assessment because its materials and traffic demands differ from a floor repair. Explore our flooring and remodeling services when the repair is part of a larger update.
For a free estimate, call (770) 906-4732. If you show us a written quote for the same scope from another contractor, we will do it for 5% less. You can also review our local team and pricing approach.
Frequently Asked Questions
Can I repair a chipped tile without replacing it?
Yes, a small and shallow chip in a stable tile can usually be filled with a color-matched epoxy made for tile, stone, or porcelain. A crack, loose tile, or moisture problem requires a different repair.
What is the best filler for a chipped floor tile?
Use a two-part epoxy filler rated for floor tile, stone, or porcelain. Regular grout is not suitable for rebuilding the glazed face of a tile, and Bondo is generally harder to color-match and less appropriate for frequently cleaned floors.
How do I match the color of a tile repair?
First match the tile’s lightness or darkness, then adjust the warmth with small amounts of yellow, red, brown, or gray pigment. Test the tinted epoxy on scrap material because its color can change slightly as it cures.
When should I replace a chipped tile instead of patching it?
Replace the tile when a crack extends beyond the chip, the tile rocks or sounds hollow, or the damage affects a wet area with possible moisture or substrate movement. A replacement must sit flat and be fully supported by the substrate.
How long should a tile repair cure before walking on it?
Most repair products need at least 24 hours before foot traffic, but cool, humid conditions or a thick repair can extend the curing time. Follow the product label and wait until the epoxy is fully cured before cleaning the area.
A Small Repair Can Protect a Good Floor
Most small chips don’t justify replacing an entire floor. Careful cleaning, a compatible patching compound, patient color matching, and adequate drying time can make the damage far less noticeable.
However, a patch is appropriate only when the surrounding tile is stable. When cracks, loose grout, or moisture are part of the problem, replacing the tile and correcting the cause protects the floor for the long term.