Bathroom Floor Feels Spongy, How to Confirm Subfloor Rot, Fix It, and Prevent the Next Leak
A spongy bathroom floor feels harmless at first, like a soft spot you can ignore until “someday.” Then the tile starts to crack, the toilet rocks, or the grout line turns dark and never dries. That’s when the floor stops being a nuisance and starts acting like a warning light.
In most homes, that bounce comes from trapped moisture that’s been working on the subfloor for weeks, months, or even years. The good news is we can usually confirm what’s happening without guessing, fix it the right way, and keep it from coming back.

Why a spongy bathroom floor happens (and when it’s an emergency)
A bathroom floor shouldn’t flex. If it does, something underneath is moving, and floors only “give” for a few common reasons.
Sometimes the problem is simple: a loose tile, a failing underlayment, or an old vinyl floor that’s separating from the layer below. But when the soft spot grows, feels damp, or sits near plumbing, we treat it like moisture damage until proven otherwise.
The most common culprits we find are:
- A slow toilet leak (often from a worn wax ring or a loose flange)
- A tub or shower leak (failed grout, cracked pan, or bad plumbing connection)
- A sink drain drip that’s been happening quietly inside the vanity
- Overspray and wet bath mats that keep seams damp day after day
Rot often spreads like a bruise under the skin. The top might look “fine,” but the plywood is turning soft and crumbly. Think of plywood like a stack of thin wafers. Once water gets between layers, it swells, separates, and loses strength.
Treat it as urgent if you notice any of these:
- The toilet shifts when you sit down
- A musty odor that doesn’t go away
- Dark stains at the baseboard or around the toilet
- Grout that stays darker in one area
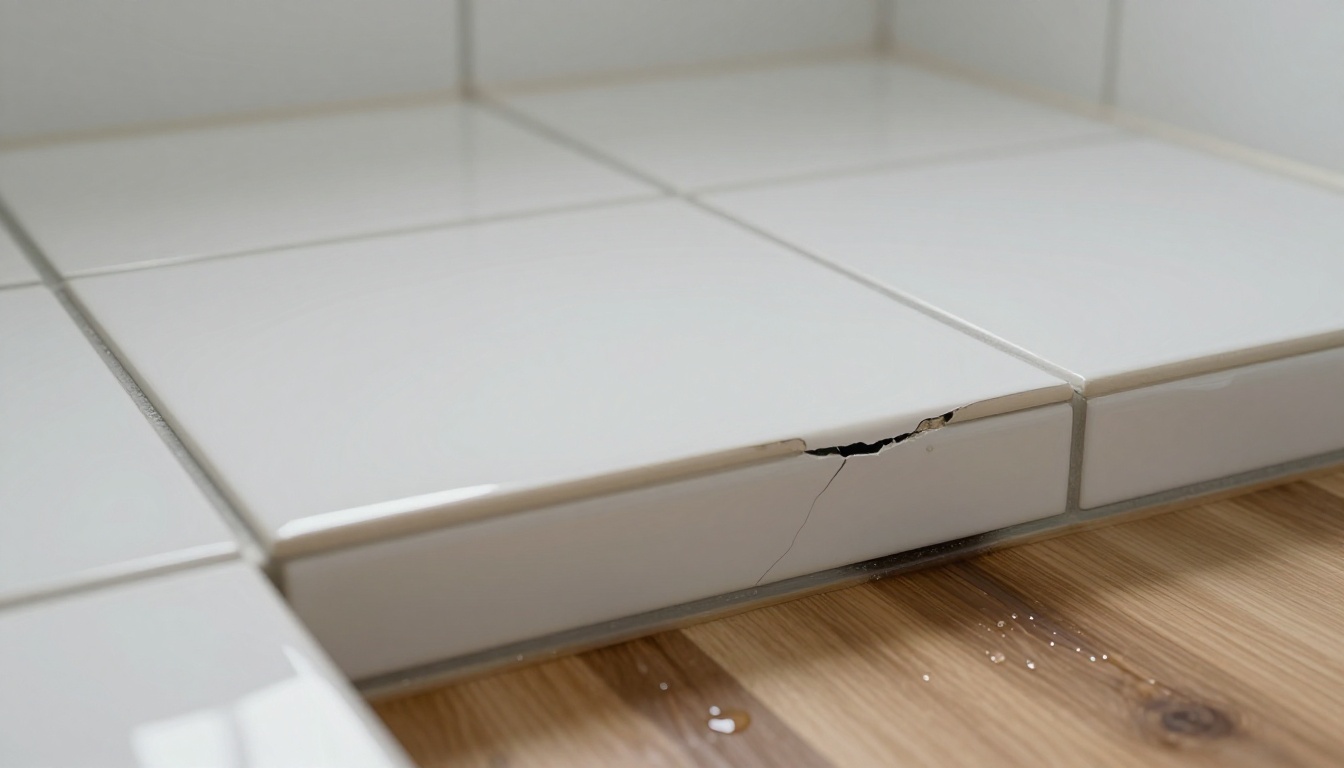
- Tiles that sound hollow or crack underfoot
If the toilet is rocking, don’t wait. Movement can damage the drain connection, which can turn a slow leak into a fast one.
How we confirm subfloor rot without tearing up the whole bathroom
We like a clear answer before we talk repair plans. Confirming rot is part observation, part testing, and part knowing where bathrooms fail.
Here’s how we usually check a spongy area, in a practical order:
- Map the soft spot: We step around it and mark the “edges” where the floor turns firm again. Rot rarely stays in a perfect circle, it follows water paths.
- Look for moisture clues: Discolored grout, lifted vinyl seams, swollen baseboards, rusted supply line stops, and staining near the toilet are all strong hints.
- Check toilet stability: If the toilet shifts, we suspect a compromised flange area or wet subfloor. That’s one of the most common failure points.
- Probe from an edge: At a vent cutout, door threshold, or exposed spot (if available), we gently test the wood with an awl or screwdriver. Solid wood resists. Rotted wood dents and flakes.
- Measure moisture when possible: A moisture meter helps confirm if the area is actively wet or just damaged from an older leak.
- Inspect from below (if there’s basement or crawlspace access): Darkened plywood, sagging, mold growth, and rusty fasteners tell a story fast.
- Identify the leak source: We don’t commit to rebuild work until we know what fed the problem. Otherwise, the new subfloor can get ruined again.
If you want a second reference point on typical repair steps, this guide on repairing a rotted bathroom subfloor lines up with what we see in the field, especially around toilet leaks.
When the floor feels spongy but the bathroom has no obvious leak, we still assume moisture until we rule it out. Condensation, failed caulk, and tiny drain drips can hide for a long time.
Fixing subfloor rot the right way (and stopping the next leak)
A lasting repair has one rule: stop the water first. After that, we rebuild the structure so the finished floor stays flat, stiff, and dry.

Rebuild the floor so it’s solid again
Most subfloor rot repairs follow the same backbone, even though the finish floor might be tile, LVP, or sheet vinyl.
We typically:
- Remove the toilet and any trim holding the floor “locked” in place
- Pull up the finished flooring and underlayment in the damaged zone
- Cut out the weak subfloor back to solid wood (not just what looks bad)
- Assess the joists, then sister or reinforce if there’s any softness
- Install blocking so every plywood edge is supported
- Replace the subfloor with the right thickness plywood, fastened correctly
- Add the proper underlayment for the finish floor (cement board or an uncoupling layer for tile, underlayment matched to LVP, and so on)
- Reset the toilet with a secure flange connection, then test for leaks
If rot is widespread, or if there’s mold and saturated framing, repairs can expand quickly. That’s why we prefer to open enough of the floor to see clean, dry boundaries before we close it back up.
As a remodeling company in Cumming, we also plan the repair around what you want long-term. Sometimes it makes sense to repair and patch. Other times, it’s smarter to rebuild and install new flooring Cumming homeowners can live with for years. And if the bathroom update is part of a bigger plan, we often coordinate it with adjacent projects, like working as a kitchen remodeling company Cumming residents trust for one-point accountability.
For homeowners comparing options, we handle more than tile. We’re a hardwood floor company Cumming, a hardwood floor sanding company Cumming, and a hardwood floor company servicing Windermere. We’re also a kitchen and bathroom remodeling company Cumming Ga, which matters when a “floor problem” turns out to be a shower waterproofing or plumbing layout problem.
Prevent the next leak before it starts
Bathrooms fail at seams and penetrations. We focus on the spots water loves:
- Toilet connection: solid flange support, correct flange height, fresh seal, and a toilet that doesn’t rock
- Wet zone waterproofing: proper membrane in shower areas and at transitions
- Caulk and grout upkeep: replace failing caulk before water gets behind it
- Supply lines and shutoffs: modern braided lines and valves that actually shut off
- Ventilation: a working exhaust fan that clears humidity, not just noise
If you’re dealing with a wet subfloor and want a plain-language overview of the drying and replacement basics, this walkthrough on fixing a wet bathroom subfloor explains the general concept well. In real homes, the key difference is making sure the leak source is solved before new materials go down.
Conclusion
A soft spot doesn’t fix itself, it usually spreads. Once we confirm what’s causing a spongy bathroom floor, the path forward gets much clearer: stop the moisture, remove the weak materials, rebuild the structure, then protect it with the right prep and waterproofing.
For a free estimate, call (770) 906-4732. If you show us any existing quote from another contractor, we’ll do it at 5% less.