Benefits of Sanding Hardwood Flooring (A Cleaner Look, Longer Life, Better Value)
Hardwood floors can take a beating. Kids race through the hallway, pets leave nail marks, chairs scrape, and sunlight slowly shifts the color. That’s where the benefits of hardwood floor sanding come in. After a while, the floor we loved can start to look tired, even if the wood under it is still strong.
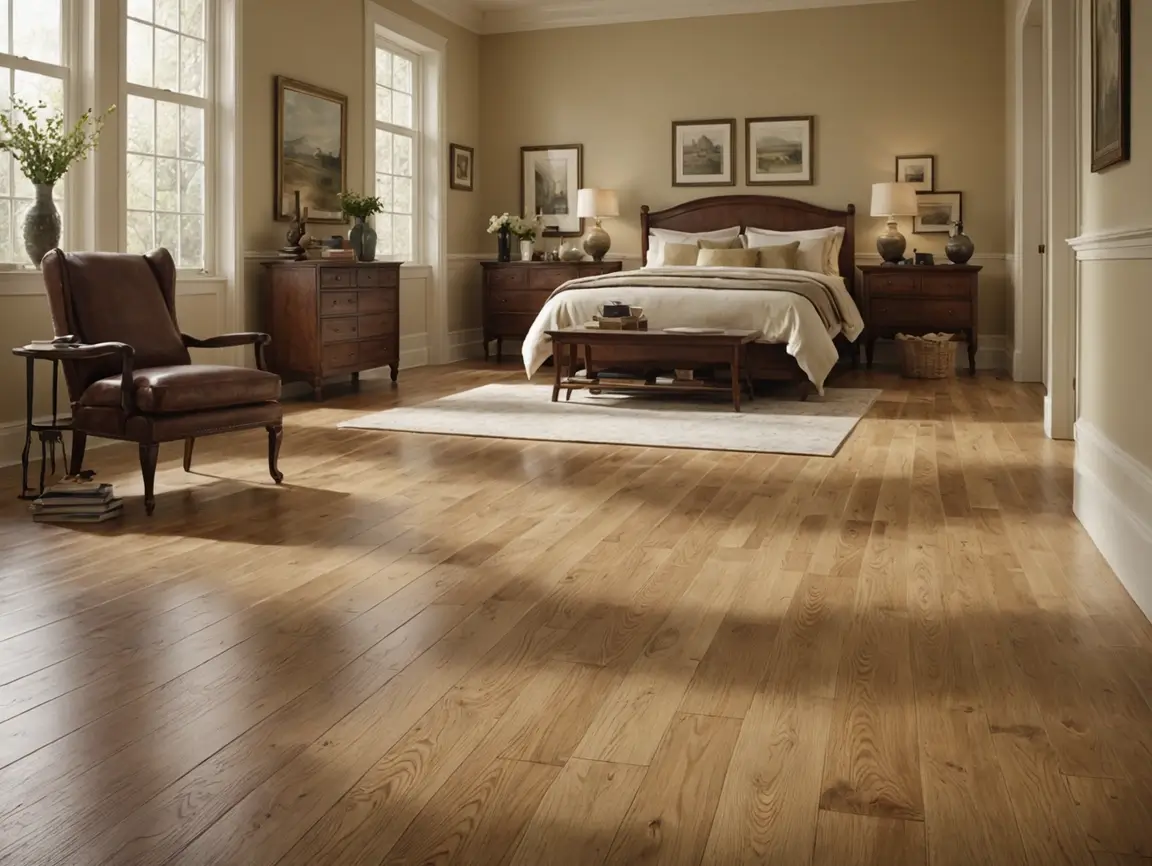
That’s where sanding hardwood flooring comes in. Sanding is often part of a full refinish, which usually includes sanding, staining (if we want color), and sealing. Done at the right time, it can make a room feel brighter, cleaner, and more “put together” without changing the entire footprint of the home.
In this guide, we’ll break down the main benefits, when sanding makes sense (and when it doesn’t), and how to plan it as part of a kitchen or bathroom remodel.
How sanding hardwood floors improves how your home looks
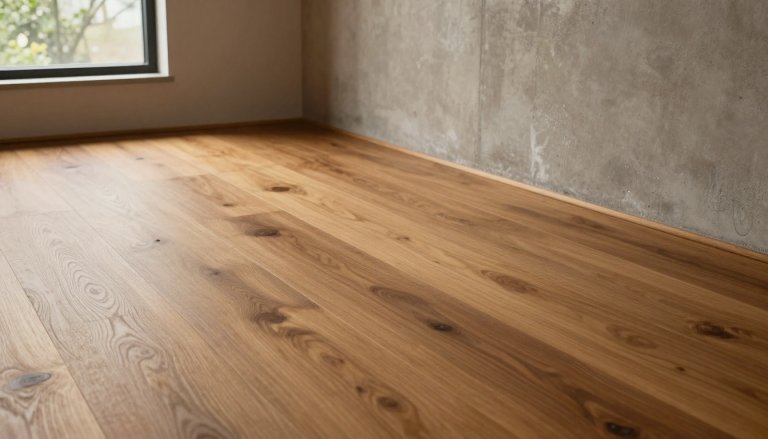
Sanding works because it removes the worn top layer of finish and smooths the surface again. Think of it like erasing years of little scuffs and dull spots, so the floor reflects light more evenly.
We usually see homeowners consider sanding when they notice:
- Deep scratches that catch the light
- A dull, cloudy finish that won’t clean up
- Pet marks and dark lines near doors and bowls
- Gray traffic paths in hallways and living rooms
Sanding can also help during a remodel. If we update a kitchen and the nearby hardwood looks older, refinishing adjoining rooms can help the whole space match. In open layouts, that consistent look matters.
Removes scratches, stains, and uneven wear
Daily life leaves patterns. The path from the garage to the kitchen wears faster than a guest bedroom, and a rolling chair can grind down finish in one spot.
Sanding can often fix common surface issues like:
Scuffs and light scratches: Marks that sit in the finish usually sand out cleanly.
Water spots and cloudy patches: Small spills can leave a haze that sanding removes.
Sun fade: Areas under rugs can look darker, sanding helps even that out.
Dark stains in the finish: Some black marks are only in the topcoat, not in the wood.
We also like to be clear about the limits. If a stain has soaked deep into the wood (often from pet urine or long-term water leaks), sanding may not remove it fully. In those cases, we may need board replacement before sanding, or we may guide you toward a darker stain that helps blend the area.
Gives us a clean slate for stain color changes
Color trends change, and so do personal tastes. A floor that looked perfect with honey oak cabinets might feel too warm next to today’s white or walnut finishes. Sanding removes the old finish and stain so we can choose a new direction.
After sanding, we can go:
- Lighter for a brighter, more open feel
- Darker for contrast and drama
- More natural to highlight the wood grain
A simple tip that saves regret: we test stain samples on the actual floor (or on extra boards from the same species) and check them in morning and evening light. The same stain can look very different depending on window direction and wall paint.
Long-term benefits of sanding and refinishing hardwood
Sanding isn’t just about looks. When we sand and refinish, we also reset the protective layer that takes the abuse, not the wood itself. That matters in busy homes where floors get constant wear.
The goal is realistic longevity. We can’t stop every scratch, but we can give the floor a fresh surface that’s easier to maintain and harder to damage.
Extends the life of the floor and protects the wood
Hardwood lasts because it can be renewed. Sanding removes small surface damage and lets us apply new sealer and topcoats that help resist:
- Abrasion from grit and shoes
- Minor spills
- Everyday scuffs and pet traffic
Finish choice also affects day-to-day comfort during the project. We help homeowners compare options at a high level:
Water-based finishes: Lower odor, faster dry times, and a clear look that doesn’t amber as much.
Oil-based finishes: Stronger odor during the job, longer dry times, and a warmer tone that can deepen color.
We also talk about sheen (matte, satin, semi-gloss) because it changes how much light reflects and how visible scratches look. Many homeowners choose satin because it balances brightness with practicality.
Can boost resale appeal and reduce total remodel costs
When a home is for sale, floors do a lot of silent work. They show in nearly every photo, and buyers feel them underfoot in every room. Freshly refinished hardwood often makes the home feel cleaner and newer, even if nothing else changes.
Cost matters too. Replacing flooring can be the right call, but it can also add:
- Demo and disposal
- Subfloor fixes
- New material costs
- More labor time and disruption
Refinishing is often less wasteful and can be a smarter budget move when the floor is still solid. We like refinishing as a “save what’s good” approach, especially during remodels where money is already going toward cabinets, counters, tile, and fixtures.
When sanding hardwood flooring is a smart choice, and when it isn’t
Sanding is powerful, but it’s not a magic eraser for every floor. The best outcomes start with the right expectations and a clear look at what’s under the finish.
We check the floor type, thickness, and problem areas first
Before we recommend sanding, we look at what the floor can safely handle. A short checklist helps avoid expensive mistakes:
Solid vs engineered: Solid hardwood usually allows more sanding cycles. Engineered hardwood depends on the thickness of the wear layer.
Past refinishing: If the floor has been sanded many times, it may be too thin for another full sand.
Squeaks or loose boards: Movement can cause noisy floors and weak spots in the finish.
Water damage near sinks and doors: Swollen edges, dark stains, and soft boards may need replacement.
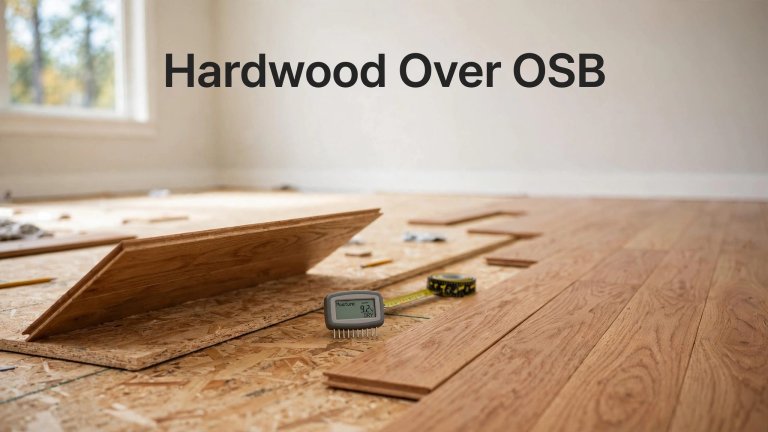
Cupping or crowning: Moisture issues can make sanding risky if the wood isn’t stable yet.
A pro evaluation matters here. Sanding through a thin wear layer or missing moisture damage can turn a refresh into a larger repair.
Common remodel scenarios: kitchens, bathrooms, and open layouts
In kitchen remodels, sanding and refinishing can help the home feel unified, especially if walls come down or the layout opens up. We can refresh adjacent rooms so the transition looks intentional, not patchy.
Bathrooms are different. Hardwood and bathrooms don’t always mix well because water finds a way. Many homeowners choose tile or luxury vinyl tile in bathrooms, then refinish the hardwood outside the bathroom for a clean, coordinated look.
We also set expectations on dust control and access. Even with good equipment and prep, sanding is still a construction process. Room-to-room planning helps, especially if you’re living in the home during the work.
Why we hire Cumming Floors (and a remodeling company) for sanding projects
Sanding looks simple until we try to do it. The floor is large, flat, and unforgiving. Small mistakes show up as waves, swirls, and blotchy stain.
When we hire Cumming Floors and coordinate with a remodeling company, we get better results and fewer schedule surprises. We also get one plan for how flooring work fits with painting, trim, cabinets, and tile.
Better results come from the right equipment and process
Professional sanding is about control. Pros bring commercial sanders, edge tools, and the experience to keep the floor even from wall to wall.
We also rely on pros for details that affect the final look:
- Consistent sanding patterns to avoid swirl marks
- Clean edges and corners that match the field sanding
- Dust control steps that protect nearby rooms and HVAC vents
- Board replacement before sanding so the final finish looks uniform
If a few boards are water-damaged or stained beyond repair, fixing them first usually leads to a cleaner, more consistent finished floor.
Planning, timelines, and clear pricing keep the remodel on track
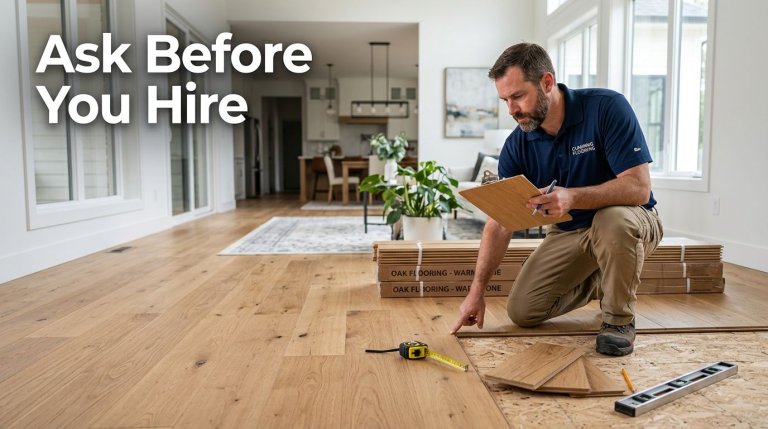
A good quote should be easy to understand. We want to see the scope spelled out so there’s less confusion later.
Here’s what we ask for before the job starts:
Scope and prep: What areas are included, and who moves furniture?
Sanding plan: How many sanding passes, and how are edges handled?
Stain sampling: When and how we approve color.
Number of coats: Sealer and topcoats, plus the brand or type if possible.
Dry and cure times: When we can walk on it, and when rugs and furniture can return.
Protection: How trim, doors, and vents are protected during sanding and finishing.
In remodels, timing matters. We coordinate so the floors don’t get scratched by cabinet install, and paint doesn’t drip onto fresh finish. That kind of teamwork is why pairing a flooring contractor with a remodeling company often makes the whole project feel calmer.
Conclusion
Sanding hardwood flooring gives us real, practical wins: a cleaner look, more stain options, and a new protective finish that helps the floor hold up longer. It can also improve resale appeal and reduce costs when the wood is still in good shape.
The smart move is matching the plan to the floor. Once we confirm the floor type, thickness, and problem areas, we can decide whether sanding and refinishing makes sense or if repairs or replacement are the better path.
If we’re remodeling a kitchen or bath, we can schedule sanding as part of the larger plan and keep the look consistent across open rooms. When we’re ready, the next step is simple: book an in-home estimate, talk through stain and finish choices, and move forward with confidence in the timeline and the outcome.