
Engineered Wood Kitchen Flooring That Lasts Around Cabinets, Islands, and Kitchen Appliances
A kitchen floor takes more abuse than almost any other room. Spills happen, dishwashers sweat, chairs scrape, and the fridge gets nudged a little every week. That’s why engineered wood in kitchens, particularly engineered wood kitchen flooring, can be a smart choice, but only if we plan the installation like the kitchen is a system, not an empty box.
If we get the order wrong around cabinets and islands, the floor can pinch, gap, or swell. If we ignore appliance movement, the wear layer gets chewed up. Let’s walk through the planning steps that keep engineered wood looking clean for years.
Start with kitchen realities: water, heat, and daily traffic
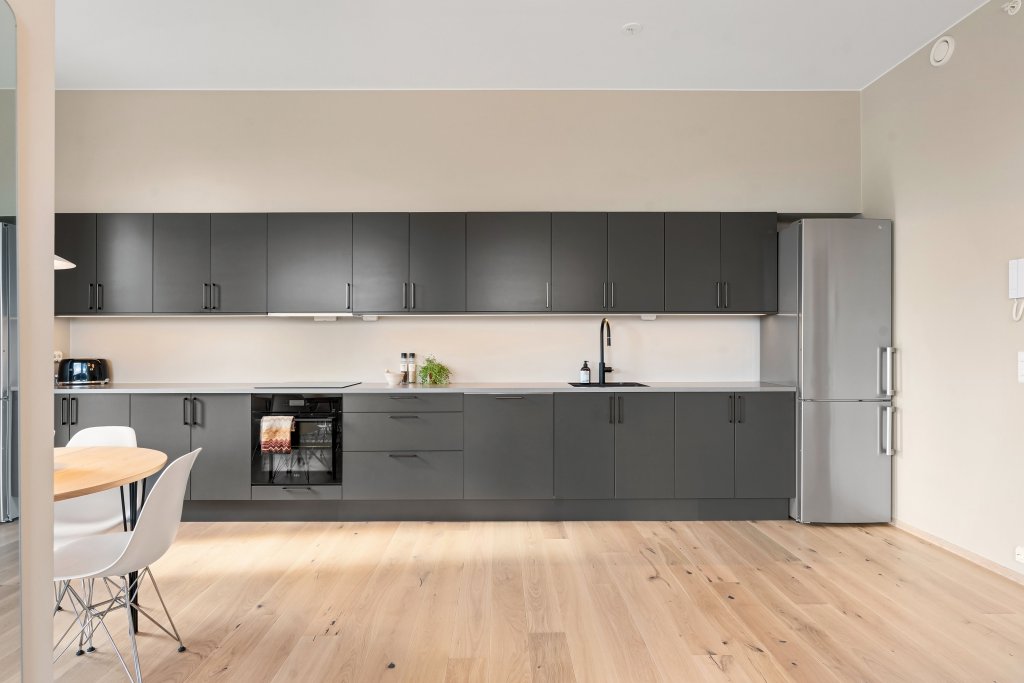
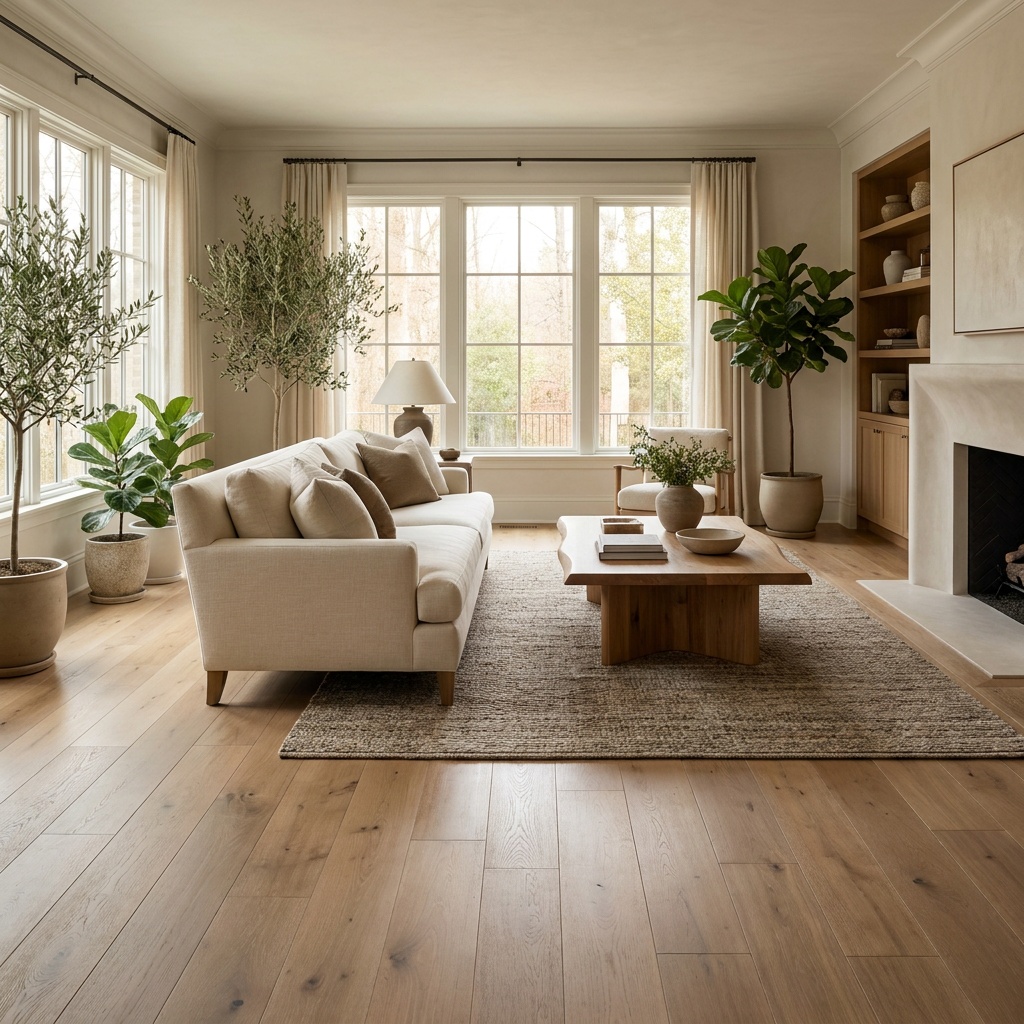
Photo by Lisa Anna
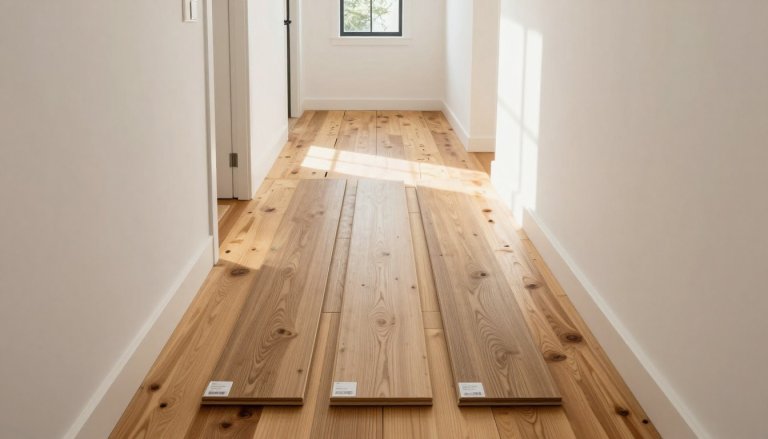
Engineered wood is real wood on top, so it still reacts to moisture and humidity. The big difference is stability. Its layered core provides moisture resistance and helps it handle seasonal change better than many solid hardwood boards. In a kitchen, stability matters, but we still need a plan for the “wet zones.”
We start by mapping out risk areas:
- Sink and dishwasher zone: Most surprise water shows up here, even with careful homeowners.
- Fridge wall: Ice makers and drip trays are common culprits.
- Exterior doors: Wet shoes and humidity fluctuations hit hardest near entries.
- Stove area: Heat is usually fine, but dropped pans and grit do damage fast.
Next, we match the installation method to the subfloor and the kitchen’s moisture profile. A floating floor can work well in many homes, but it needs the right underlayment, subfloor tolerances, and flatness, especially with underfloor heating. Glue-down can feel solid and quiet, but we still have to treat moisture the right way. If we’re trying to reduce risk under the floor, our own Basement hardwood underlayment guide explains moisture layers in plain terms (the principles apply beyond basements, especially on concrete).
We also don’t treat maintenance as an afterthought. A “low-maintenance kitchen” starts with choices that reduce daily wear, like simpler layouts and easy-to-clean surfaces. This overview on designing a low-maintenance kitchen lines up with what we see in real homes: fewer grime traps, better habits, less stress on finishes.
Kitchen Cabinets and Kitchen Islands: Get the Installation Sequence Right, or the Floor Pays for It
The biggest planning mistake we see is trapping the floor under heavy built-ins like kitchen cabinets. Engineered wood needs room to move. If it can’t undergo expansion and contraction, it’ll push against something. In kitchens, that “something” is often a run of kitchen cabinets or kitchen island base, and the floor loses.
Our Rule of Thumb Installation Sequence: Kitchen Cabinets and Kitchen Islands First, Floor Second (most of the time)
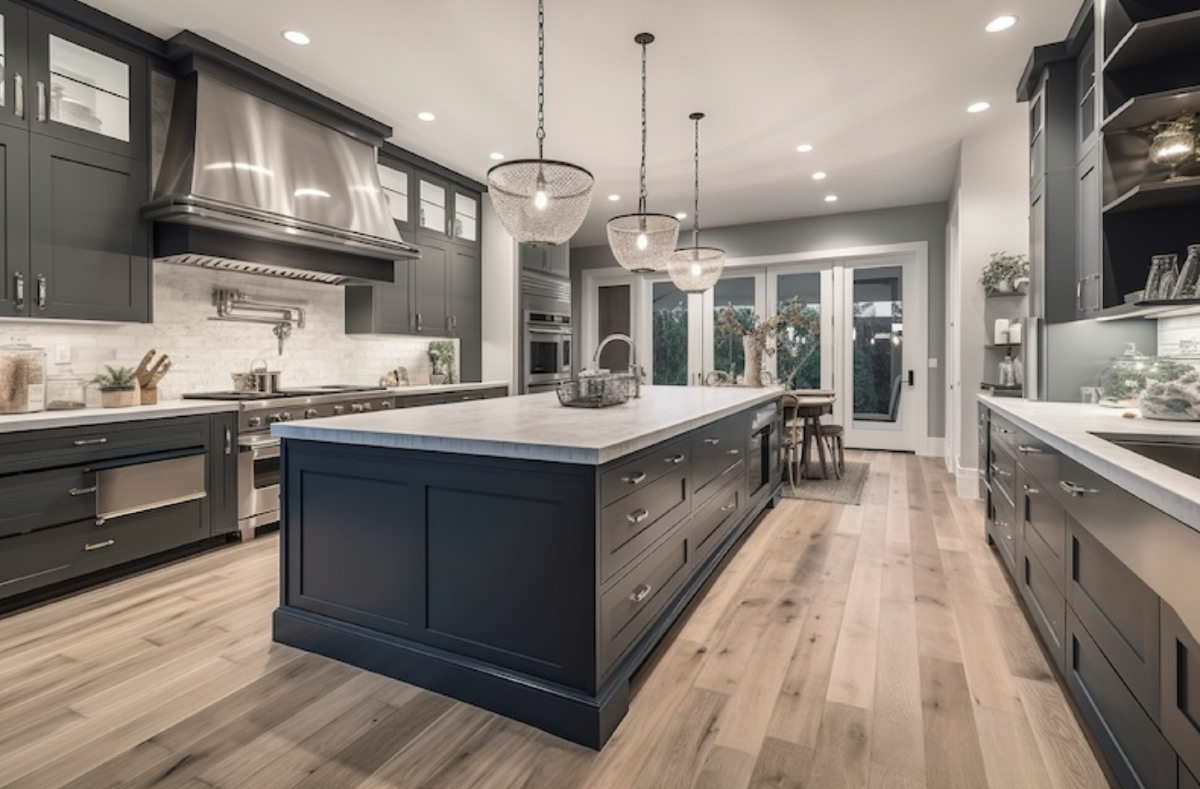
When we’re installing a new kitchen, we typically set kitchen cabinets and kitchen islands first, then run engineered wood up to them with the correct expansion gaps. That keeps the floor free to move and makes future repairs easier.
There are exceptions. If we’re using a glue-down installation and the manufacturer allows full-coverage installs under cabinetry, we still think twice. Service calls happen in real kitchens. A dishwasher replacement or a cabinet toe kicks repair shouldn’t require tearing up half the floor.
Here’s the practical layout checklist we follow:
- Confirm finished flooring height before base cabinets (dishwashers need clearance, countertop height must be right).
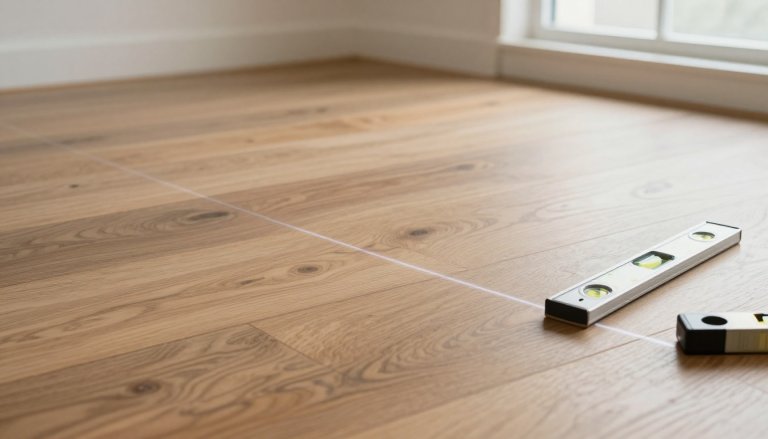
- Plan expansion gaps at walls, cabinet bases, and kitchen island perimeters.
- Decide on shoe molding or scribing trim to cover the gap cleanly, accounting for end panels.
- Shim cabinets for level installation and keep kitchen island anchoring independent from the wood planks when possible.
- Avoid running seams under the sink base when we can, it’s a high-risk zone.
We also coordinate flooring direction with the kitchen cabinets layout. Long planks running the same direction as the main traffic path can hide seams better and look calmer. If we’re matching wood tones to cabinets, a cabinet care guide like this engineered wood cabinets care resource is helpful for understanding how cabinet finishes react to cleaners, heat, and moisture.
When homeowners ask us to also coordinate adjacent spaces, we treat it as one plan. Many clients want a single contractor who can handle floors plus the room updates around them. As a remodeling company in Cumming, we often pair flooring with tile work and bath upgrades, and our Cumming bathroom remodeling services page shows how we keep wet-area materials durable and simple to maintain.
Appliances, transitions, and long-term protection for the wear layer
Kitchen appliances are heavy and they move more often than people expect. That movement can scratch the finish, crush edges, and create tiny gaps that catch water. Our goal is to make appliance swaps boring, not scary.
Protect the floor before the first appliance slides in
We like to stage protection early. That means felt and glides where they belong, but also smarter habits:
Fridge: We recommend a proper appliance mat or rigid slider system when moving it, plus a water line check during install.
Dishwasher: We make sure the floor thickness won’t trap the unit. If a dishwasher can’t come out without damage, the floor is already at risk.
Range: We watch for grit under the feet. One grain of sand can act like a chisel.
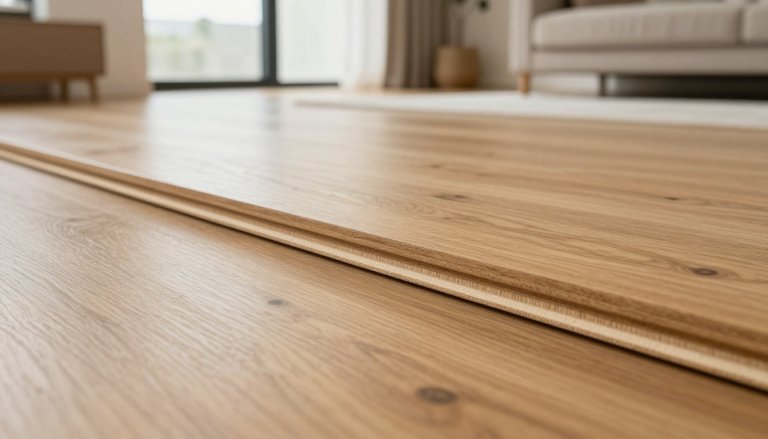
Transitions matter too. Engineered wood kitchens often meet tile, carpet, or LVP. A bad transition is a trip point, and it becomes a stress point when humidity changes. We plan reducer or T-mold transitions, along with trim options like quarter round or shoe molding, that allow movement without leaving a raw edge. If a home needs a more water-tolerant surface in a mudroom or laundry that connects to the kitchen, we sometimes recommend vinyl flooring or laminate flooring, and our guide to luxury vinyl plank flooring for wood-look homes explains what to look for in wear layer and core types.
If we’re trying to keep the kitchen’s wood look consistent, it helps to browse real examples and notice what holds up visually. This set of kitchen wood flooring ideas is useful for seeing how plank width, color, and grain affect the feel of the room.
Finally, we plan for the future. Kitchens change. Floors should be repairable. If a plank gets damaged near the fridge, we want replacement to be possible without removing cabinets.
We’re a hardwood floors company Cumming homeowners call when they want clear guidance, and we also work as a hardwood floors company servicing Windermere where kitchens see plenty of entertaining traffic. When refinishing is part of the plan, we approach it like a system too, because a hardwood floor sanding company Cumming residents hire should be honest about what can and can’t be sanded in a kitchen (especially with engineered products).
When we’re ready to move forward
Engineered wood can perform beautifully in kitchens, but the real durability comes from planning: built-ins first, correct gaps, smart transitions, and careful appliance handling. When we treat engineered wood kitchen flooring like long-term finished flooring instead of a quick finish, it stays flatter, cleaner, and easier to live with.
If we want help with the full scope of a kitchen renovation, from floors to cabinets to layout changes, we’re the kitchen remodeling company Cumming homeowners trust, and we also work as a kitchen and bathroom remodeling company Cumming Ga clients can use for coordinated updates. For homeowners looking to install new flooring Cumming-wide, call (770) 906-4732 for a free estimate. If we’re shown any existing quote from another contractor, we’ll do it 5% less.