Basement Slab Moisture Test Failed? Fast Ways to Dry the Slab Without Wasting Money
A failed basement slab moisture test can feel like a hard stop, especially when we’re ready to lay LVP, tile, or engineered hardwood in the basement. The concrete may look dry, yet it can still release water vapor that ruins adhesives, causes cupping, or traps odors under the new floor. Learn how to dry the slab without wasting money.
The good news is we usually don’t need “miracle” products or pricey guesses. We need a clear read on what’s happening, then we dry the slab the right way, and only spend money where it actually changes the result.
First, confirm the concrete moisture testing slab moisture test really failed (and what “failed” means)
Not every “fail” points to the same fix. Before we spend a dollar trying to dry concrete, we want to confirm three things: the test method, the site conditions, and the flooring manufacturer’s limits.
Common testing situations we see:
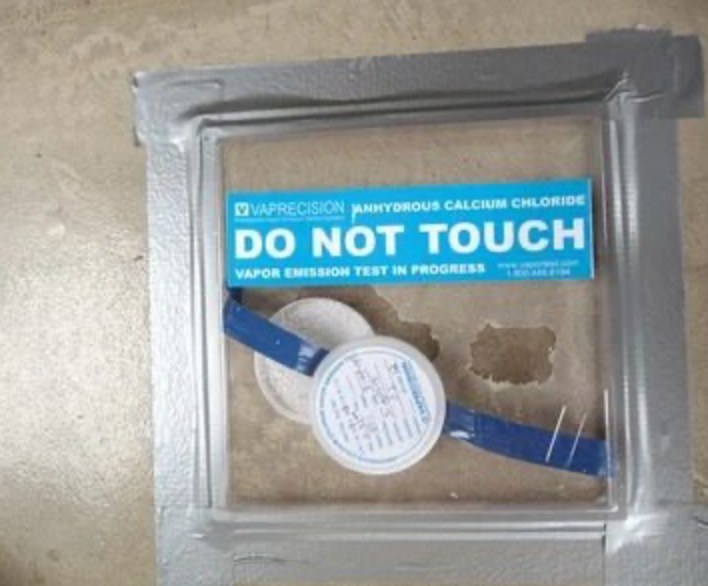
- Calcium chloride tests (ASTM F1869) (often called MVER tests): Great for measuring the moisture vapor emission rate, but sensitive to room conditions and slab surface prep.
- In-situ RH tests (ASTM F2170): A deeper look at internal relative humidity inside the slab, often a better predictor of flooring performance.
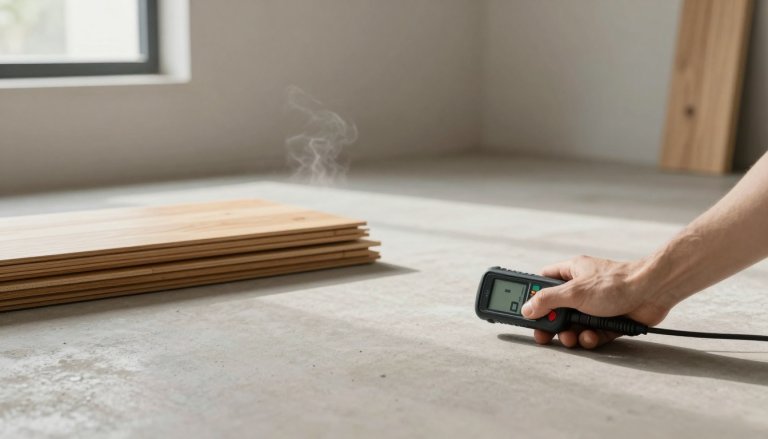
- Handheld moisture meters: Useful for spotting patterns, but not always accepted as the final decision maker for installation.
If we’re unsure how concrete actually dries and why the surface can lie to us, Wagner’s explanation of how to overcome a wet concrete slab is a practical reference.
Before we retest, we also make the room “honest”:
- Run HVAC system operation or dehumidification for a few days to stabilize relative humidity so the basement isn’t in a temporary damp spike.
- Keep windows shut if outdoor humidity is high.
- Confirm the slab surface is clean, not dusty or sealed with something unknown.
One expensive mistake we avoid is installing based on a single reading taken right after rain, a plumbing event, or a week with the basement door propped open.
Stop the moisture source first, or we’ll dry forever
If we only focus on “drying faster,” we can end up like trying to empty a bathtub while the faucet is running.
We sort basement slab moisture into two buckets:
1) Bulk water problems (liquid water)
Think leaks, seepage at a wall from hydrostatic water pressure, a sump issue, or water moving under the slab after heavy rain.
2) Vapor drive (water vapor moving up through concrete)
Even without visible water, the slab can push vapor upward through capillary pathways for years, especially if exterior drainage is poor or there’s no intact vapor barrier under the slab. Installing a vapor retarder helps interrupt this vapor drive.
Here’s a quick way we narrow it down:
What we noticeLikely causeBest first moveDamp line at the wall edgeSeepage, poor grading, gutter dischargeFix exterior drainage, check downspoutsMusty smell, no wet spotsHigh RH, condensationDehumidify, control temperature swingsWhite powder on concreteMoisture moving through slab (efflorescence)Reduce vapor, plan mitigation layerWet spot that comes and goesPlumbing or localized seepRule out leak before any flooring
When we’re planning basement floors, we also like to match the system to reality. Our own guide on choosing underlayment for damp basements explains why underlayment is not just “padding” when the slab is the moisture source.
For a more technical overview of moisture testing and mitigation, AMPP’s summary of concrete moisture testing and mitigation is a helpful context piece.
Fast ways to dry a basement slab that actually work (and what wastes money)
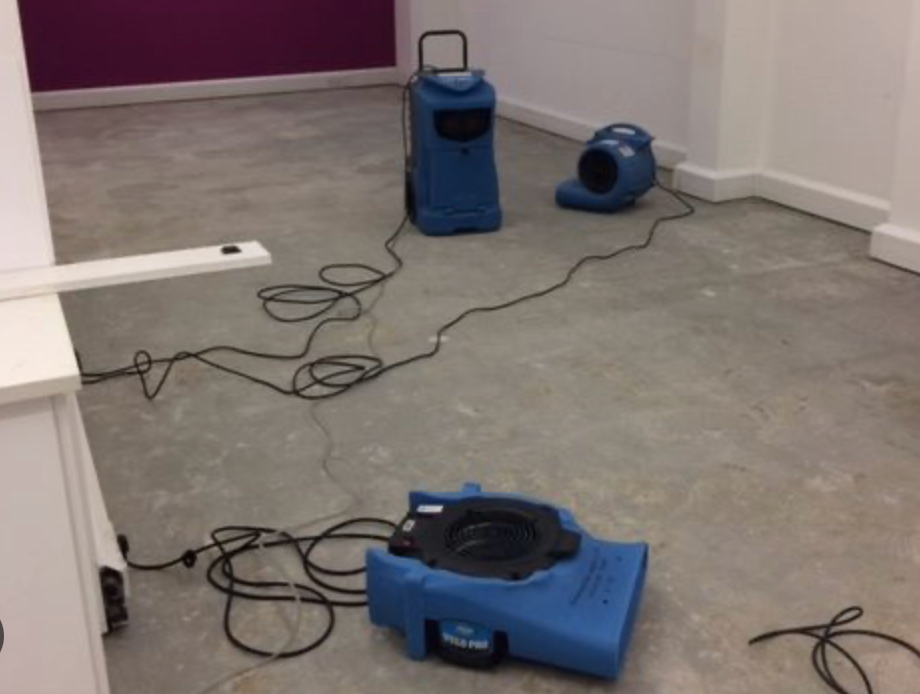
Drying a concrete floor slab is less about “blast it with fans” and more about controlling ambient conditions like temperature, humidity, and airflow together to manage internal relative humidity.
What we do for fast, cost-smart drying
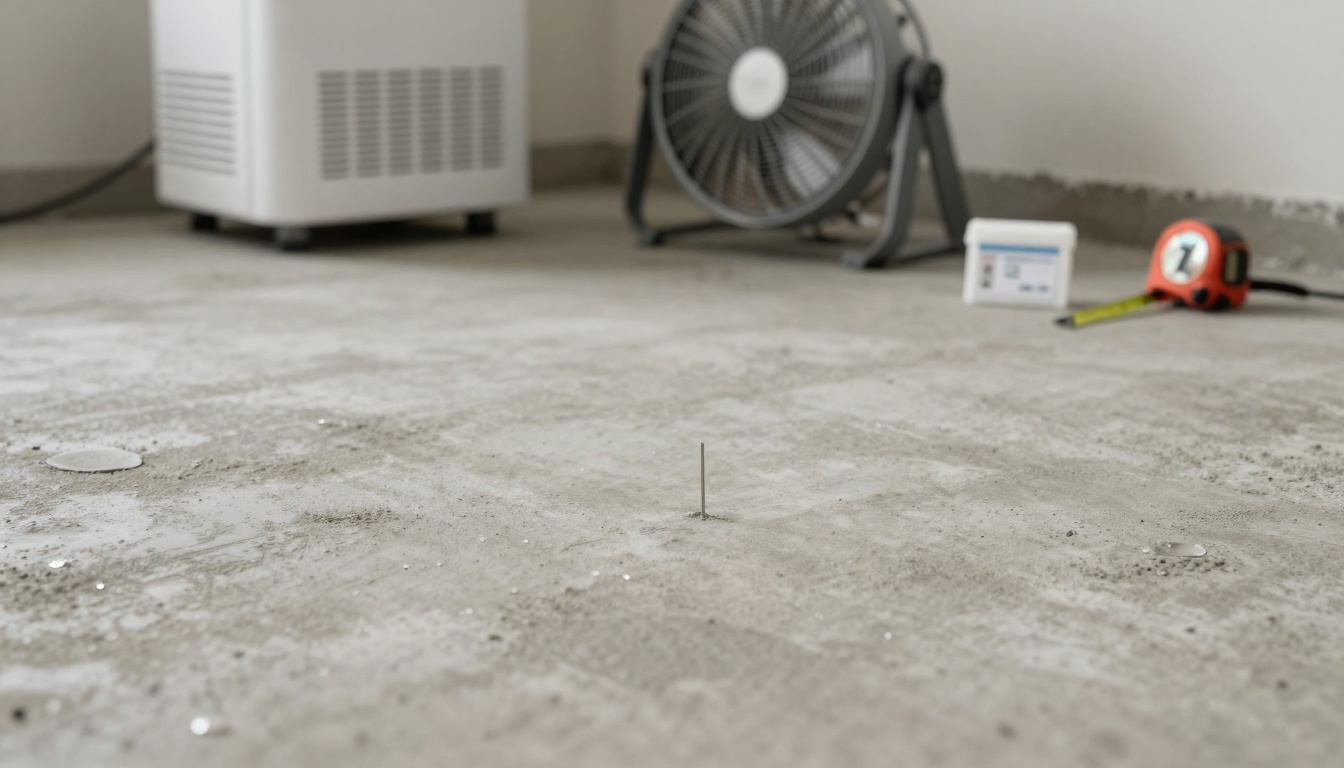
Dehumidify first, then move air low across the concrete floor slab. Fans don’t remove water, they just help evaporation. A desiccant dehumidifier can be an effective tool for pulling moisture from the slab; the dehumidifier actually pulls moisture out of the air so evaporation can keep going toward the point of equilibrium.
Create a contained drying zone. We close windows and isolate the area if we can. If we keep bringing humid outdoor air inside, we pay for electricity and gain nothing.
Use steady, moderate heat. A warmer room can hold more moisture under stable ambient conditions, so drying speeds up and cuts drying time, but overheating can create condensation issues on cool foundation walls. We aim for stable conditions, not extremes.
Remove floor coverings and obstacles. Old carpet pad, rubber mats, and stored boxes can trap moisture and extend drying time.
For a deeper explanation of why dehumidification matters and how it speeds drying time, Wagner’s article on dehumidification and drying concrete is worth skimming.
What wastes money (and still fails)
- Running fans with no dehumidifier in a humid basement. We just keep moving wet air around.
- Trusting the slab “feels dry.” Concrete can feel dry while still failing a slab moisture test.
- Chasing 24-hour promises. Some situations can improve quickly on the surface, but deep moisture takes time. Even Wagner notes the common rule of thumb: concrete often needs significant drying time based on thickness.
If we want to try an aggressive approach, we keep it grounded in physics, not hype. Even product-based ideas like CretoSeal’s discussion of drying concrete quickly are best treated as starting points, then verified with real testing.
When drying isn’t enough: protect the floor with moisture mitigation
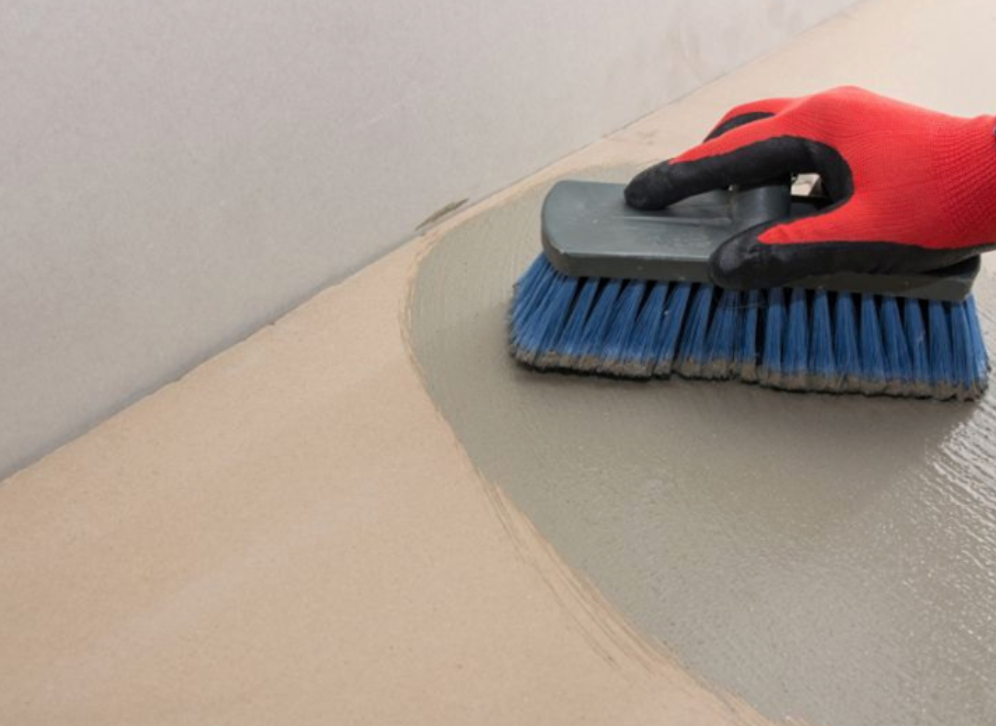
Sometimes we can dry the concrete floor slab and still not hit the flooring spec in a realistic timeline. Even after drying, redistribution of moisture can occur, which often leads to flooring adhesive failure or moisture-related damage. That’s when we talk about a moisture mitigation system, not because we’re upselling, but because it can be cheaper than waiting months or replacing a failed floor later.
Options we consider based on the flooring plan:
- Liquid-applied moisture barriers (epoxy coatings, urethane systems, or other surface treatments) that reduce vapor transmission.
- Penetrating concrete sealer for effective treatment.
- Moisture-rated adhesives for glue-down products.
- Dimple membranes or vapor barrier underlayments for floating floors.
- Material choices that tolerate basements better, especially when we want to install new flooring Cumming homeowners can live with long-term.
In many basements, LVP is a smart choice because it handles humidity swings well. If we’re comparing surfaces, our page on luxury vinyl tile for moisture-prone areas can help us weigh comfort, durability, and prep requirements.
And if we’re set on wood, we’re careful. We don’t rush sanding or refinishing when moisture is active. A hardwood floor sanding company Cumming homeowners trust should always fix the moisture condition first, or sanding can lock in movement problems and moisture-related damage.
When we’re planning the full scope (floors plus layout changes, bath updates, or a basement bar), we treat it like a system. That’s where a remodeling company Cumming families rely on can coordinate sequencing so we’re not installing floors before the concrete floor slab is ready.
If we’re in Windermere and weighing wood options, we also hear this a lot: “Do we need a Windermere hardwood floor company that will actually test?” Yes, because basements punish guesswork.
As a hardwood floor company Cumming homeowners call for real-world installs, we also help coordinate with a kitchen and bathroom remodeling company Cumming Ga homeowners can trust, so floors, cabinets, and wet-area waterproofing don’t fight each other.
Ready for a clear plan? Call (770) 906-4732 for free estimates. If customer shows us any existing quote from other contractor we will do it at 5% less.
Conclusion: dry it with a plan, then verify before we install
A failed slab moisture test isn’t the end, it’s a warning light. When we confirm the test, stop the moisture source, and dry with dehumidification plus airflow while monitoring relative humidity, we avoid the money traps that drag projects out. Note that the water-to-cement ratio of the original pour can impact how long a slab takes to dry. When time or conditions won’t cooperate, moisture mitigation can be the smarter spend than waiting and hoping.
If we want our basement flooring to stay flat, bonded, and odor-free, we don’t guess. We measure with concrete moisture testing, fix, retest, then build the floor the right way.