How to Test Flooring Samples Before You Buy
A material sample can look perfect under showroom lights, then look flat, orange, or gray in your own room. Before sample approval, test flooring samples where they will live, under the light, traffic, and furnishings that shape the finished result.
We have seen small samples prevent expensive color mistakes and buyer remorse, especially in open kitchens and rooms with existing hardwood. Give each option several days in your home, and compare it with a simple mood board of permanent room finishes before choosing a floor.
Key Takeaways
- Test flooring samples in the actual rooms where they will be installed, placing them on the floor for at least three days and viewing them at different times of day.
- Compare samples with permanent finishes such as paint, cabinets, countertops, tile, furniture, and area rugs to identify undertones, sheen differences, and potential clashes.
- Use realistic durability checks for walking, furniture movement, spills, moisture, pets, and everyday impacts rather than aggressive tests that do not reflect normal use.
- Examine the flooring’s construction, including wear layers, core materials, locking profiles, finish, technical data, and warranty exclusions.
- Consider the full project scope, including subfloor conditions, moisture risks, transitions, cabinets, appliances, and installation timing, before approving a sample and ordering materials.
How to Test Flooring Samples in the Rooms That Matter
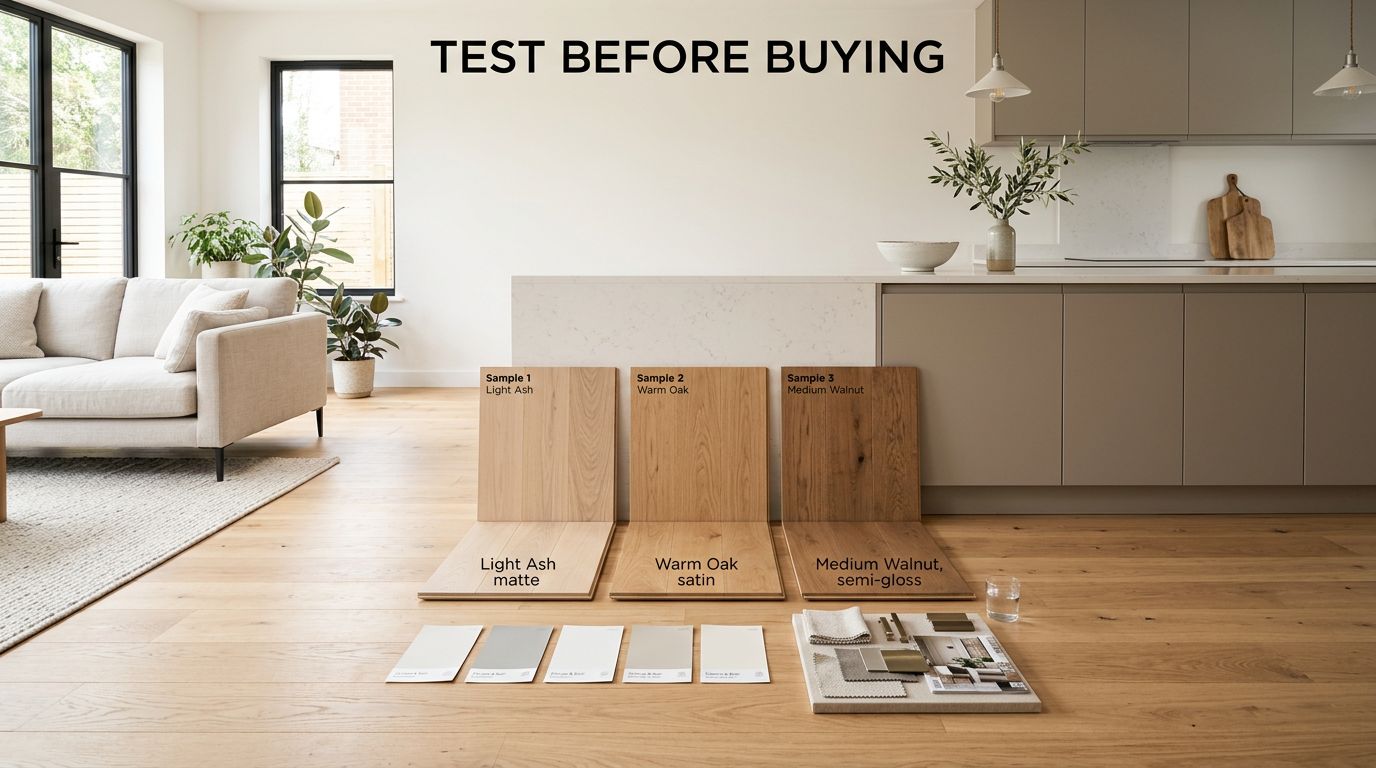
Order the largest samples available, ideally full planks or several boards from the same collection. A tiny chip cannot show plank variation, bevel detail, or how a finish catches light. If a retailer only provides small swatches, ask to borrow a display board before finalizing your order.
Place samples flat on the actual subfloor or existing floor. Avoid judging them on a counter, where height and surrounding colors can change the effect. Keep each sample away from its shipping sleeve, then label the back with the product name, color, thickness, and store.
Use a simple testing routine:
- Leave each sample in the room for at least three days.
- Move it near windows, doorways, cabinets, upholstered furniture, and area rugs.
- Look at it in the morning, afternoon, and after dark.
- Write down what changes instead of trusting a quick first impression.
For hardwood, lay several boards end to end. Wood naturally varies in wood grain, mineral streaks, and tone. A single attractive board may not represent the full floor. Luxury vinyl flooring and laminate also need more than one piece because repeating print patterns can become obvious across a large room.
If you need to match existing boards, compare samples beside a clean section of the current floor, not the worn path near a doorway. Our guide to matching existing hardwood floors can help you decide whether new wood, a custom stain, or refinishing is the better route.
Watch Color Change in Natural and Artificial Lighting
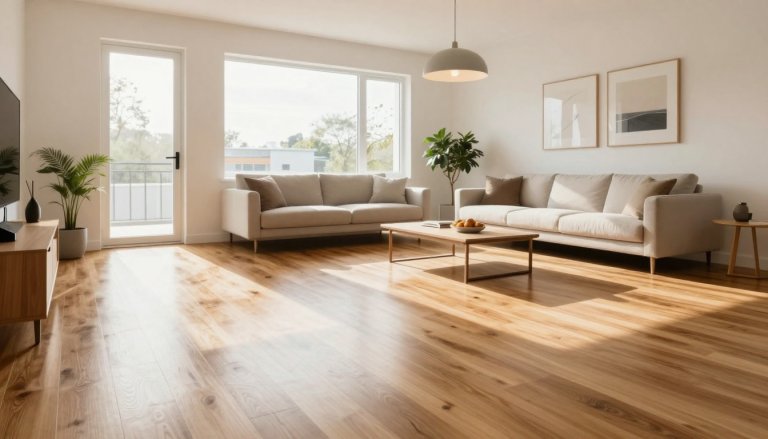
Natural lighting changes all day. Set the flooring samples near the brightest window at breakfast, midday, and early evening. Then move them into a darker corner to see how ambient lighting affects the color. A pale oak that feels warm in direct sun may look washed out near an interior hallway.
At night, test each source of room lighting you regularly use. Warm 2700K bulbs can bring out yellow, red, and orange undertones. Neutral 3000K lighting often looks more balanced, while 4000K bulbs can make gray and white floors appear cooler. Turn on under-cabinet fixtures if you are choosing a kitchen floor.
A color that works at noon can look entirely different after sunset, especially beside white cabinets or gray wall paint.
Look for undertones rather than relying on product names, and check your mood board beside each sample. “Natural,” “driftwood,” and “greige” mean different things across brands. A gray-brown plank may pull purple beside a beige sofa, while a honey oak can look orange against cool paint colors. Hardwood sample testing guidance also recommends viewing samples in changing light and checking the surface finish and surface texture before purchase.

Photo by Amar Preciado
Compare Flooring With Paint, Cabinets, and Furniture
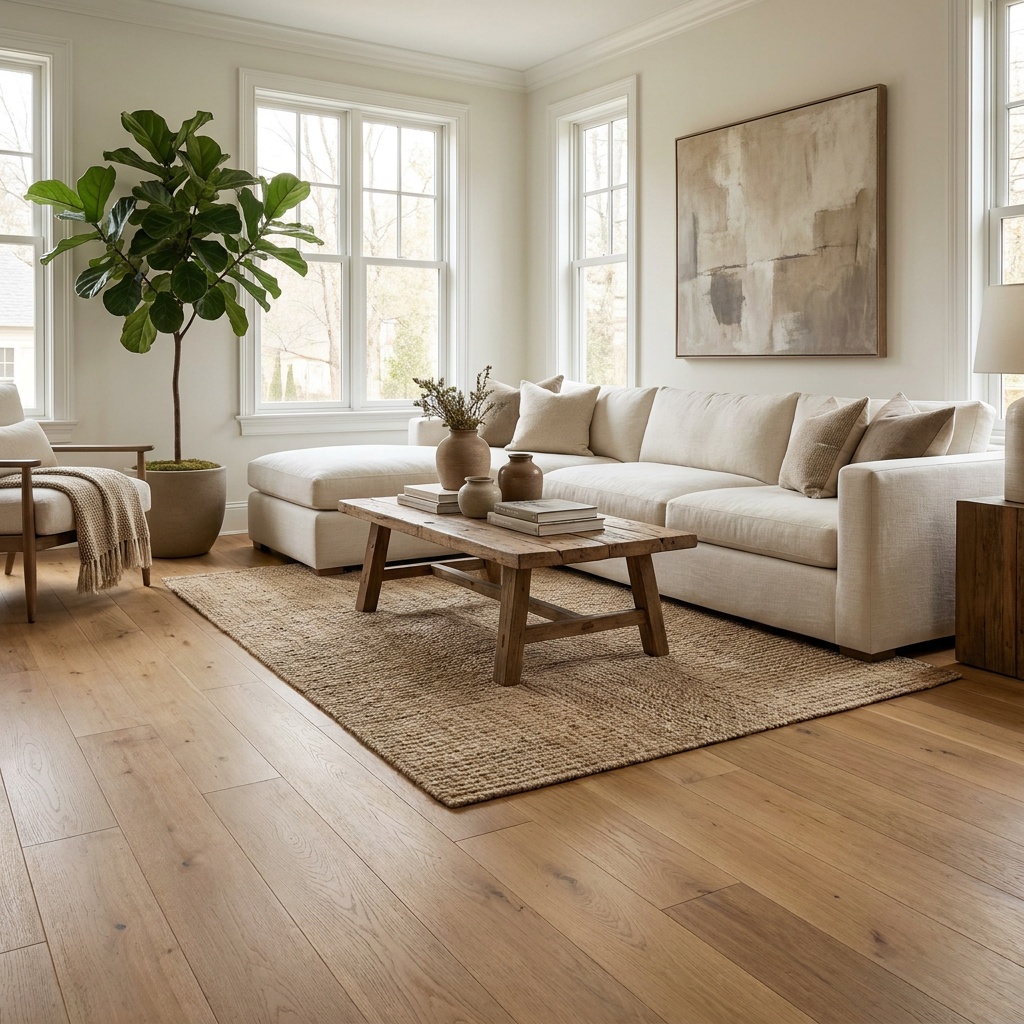
Bring flooring samples to every fixed finish in the room. Hold one beside wall paint, baseboards, cabinets, countertops, tile, curtains, and the largest upholstered piece. A sample can complement one item yet clash with another that occupies more visual space.
For a kitchen remodel, place the board horizontally beneath cabinet door samples and counter material. For a bathroom, check it near tile and vanity finishes, then look at it under the vanity light. We also recommend making a small mood board with paint colors, fabric, hardware, cabinets, countertops, and flooring together.
Complete this comparison before sample approval, then pay attention to sheen. A matte floor often softens a room with glossy backsplash tile or polished stone. In contrast, a high-gloss finish can make existing scratches and pet hair more visible. The right color and texture should support the room’s permanent features, not compete with them.
Perform a Realistic Durability Test
Flooring samples are not spare boards, so test them firmly but fairly. Aggressive abuse tells you little about daily life and can damage any finish beyond normal use. Instead, repeat the kinds of contact your household creates.
First, walk on the sample barefoot, in socks, and in the footwear you wear indoors. Notice the surface texture, edge profile, warmth, and underfoot feel. Then place a chair leg or stool on the sample and slide it lightly. Use the same felt pad or bare leg found in your home.
The walking and furniture checks reflect everyday use; the following checks separate scratches, impacts, surface spills, and moisture at joints. Try them on a spare piece:
- Rub a coin across an inconspicuous spot, then compare the mark with an untouched area under direct light.
- Drop keys or a canned good from a modest height to observe dents, chips, and finish damage.
- Set a damp glass on the surface, then inspect the ring after removal.
- Put a teaspoon of water near a joint or cut edge, checking it at 15, 30, and 60 minutes.
Together, these checks provide a realistic view of finish durability without simulating extreme abuse.
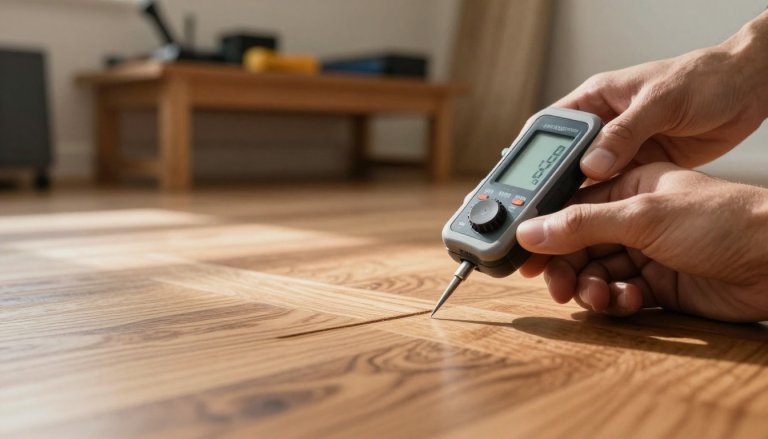
After the water test, wipe the sample dry and inspect the edge and backing again the next day. Note its moisture response and check the wear layer for clouding or other changes. Wood may show raised grain, darkening, or swelling. A vinyl plank can resist surface water well. Water reaching an unsealed perimeter, subfloor, or wall can still create problems. Water resistance is not the same as a waterproof installation.
For homes with dogs, use a clean dog nail or the edge of a plastic toy instead of a knife blade. For kitchens, add coffee or a drop of cooking oil, then clean it with the manufacturer-approved method. This gives you a more honest spill test than a dramatic scratch test with a fork.
Check the Construction Behind the Surface
Appearance matters, but construction helps explain how a floor may handle wear, moisture, and future repairs. Turn engineered hardwood flooring samples on their side. You should see a real hardwood wear layer over plywood layers or another core specified by the manufacturer. Solid hardwood has the same species through the board thickness.
A 3 mm veneer is worth asking about because it is more substantial than a thin face layer. Confirm the measurement on the product’s technical sheet. Still, the number alone does not promise a certain number of sanding cycles. Board condition, tongue depth, installation, stain color, and the refinisher’s assessment all matter.
Resilient flooring has a transparent wear layer above the printed design. A 20-mil layer equals 0.020 inches and is common in higher-wear residential and commercial products. However, thickness does not tell the whole story. Compare plank thickness, locking profile, core type, surface finish, warranty exclusions, and texture as well.
Ask the seller for the product’s technical sheet. For wood, check the Janka hardness rating of the species, while remembering that finish quality also affects scratch performance. For resilient flooring, ask whether the manufacturer provides Taber abrasion data, including the wheels, test cycles, and pass criteria. Raw abrasion numbers are only useful when the test method matches.
If you are weighing finish choices during a renovation, compare prefinished and site-finished hardwood before ordering. Factory-finished boards offer speed and consistency, while site finishing can help us blend repairs or match existing floors.
Match the Floor Plan to the Full Project Scope
The order of work matters when installing new flooring in Cumming during a kitchen, bathroom, or basement project. Complete demolition, framing, plumbing, and major cabinet work before installing finished flooring whenever possible. This protects new materials from job-site damage and helps us plan transitions properly.
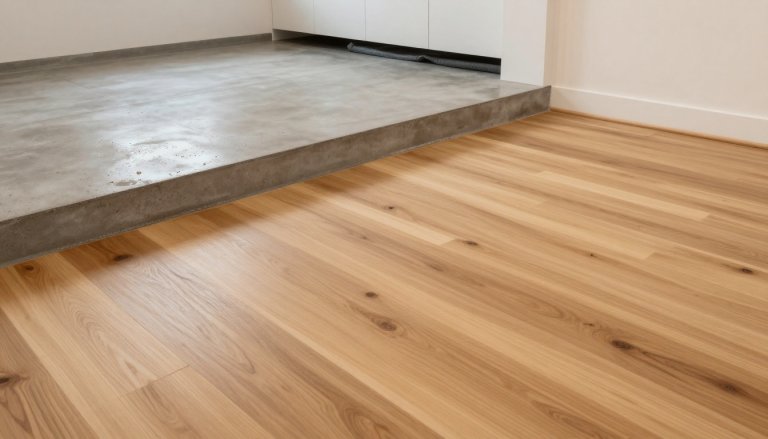
A hardwood floor company in Cumming should inspect more than a color sample. We check the subfloor, moisture risk, stair details, doorway heights, and transitions to existing hardwood floors. A hardwood floor sanding company in Cumming can determine whether worn boards need replacement or a new stain and finish.
As a hardwood floor company servicing Windermere and a remodeling company in Cumming, we coordinate flooring with the broader renovation. A kitchen remodeling company in Cumming must account for appliances, cabinet layout, and floor height. Homeowners searching for a bathroom remodeling contractor near me also need a flooring plan that suits moisture, tile transitions, and vanity placement.
For homeowners seeking a kitchen and bathroom remodeling company in Cumming, GA, or a basement finishing company near me, bring the flooring samples and mood board to the planning meeting. Together, they provide a shared basis for sample approval before ordering. Call (770) 906-4732 for a free in-home estimate. Show us any existing quote from another contractor, and we will do it at 5% less.
Frequently Asked Questions
How long should I test flooring samples before choosing a floor?
Leave each sample in the room for at least three days. This gives you time to view it in morning, afternoon, and evening light and to compare it with the room’s permanent finishes.
Where should I place flooring samples during testing?
Place samples flat on the actual subfloor or existing floor rather than on a counter or tabletop. Move them near windows, cabinets, doorways, furniture, and rugs to see how surrounding materials affect the color and texture.
How can I test a floor sample for durability?
Walk on it in your usual footwear, slide a chair with the same felt pad used at home, and test modest impacts, surface spills, and moisture near a joint on a spare piece. Avoid extreme abuse, since aggressive tests can damage finishes in ways that do not reflect everyday use.
What should I check on the construction of a flooring sample?
Review the wear layer, core or backing, plank thickness, locking profile, surface finish, texture, technical data, and warranty exclusions. For hardwood, also confirm the species and veneer thickness; for resilient flooring, ask about abrasion testing and the test method used.
Should flooring samples be compared with paint and cabinets?
Yes. Hold the samples beside wall paint, cabinets, countertops, tile, baseboards, curtains, and large upholstered pieces because undertones can change against different colors and materials. A simple mood board helps you judge the complete room rather than one finish in isolation.
Make the Decision After the Sample Has Lived With You
The best way to test flooring samples is to let them become part of the room for a few days. Living with them reveals more than a showroom display can.
A floor is easier to choose when you see both the visible finish and the construction beneath it. That extra time before ordering protects your budget and leads to a result you will still enjoy years later.