
Dustless hardwood floor sanding, what it really controls, what it doesn’t, and what to ask your contractor
If you’ve ever found fine wood dust on a window sill days after a project, you already know why dustless floor sanding gets people’s attention. The promise sounds simple: refinish a hardwood floor without turning your home into a dusty construction zone.
The reality is more useful, and more honest. Dustless systems can control most airborne sanding dust when the crew uses the right equipment and sets the space up correctly. But they don’t cancel out every particle, every smell, or every disruption that comes with hardwood floor sanding.
Below, we’ll walk through what dustless sanding really does, where it falls short, and the exact questions we should ask any contractor before the first abrasive pad hits the wood.
What “dustless” hardwood floor sanding actually means
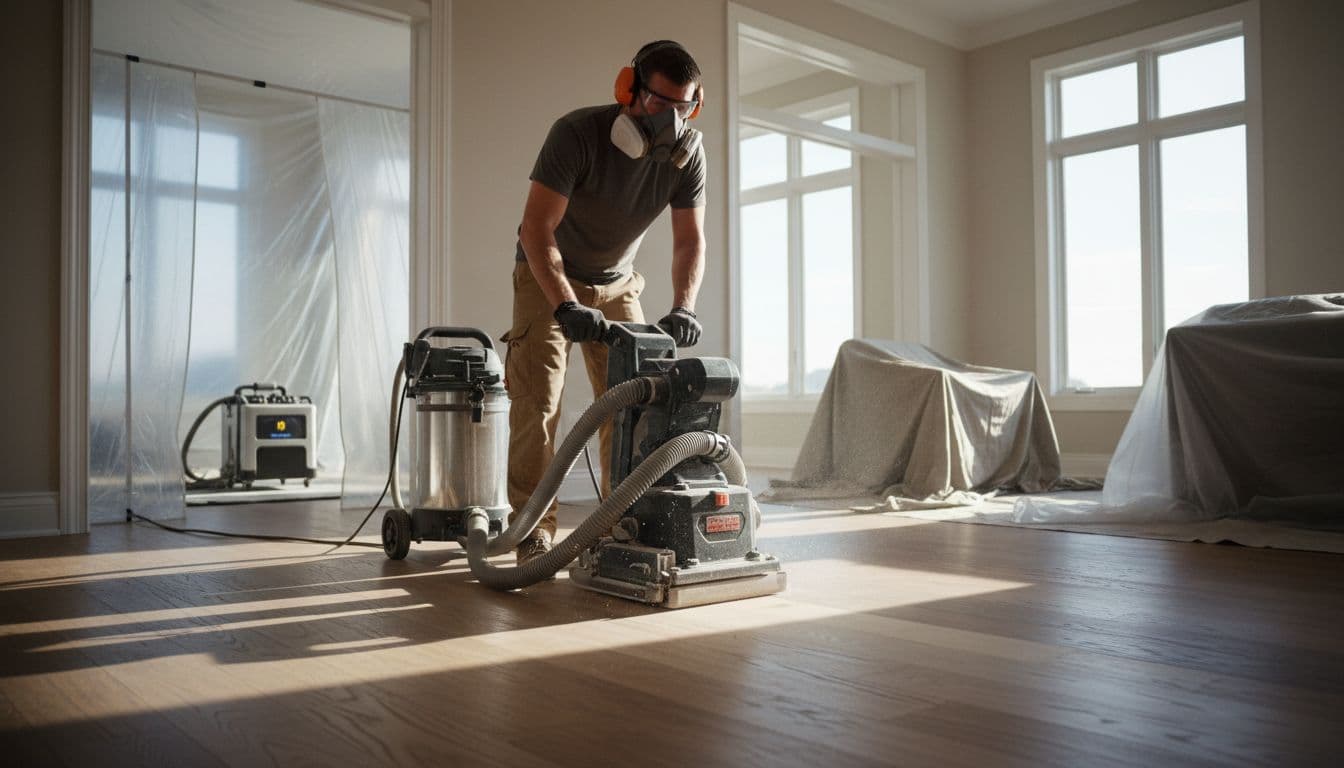
“Dustless” doesn’t mean “zero dust.” It means the sanding machines are connected to high-powered vacuums that capture dust at the source, before it floats around the room.
In a well-run job, the main sander (drum or belt), the edger, and even the buffer are paired with sealed hoses and strong extraction. Many contractors also add a separate air scrubber to pull remaining particles from the air while work is in progress.
If we want a deeper explanation of how these systems are designed to capture dust, this breakdown is helpful: Dustless Sanding Hardwood Floors: Why and How to Do It.
What dustless sanding controls well (and why it matters)
When the equipment and setup are right, dustless sanding helps in three practical ways.
Airborne sanding dust is reduced. The vacuum pulls a large share of the fine dust into a container instead of letting it cloud the room. That matters if we have kids, pets, allergies, or we simply don’t want dust settling into soft furniture.
Cleanup is faster and more predictable. There’s still cleanup, but it’s not the same as traditional sanding where dust drifts into hallways and collects in corners we never think to wipe.
Dust stays closer to the work zone. With smart containment (zip walls, taped door gaps, protected vents), the project feels more like a controlled workspace and less like a storm moving through the house.
Dust control also supports the bigger picture of hardwood floor benefits: a refinished wood floor is easier to clean than worn, porous surfaces, and it helps many homes look brighter and more updated without changing the footprint.
What dustless sanding does not control (the parts that surprise people)
Even great dust extraction has limits. Knowing those limits upfront keeps expectations realistic.
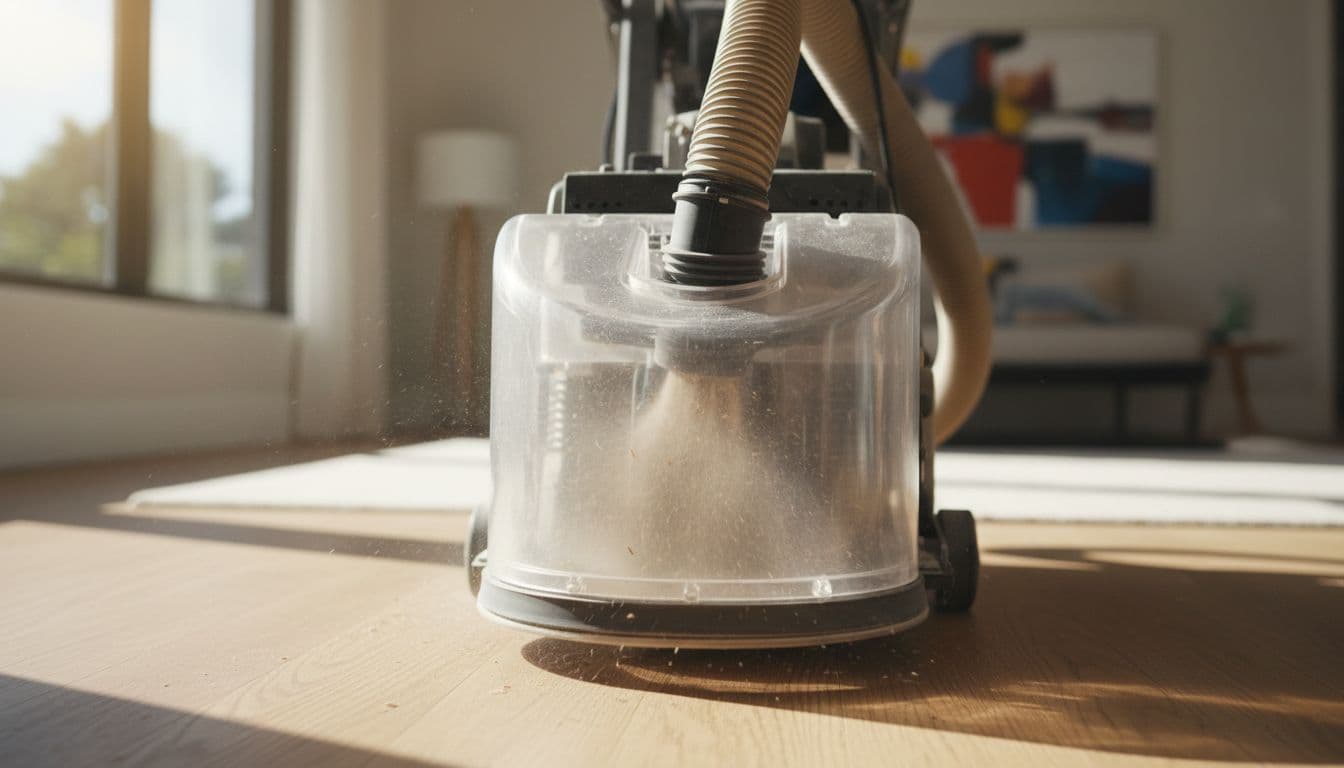
It doesn’t eliminate all dust, especially at edges and transitions
Edging around baseboards, stair noses, and tight corners creates opportunities for a little dust to escape. The same can happen where hoses flex, where seals are worn, or when the crew empties vacuum canisters.
That’s why “dustless” should be treated like “dust-controlled.” It’s a big improvement, not a magic trick.
It doesn’t remove odor or fumes from finishing products
Most complaints we hear after sanding aren’t about dust. They’re about smell. The finish (oil-based, water-based, or acid-cure where used) can create noticeable odor during application and cure. Dust extraction doesn’t address that.
If smell sensitivity matters in our home, we should talk about finish options, ventilation, and cure times before work begins.
It doesn’t reduce noise, vibrations, or access limits
Sanding machines are loud, and the work schedule can affect naps, work-from-home calls, and pets that don’t love strangers and noise. Dustless sanding won’t make the job quiet.
It doesn’t fix structural issues in the floor
Sanding can’t repair loose subfloor, moisture problems, or boards that have movement. If a hardwood floor squeaks due to subfloor issues, sanding won’t stop it. If boards are cupped from moisture, sanding may be limited or even risky until moisture is addressed.
The jobsite setup that makes dust control believable
A dustless sanding system is only as good as the crew’s habits. Before we sign anything, we should listen for practical steps, not marketing phrases.
Here’s what good preparation usually includes:
Containment: Plastic barriers at doorways, sometimes zip walls, and a clear plan for how the crew will move between rooms.
Vent protection: Taped-off HVAC registers and returns in the work zone, so dust doesn’t get pulled into ductwork.
Surface protection: Paper or plastic shielding where traffic will pass (hallways, stairs), plus protected adjacent rooms if we’re living in the home during the project.
PPE that matches the task: A real respirator is a good sign. A basic paper mask for hours of sanding is not.
If we want a clear overview of why equipment choice matters, this guide offers a solid explanation of dustless sanding systems and why contractors use them: Why You Should Use a Dustless Sanding System When Refinishing Hardwood Floors.
Questions to ask your contractor before hardwood floor sanding starts
The easiest way to avoid misunderstandings is to ask direct questions. We don’t need to grill anyone, but we should get clear answers.
Questions about dust control (the real “dustless” details)
- What machines are you using, and are all of them hooked to dust extraction? (Main sander, edger, buffer.)
- Do you use HEPA-rated filtration or a comparable fine-dust filter?
- How do you seal doorways and protect HVAC vents?
- Will you run an air scrubber, or is the vacuum system the only control?
- How do you handle cleanup at the end of each day?
Questions about scope, pricing, and “no surprise” items
This is where many projects go sideways. We should ask what’s included, in plain language.
- Does the quote include moving furniture, removing old flooring if needed, and reinstalling trim?
- What prep work is included (minor repairs, nail setting, transitions, underlayment where relevant)?
- What’s your plan for final cleanup (vacuuming, wiping horizontal surfaces, haul-away)?
A good contractor can describe an all-in approach without dodging. We should feel like the process is organized, and that we won’t be left with a half-finished edge detail or a room full of dust-coated furniture.
Questions about finish choices and schedule
- Which finish system are you recommending, and why?
- How long until socks, furniture, and rugs are safe to return?
- What humidity and temperature range do you need during curing?
- Will we need to leave the house during application, and for how long?
When sanding isn’t the best move (and we should talk about new flooring)
Sometimes a floor is too thin to sand again, has deep pet stains, has widespread board damage, or was previously sanded to its limit. In those cases, it can be smarter to install new flooring rather than forcing one more refinish.
This decision also ties into renovation timing. If we plan to remodel kitchen and bathroom to add to value of house, we should coordinate the sequence. Heavy cabinet work, appliance moves, plumbing changes, and tile dust can all impact wood floors. Often, it’s best to do the messy remodeling first, then refinish or install the final floor after.
At Cumming Floors, we help homeowners compare refinishing versus replacement in a straightforward way, looking at wear layer, species, subfloor condition, and the look you want. We also coordinate with a remodeling company when the project includes showers, tile, or other wet-area upgrades, so the timeline makes sense.
“Dustless” is a system, not a slogan
Dustless sanding is worth it when it’s paired with real containment, strong extraction, and a crew that treats your home like a lived-in space, not a worksite that can be hosed down later. It controls most sanding dust, but it doesn’t erase odors, noise, or the need for smart prep.
If we want the best outcome, we should ask specific questions, get an all-in scope, and choose a team that explains the process clearly. When we’re ready to refinish a hardwood floor, or decide whether replacement makes more sense, we can call Cumming Floors and get a clear plan with dust control we can actually trust.