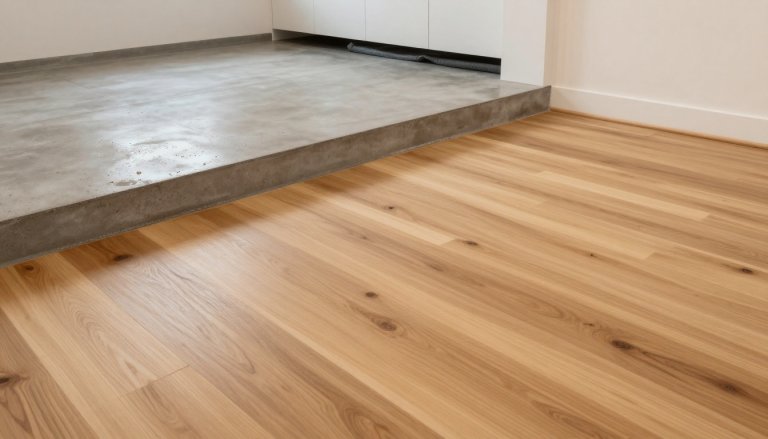
Moisture testing methods before installing hardwood in basements
A basement can feel like the perfect place for a warm, inviting hardwood floor. But below-grade spaces come with one big wildcard: moisture that moves through concrete, air, and framing like a slow leak you can’t see.
That’s why hardwood moisture testing isn’t a “nice-to-have” step. It’s the difference between a floor that stays flat and beautiful, and one that cups, loosens, or stains months later after you’ve already paid to install new flooring.
Below, we’re laying out the moisture testing methods we use and recommend before hardwood goes into a basement, plus how we turn those readings into practical install decisions.
Why basements challenge hardwood (even when the slab looks dry)
Concrete can look bone-dry and still be releasing water vapor. Think of a slab like a sponge that’s slowly breathing moisture upward. Add humid Georgia summers, cooler basement temperatures, and occasional plumbing surprises, and you get conditions that can push wood past its comfort zone.
When moisture is too high, common failures include:
- Cupping or crowning as boards swell unevenly
- Gaps that open and close with seasons
- Adhesive breakdown for glue-down installs
- Musty odor or mold risk under underlayment or sleepers
Hardwood still has real appeal in a finished basement. The hardwood floor benefits are hard to beat, natural beauty, long lifespan, and the ability to refinish in many cases. The key is proving the slab and the room are actually ready.
Start with a pre-install moisture plan (not just a single test)
Before we test, we like to get the basics right. Moisture readings mean more when the space is behaving like it will after the project.
Here’s what we look for first:
Water sources: active leaks, seepage, sump issues, wet foundation walls, or signs of past flooding.
Room conditions: stable HVAC or dehumidification, and consistent temperature and humidity.
Timeline reality: new concrete often needs time to dry, and coatings or old adhesives can change results.
Product and install type: solid vs engineered, glue-down vs floating, sleeper systems, and underlayment choices.
We also find that a pre-install visit saves people from guesswork. When the same specialist comes out, brings samples so you can see them under your lighting, measures carefully, and builds a quote around real site conditions, the plan gets clearer fast.
The three main moisture testing methods we use before hardwood goes in
Basement installs usually involve concrete. That means we’re testing the slab, and sometimes testing wood components too (like plywood subfloors or sleepers).
In-situ relative humidity (RH) testing in the concrete (ASTM F2170)
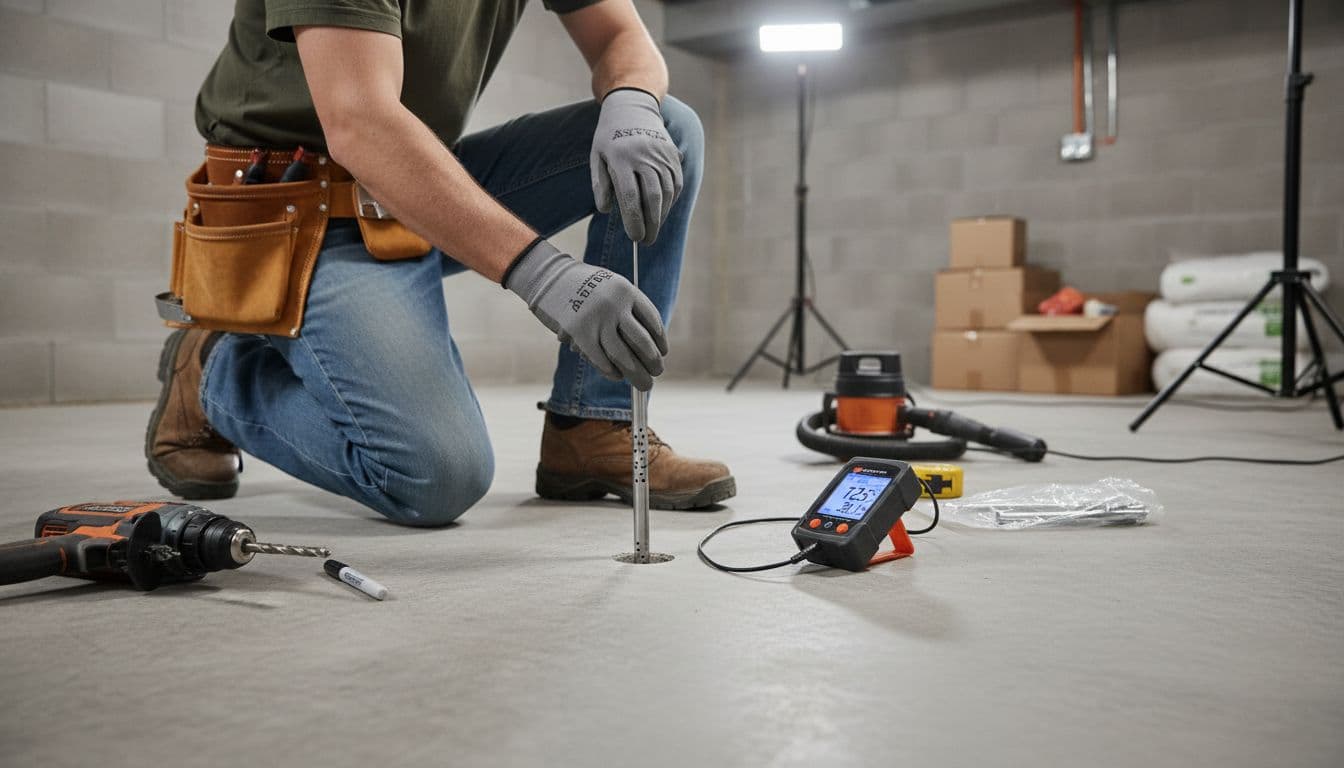
In-situ RH testing measures the moisture condition inside the slab, not just on top. We like it because it reflects what the concrete will keep releasing after the floor is installed.
At a high level, the process looks like this: small holes are drilled to a specified depth, probes are placed, and the slab is allowed to equilibrate before readings are taken. We’ll take multiple tests across the space, not just one corner, because moisture can vary a lot near exterior walls, plumbing runs, or a former crack.
We don’t treat RH numbers as universal. We match readings to the hardwood and the installation system. Many manufacturers set specific RH limits for adhesives, underlayments, and moisture-control coatings, so we follow those requirements.
For a clear overview of common approaches to slab moisture testing, we often reference How to Test Moisture in Concrete Floors.
Calcium chloride (MVER) testing on the slab surface (ASTM F1869)
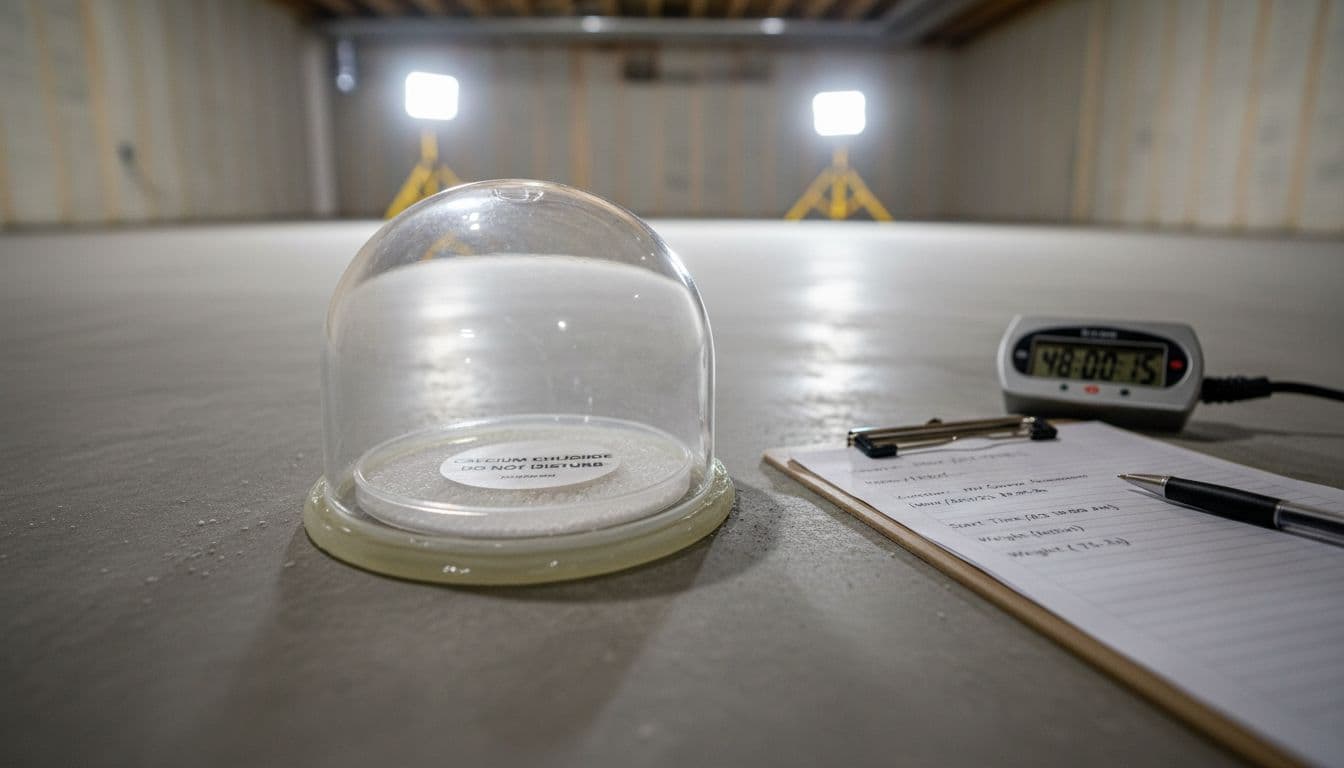
Calcium chloride testing estimates moisture vapor emission rate (MVER) from the slab surface over a set time. You’ll see a small dish and a sealed plastic dome placed on properly prepped concrete. The dish’s weight change is used to calculate vapor emission.
This method can be useful, but it’s sensitive to surface conditions. Paint, curing compounds, old adhesive residue, and even how the slab was prepped can skew results. We also pay close attention to ambient temperature and humidity during the test because those conditions affect emissions.
We’ll use calcium chloride results as part of a bigger picture, especially when we’re comparing installation options or confirming whether a mitigation step is needed.
Moisture meters for wood subfloors and sleeper systems (pin-type)
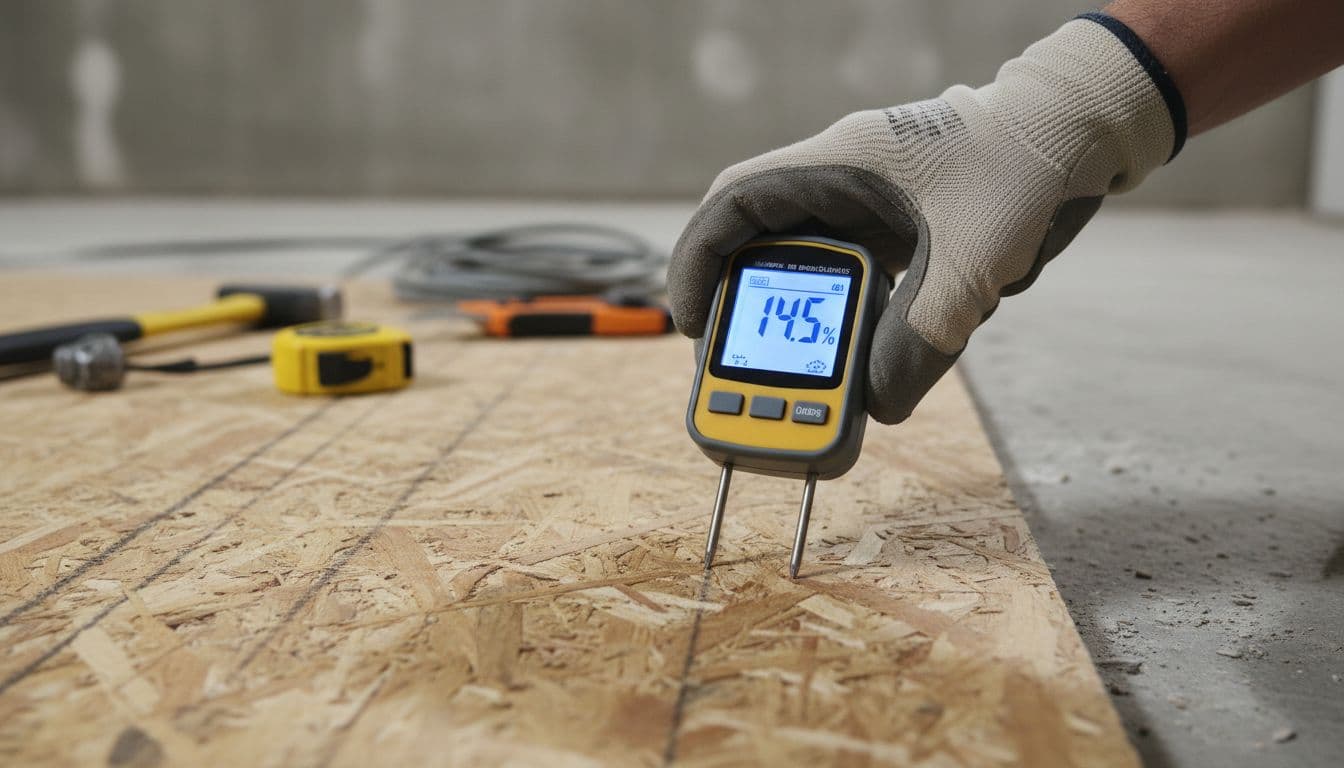
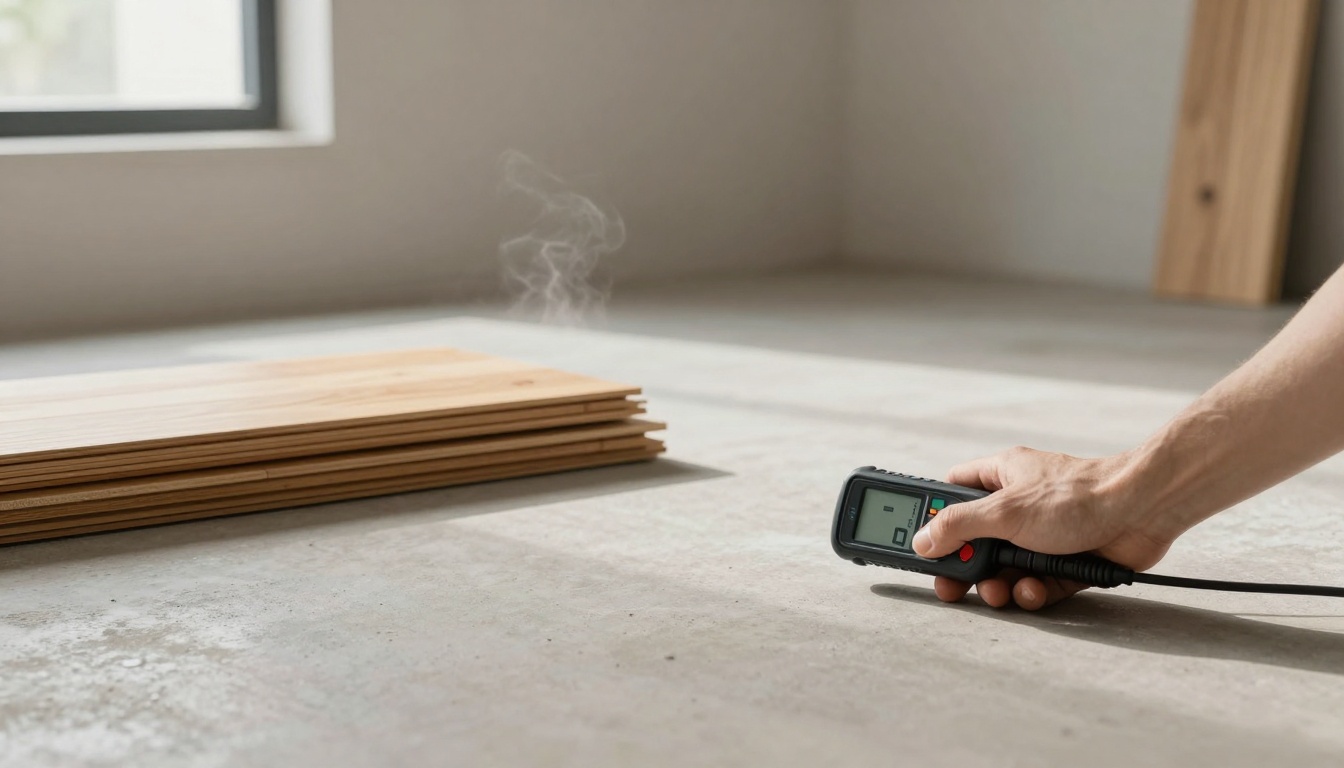
If the basement plan includes a plywood subfloor, sleepers, or any wood layer, we test that wood too. A pin-type moisture meter gives a direct moisture content reading in the material, which helps us avoid trapping wet wood under finished flooring.
Our goal is consistency, not perfection. We look for readings that are:
- Stable across the room, not swinging wildly between areas
- Close to the hardwood’s moisture content, usually within a few percentage points
- Aligned with manufacturer limits for the wood product and system
We also use meters as a scouting tool to find “hot spots” near exterior walls, floor drains, or former water damage.
How we turn test results into an install plan that lasts
Moisture testing is only helpful if it changes what we do next. In basements, these are the most common decisions moisture results drive:
Product choice: engineered hardwood often handles basement conditions better than solid wood.
Install method: floating systems can reduce risk in some cases, while glue-down needs moisture numbers that fit the adhesive’s limits.
Moisture control: a manufacturer-approved vapor retarder, underlayment, or full moisture-mitigation coating may be required.
Timing: sometimes the best move is waiting, drying, and re-testing.
If you want a deeper technical perspective on what can go wrong over slabs, Installing Wood Flooring Over Concrete Slabs is a helpful industry read. For standards-focused guidance on moisture testing expectations, we also point people to the MFMA concrete moisture testing recommendation.
What we do when a basement moisture test fails
When moisture readings come back too high, we don’t “push through” and hope for the best. That’s how basements become expensive lessons.
Common next steps include:
Fixing the source: drainage, gutter discharge, grading, plumbing, or HVAC issues.
Drying the space: controlled dehumidification and stable HVAC, then re-test.
Choosing the right barrier: a tested, approved mitigation system matched to the readings.
Changing materials: if the basement can’t be controlled, we may recommend a different floor type that fits the environment better.
For a plain-language explanation of why hidden moisture causes failures after the fact, The Hidden Culprits Causing Your Flooring Failure breaks it down well.
How basement moisture affects hardwood floor sanding and remodel projects
Many homeowners call us for hardwood floor sanding and refinishing, and moisture still matters. If a basement stays damp, even a well-finished floor can struggle with seasonal movement, edge swelling, or finish stress. We like to schedule sanding and coating when indoor conditions are steady, not during wild humidity swings.
Moisture planning also ties into bigger home upgrades. If you’re planning to remodel kitchen and bathroom to add to value of house, it’s smart to think about water control across the whole home. Bathrooms above basements, laundry rooms, and plumbing walls can all influence basement humidity and leak risk. Getting moisture under control protects the new work and the floors under it.
Conclusion: test first, then build the floor
Basement hardwood can be a great upgrade, but only when we respect what concrete and humidity can do. The right hardwood moisture testing method (or combination of methods) gives us facts, not guesses, and helps us choose products and install systems that hold up.
If you want a free estimate, call (770) 906-4732. If you show us any existing quote from another contractor, we’ll beat it by 5%, and we’ll help you choose a basement flooring plan you can feel good about for years.