
Refrigerator Ice Maker Leak on Wood Floors: Tiny Warning Signs, Hidden Water, and the Right Dry-Out Before Boards Cup
A refrigerator ice maker leak rarely shows up as a dramatic flood. It’s usually a slow, quiet problem, a few ounces at a time, slipping under the fridge and into the seams of a wood floor. By the time we notice a musty smell or a slight “wave” in the boards, water damaged wood floors are already forming as the water’s been traveling.
Wood floors don’t fail all at once. They send small signals first. If we catch them early, we can often dry the area correctly with the right dry-out before boards cup to prevent cupping, staining, and long-term subfloor damage.

Tiny warning signs we shouldn’t ignore (even if the floor “looks fine”)
The early clues of a refrigerator leak from the ice maker are easy to brush off because they don’t look like water damage at first. We might only notice that a sock feels damp near the fridge, or that the floor looks slightly dull along one plank edge.
Pay attention to these subtle changes:
- A faint sweet or musty odor from mold growth near the fridge, especially after the door’s been closed overnight.
- Finish haze or a cloudy patch from condensation that keeps coming back after cleaning.
- Darkened seams between floorboards, like the lines got “inked” in.
- A soft creak or squish when we step in the same spot.
- Baseboard swelling at the wall behind or beside the refrigerator.
If we’re seeing any of those, we don’t wait for the boards to visibly curl. We pull the fridge out and confirm the source. Common causes include a loose water supply line fitting, a cracked plastic water pipe, pinhead sized holes in copper, a clogged defrost drain, or a failing inlet valve. This overview of common refrigerator leak causes is a helpful starting point for what to look for.
Once we stop the water, we still have to find where it went. Water doesn’t stay politely in the open. It follows gravity, seams, and gaps like it knows the floor plan.
Where water hides after an ice maker leak (and why cupping starts there)
When water escapes under a refrigerator, it tends to run to the lowest point, then spread sideways under baseboards and into the edges of flooring. In many Cumming kitchens, the most damaged area isn’t the visible puddle, it’s the “shadow zone” of hidden moisture under cabinets and trim.
Here’s where we often find trapped moisture:
| Hiding spot | What we usually notice first | Why it matters |
|---|---|---|
| Under the fridge footprint | Slight rocking, damp dust, rusty rollers | Water sits in a low-evaporation pocket |
| Along plank seams | Dark lines, raised edges | Seams act like tiny channels into the wood |
| Under baseboards and shoe molding | Paint bubbles, swollen trim | Moisture wicks into drywall and framing |
| Under toe-kicks near cabinets | Musty smell, warm damp air | Drying is slower with blocked airflow |
| In the subfloor under hardwood | Discoloration and warping, squeaks, loose boards | Moisture in the subfloor stays wet longer than the top, especially in engineered wood flooring where delamination can occur |
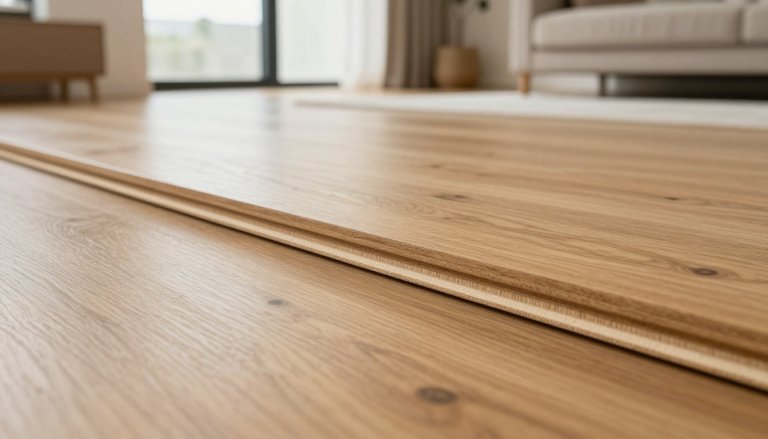
Cupping happens when the bottom of a board holds more moisture than the top. The board curves upward at the edges like a shallow taco. The tricky part is timing. If we sand a cupped floor too early, we can flatten it while it’s still wet. When it later dries, it can “reverse” and crown. The wood industry has seen this play out many times, including cases where drying methods and building conditions matter as much as the leak itself, as described in this cupping troubleshooting article.
That’s why the dry-out plan matters more than quick cosmetic fixes.
The right dry-out before boards cup (or before cupping gets locked in)
After we stop the leak, our goal is water damage remediation: dry the wood and the subfloor evenly. Think of it like drying a thick towel; drying the surface is easy, drying the middle takes patience.
Here’s the approach we trust:
- Shut off water and confirm it’s fixed. We check the water supply tube, disconnect the fridge supply if needed, recommend replacing plastic lines with braided stainless steel ones for better durability, then watch for any fresh moisture.
- Pull the refrigerator out and remove the toe-kick (if possible). Airflow changes everything.
- Dry what we can see, then dry what we can’t. We wipe standing water, then run fans to move air across the floor, not straight down into one spot.
- Add dehumidification, not heat blasting. In February 2026, indoor air in North Georgia can swing from dry to damp fast. A dehumidifier pulls moisture out without cooking the finish or stressing boards.
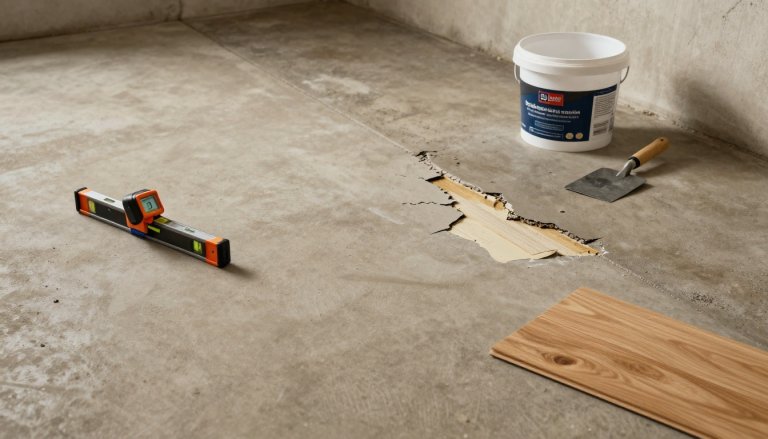
- Check moisture, don’t guess. We compare readings in the wet area to “normal” boards nearby. We usually want the damaged area close to the rest of the floor before we talk sanding or replacement.
We also avoid common mistakes that feel logical in the moment:
- Don’t trap moisture under rugs, taped plastic, or heavy mats.
- Don’t keep mopping “to clean it up.” More water is the last thing the floor needs.
- Don’t rush to refinish until moisture levels settle. If we’re planning a professional reset, our hardwood floor refinishing guide explains what timelines should look like when water exposure is part of the story.
- Don’t skip installing a water leak detector; it prevents future headaches.

After the dry-out: when sanding works, when replacement is smarter, and when remodel timing saves money
Once the floor is dry, we decide based on what the wood did, not what we wish it did. Light cupping often relaxes with proper drying. Deep staining, delamination (in engineered wood), or repeated leaks can push us toward professional restoration or full replacement.
If the structure is sound and the damage is mainly surface-level, hiring a hardwood floor sanding company Cumming homeowners trust can bring the wood flooring back without changing the whole layout. For Windermere homeowners, our page on hardwood floor sanding Cumming walks through what to expect, including questions to ask before we start. Check your homeowners insurance, as it may cover the cost of repairs.
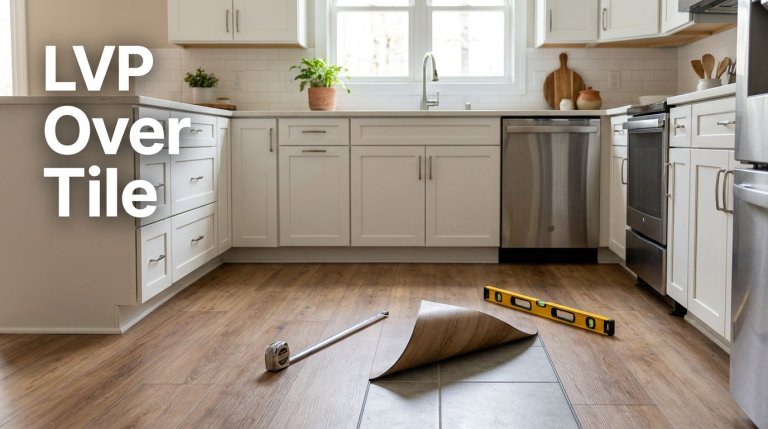
If boards are swollen, unstable, or the subfloor took a hit, we may recommend you install new flooring Cumming families can live on without worrying about the next drip. In leak-prone spots like kitchens, many homeowners choose more water-tolerant surfaces, and we often point them to luxury vinyl plank options for a clean wood-look with less stress.
Leaks also expose bigger kitchen issues, like failing shutoff valves, weak supply lines, or old cabinets with hidden rot. If the fridge wall, base cabinets, or adjoining bath shows moisture, it may be time to coordinate trades. As a remodeling company in Cumming, we handle water damage restoration, floors and remodel planning together, and we can work alongside your plumber or appliance tech. Homeowners who want one point of contact often ask for a kitchen remodeling company Cumming residents can trust, or a kitchen and bathroom remodeling company Cumming Ga that can keep materials and timing coordinated. Bathrooms matter too, especially when water has traveled under shared walls, and our bathroom remodeling Cumming page covers durable finishes that stand up to real use.
Whether you’re calling a hardwood floor company Cumming neighbors recommend, or a hardwood floor company servicing Windermere, the right plan starts with moisture reality, not cosmetic promises.
Conclusion: stop the leak, dry it right, then pick the fix that lasts
A refrigerator leak such as an ice maker leak doesn’t need to ruin a wood floor, but it does demand quick, careful drying before boards cup and stay that way. When we catch the tiny warning signs, find the hidden water, and let the floor reach a stable moisture level, we protect both the wood and the subfloor underneath.
For free estimates on your refrigerator water line leak, call (770) 906-4732. If you show us any existing written quote from another contractor, we’ll do it at 5% less for the same scope.