Shower Pan Leak Under Tile: Early Signs, No-Guess Testing, and the Rebuild Order That Works
A shower pan leak under tile rarely starts with a dramatic puddle. It usually starts quietly, with a faint smell, a soft spot, or a stain that “wasn’t there last month.” Meanwhile, water keeps doing what it does best, finding the easiest path into wood, drywall, and flooring.
If we catch the warning signs early, we can limit the damage. Even better, we can confirm the leak with simple, repeatable tests instead of assumptions. Then, if a rebuild is needed, the right order keeps the new shower from becoming a repeat problem.

Tile and grout look solid, so it’s easy to assume they block water. They don’t. Tile is the wear surface; the waterproofing underneath is what protects the house.
The biggest gotcha: tile is not waterproof, even when grout looks perfect.
Most shower pan leaks show up outside the shower first because the water escapes below the surface and travels. Here are the signs we take seriously, even when the shower “looks fine”:
Before the table, one quick reminder: a single sign does not prove a pan failure. The pattern matters.
| What we notice | What it often points to | What we check next |
|---|---|---|
| Musty smell near the shower | Water trapped in framing or subfloor | Baseboards, vanity toe kick, adjacent flooring |
| Dark ceiling spot below the shower | Ongoing leak, often at the pan or drain | Access below, moisture reading, stain edges |
| Loose floor tiles or hollow sound | Saturated mortar bed or movement | Tile bond, slope, water path at perimeter |
| Cracked grout at corners | Movement, poor waterproof detail | Changes of plane, curb, bench joints |
| Swollen trim or bubbling paint outside shower | Water wicking out of the shower footprint | Drywall moisture, base plate condition |
| Cupping or dark staining in nearby wood floors | Water reaching hardwood or subfloor | Board moisture, underlayment, subfloor integrity |
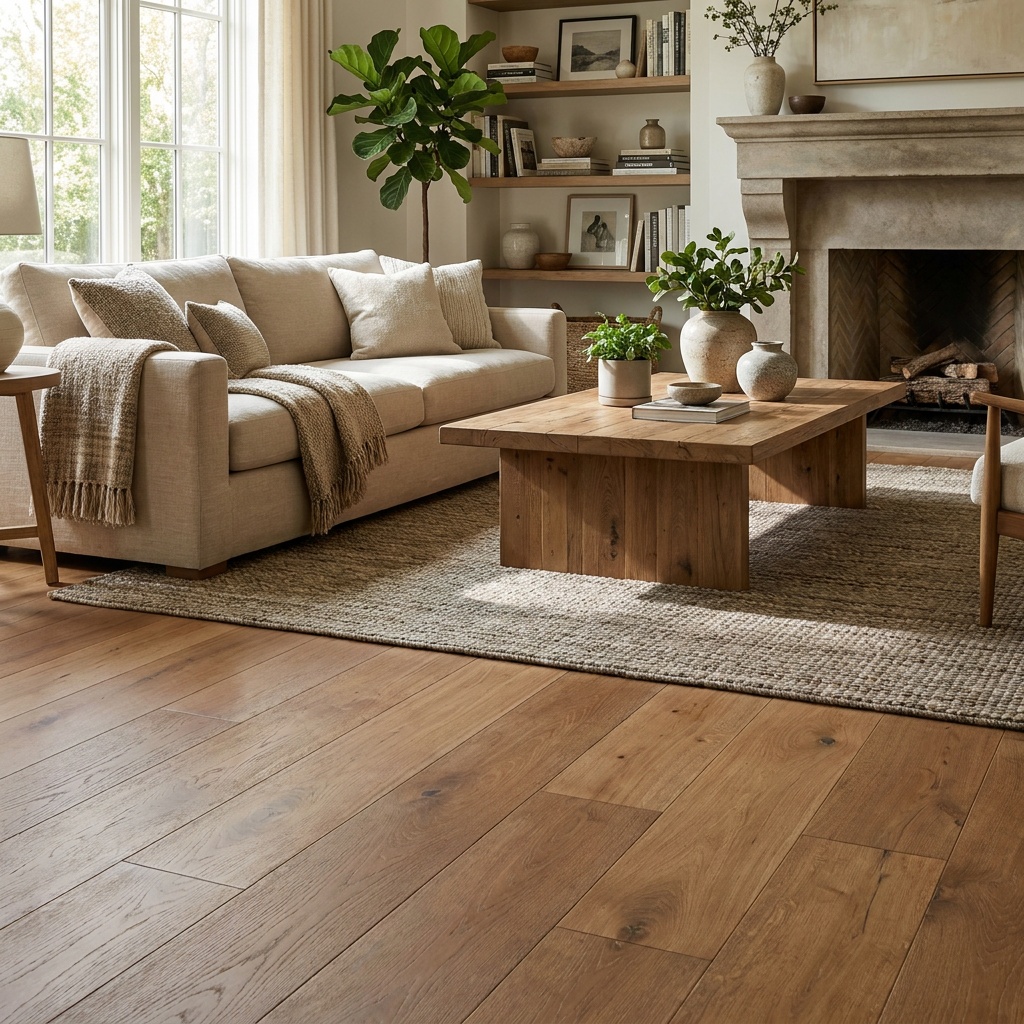
When water reaches wood, it stops being “just a shower issue.” Homeowners often call us as a hardwood floor company Cumming trusts, because the first visible damage shows up on the flooring outside the bathroom. If the boards start to cup or turn dark, we may also need a hardwood floor sanding company Cumming homeowners rely on, but only after we fix the source and the wood is dry. Sanding a damp floor can lock in problems.
For a deeper look at what refinishing can and cannot fix after moisture exposure, our hardwood floor refinishing guide helps set expectations.
How we confirm a shower pan leak without guessing (simple isolation tests)
Guessing wastes money because the wrong repair often looks “successful” for a few weeks. Caulk and grout touch-ups are the classic example. They may slow surface water, but they can’t fix a failed pan liner, a bad drain connection, or a missing waterproof layer.
Instead, we isolate the leak source. Think of it like turning off breakers one by one until the flicker stops.
Step 1: Rule out supply and valve leaks
First, we run the shower briefly and watch for water at the valve trim, shower arm, and behind the wall if there’s access. A supply leak can drip even when nobody is showering, so we also pay attention to stains that grow on days the shower was not used.
Step 2: Rule out door and splash leaks
Next, we run water aimed at the door sweep and corners, then check the outside floor. If the puddle only appears with the door spray, the fix may be enclosure and seal related, not the pan.
Step 3: Do a controlled shower pan flood test
A true pan test is simple: plug the drain, fill the base, mark the waterline, and wait. If the water drops and there’s no evaporation explanation, the pan is leaking.
For a plain-language walkthrough of the method, see this older but still useful guide on how to test for a shower pan leak. If we want a visual, this step-by-step shower pan test video shows the same idea using common tools.
We also like adding a small amount of dye to the test water when we have access below. Dye makes the path obvious.
Step 4: Measure moisture, don’t “feel” for it
Hands can’t detect moisture inside a wall cavity. We use moisture readings at baseboards, drywall edges, and the floor outside the shower. If the shower sits over a basement or crawl space, checking from below often tells the story fast.
If there’s widespread damage, homeowners sometimes ask about insurance. Documentation matters, so this overview on how shower pan leaks can spread water damage is a helpful perspective on why early proof helps.

Once the pan fails, a patch rarely holds long term. The rebuild has to follow a strict order because each layer supports the next. Skip one step and the shower can trap water like a sponge.
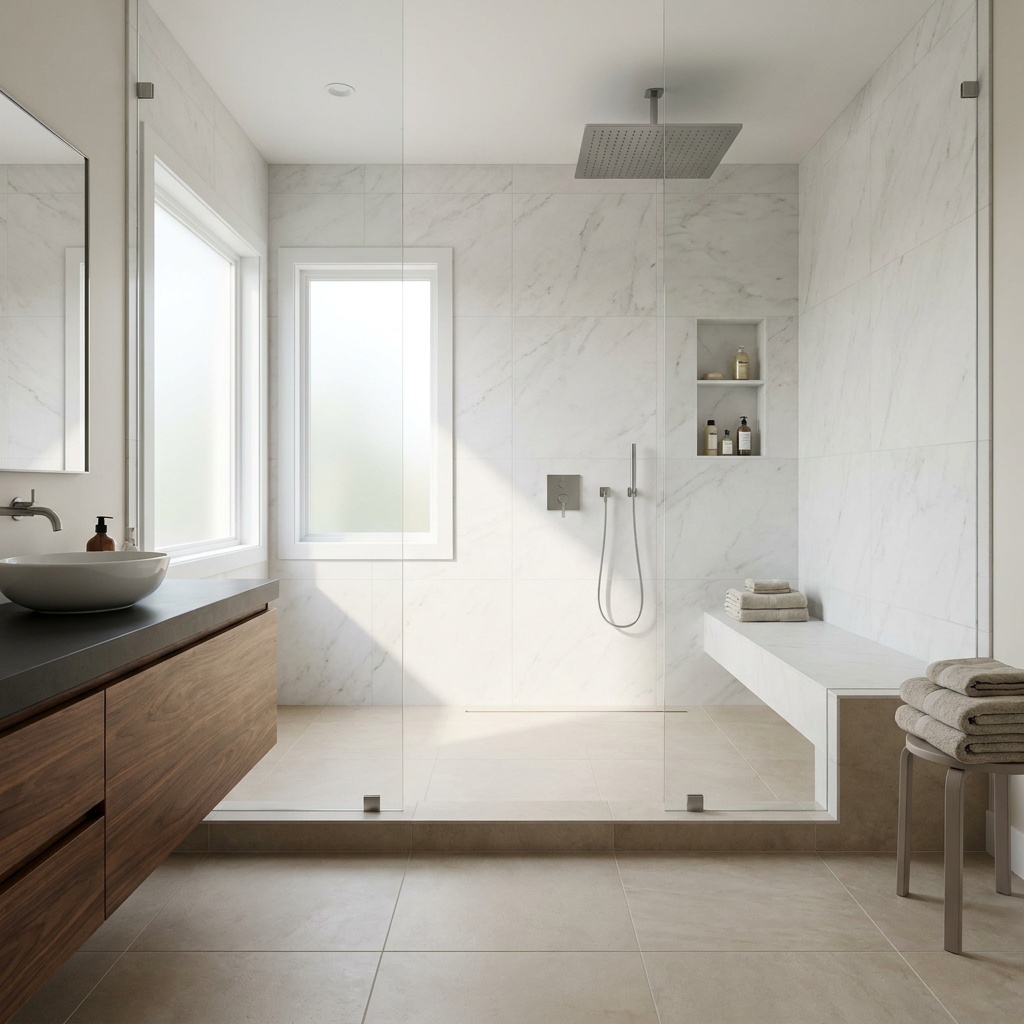
We rebuild tile showers as a system, not a stack of materials. Here’s the order we follow so the waterproofing does the real work:
- Protect the home and open the right areas: We cover floors, isolate dust, and remove only what we must, while still exposing the full pan and curb.
- Demo to sound structure: We remove the pan, wet wall board, and any rotted subfloor until framing is clean and firm.
- Fix framing and subfloor first: We repair joists, replace damaged plywood, and stiffen bounce. Tile hates movement.
- Set the drain correctly: The drain type must match the waterproofing method, and it has to sit at the right height.
- Build slope toward the drain: Flat pans fail because water sits. Slope is not optional.
- Install the waterproofing layer: This can be a traditional liner below mortar or a surface-applied waterproof system. Either way, seams and corners must be detailed with care.
- Protect drainage paths: We keep weep paths open in traditional systems so trapped water can escape instead of soaking the bed.
- Flood test before tile: We test the waterproofing, then fix issues while everything is still visible.
- Set tile with the right materials: We use mortar suited for wet areas and keep movement joints where they belong.
- Grout, seal where appropriate, and caulk changes of plane: Grout is not the waterproof layer, but good finishing details reduce surface water intrusion.
When a shower pan leak has already affected the room, we often coordinate the whole bathroom update so the finished space is cohesive. Our bathroom remodeling Cumming GA page lays out how we plan tile work, durable floors, and clear pricing.
Also, water from a failed shower can push homeowners into bigger choices. Sometimes we refinish; other times we install new flooring Cumming homeowners choose for wet-prone areas. If the damage reaches beyond tile, we can stage repairs so floors and trim go back once, not twice.
Conclusion: stop the leak first, then rebuild with a system
A shower pan leak under tile is like a slow drip behind a painting, quiet until it becomes expensive. When we watch for early signs, confirm the source with a real pan test, and rebuild in the correct order, the fix lasts.
If we’re dealing with damage beyond the shower, it helps to work with one team for the whole plan, from tile to wood flooring to adjacent spaces. As a remodeling company in Cumming, we handle showers, floors, and updates homeowners expect from a kitchen and bathroom remodeling company Cumming Ga, including projects that also involve a kitchen remodeling company Cumming families trust. We also serve nearby neighborhoods as a hardwood floor company servicing Windermere when water reaches wood.
Call (770) 906-4732 for free estimates. If you show us any existing quote from another contractor, we’ll do it at 5% less for the same scope. For homeowners also planning floor recovery, our guide to hardwood floor sanding Cumming explains what to expect once everything is dry and stable.