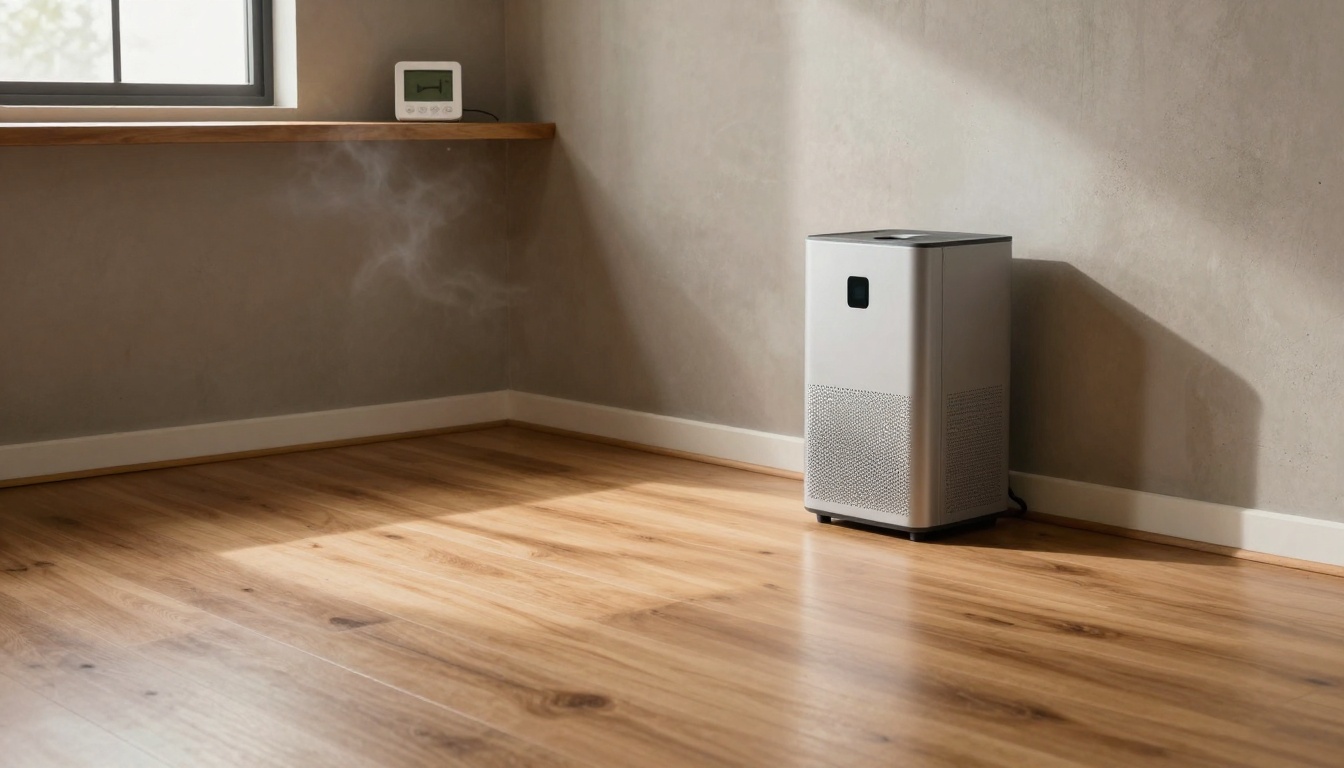
Basement Humidity Control Plan for Wood Floors: Dehumidifier Sizing, Settings, and Placement (2026)
A basement can look dry and feel comfortable, yet still be humid enough to stress a hardwood floor. Moisture doesn’t always show up as puddles. It often shows up later as cupping, gaps, squeaks, or a floor that suddenly won’t sit flat.
If we want wood floors to last below grade, we need a repeatable basement humidity control plan. That means picking the right dehumidifier size, setting it correctly, placing it where it can actually move air, and tracking results with a hygrometer instead of guessing.
Why basement humidity is different (and why wood reacts fast)
Basements fight moisture from several directions at once: damp soil around the foundation, concrete that “breathes,” seasonal groundwater changes, and humid outdoor air that sneaks in when doors open.
Wood is a bit like a sponge with a memory. It expands when it absorbs moisture and shrinks when it dries. That movement is normal, but when humidity swings are big, wood movement gets big too.
That’s the tradeoff of many hardwood floor benefits: natural warmth, long life, and the option to refinish, but it needs steady indoor conditions to stay stable.
Our target numbers: humidity and temperature that protect wood
For most homes, we aim to keep basement relative humidity in a tight band year-round. Too high invites mold and floor movement. Too low can dry wood out and open gaps.
A simple target range that works well for wood floors:
Basement conditionGood range for wood floorsWhat it preventsRelative humidity (RH)40% to 50%Cupping, swelling, musty odorsTemperature60°F to 75°FCondensation, “clammy” air
We also like using a basic digital hygrometer in the basement and another upstairs. The goal isn’t perfection, it’s consistency.
Dehumidifier sizing for basements with wood floors (simple, not sloppy)
Dehumidifiers are rated by how many pints of water they remove per day. The “right” number depends on more than square footage: ceiling height, how damp the basement is, how often doors are opened, and whether you’re dealing with laundry, a bathroom, or a leaky foundation.
If we’re choosing a portable unit, we start with basement size, then adjust based on conditions:
- Dry, finished basement: start around 0.3 to 0.5 pints per square foot per day rating range (often 30 to 50 pint units for average spaces).
- Damp, musty, or partially finished: step up a size.
- Wet walls, frequent condensation, or active seepage: a bigger unit is usually required, and we should fix the water entry too.
If we’re considering a whole-home solution, sizing gets more technical. This guide on whole-home dehumidifier sizing is a helpful overview of why load changes matter (not just square footage). For portable units, Sylvane’s breakdown of basement dehumidifier sizing is also a useful reference when we’re comparing pint ratings and coverage claims.
Here’s a practical rule-of-thumb table we use as a starting point for finished basements, then we confirm with real RH readings:
Finished basement sizeTypical starting pint ratingUp to 500 sq ft30 to 40 pints/day500 to 1,000 sq ft40 to 50 pints/day1,000 to 1,500 sq ft50+ pints/day or two units
If we’re planning to install new flooring in a basement, we don’t size “just enough.” We size for the worst month of the year, because that’s when wood gets punished.
Best dehumidifier settings for wood floors (and what to avoid)
Most people set a dehumidifier once and forget it. That’s how basements drift into 55% to 65% RH without anyone noticing.
We prefer these settings for wood-floor protection:
Setpoint: Start at 45% RH. If the basement stays stable with no musty smell, we might relax it to 50% RH.
Mode: Use auto with a humidistat, not continuous, unless you’re drying after a water event.
Fan speed: Higher fan speeds often help mix air, but noise matters in finished spaces.
Drainage: Use a hose to a floor drain or sink if possible. Full buckets lead to downtime.
For everyday operation tips like keeping airflow clear and cleaning filters, Consumer Reports has a solid overview on getting the most from your dehumidifier.
One caution: don’t chase the lowest RH number. Running a basement at 30% can dry wood too far, especially if the main floor is kept much higher.
Dehumidifier placement in a basement (the difference between “running” and “working”)
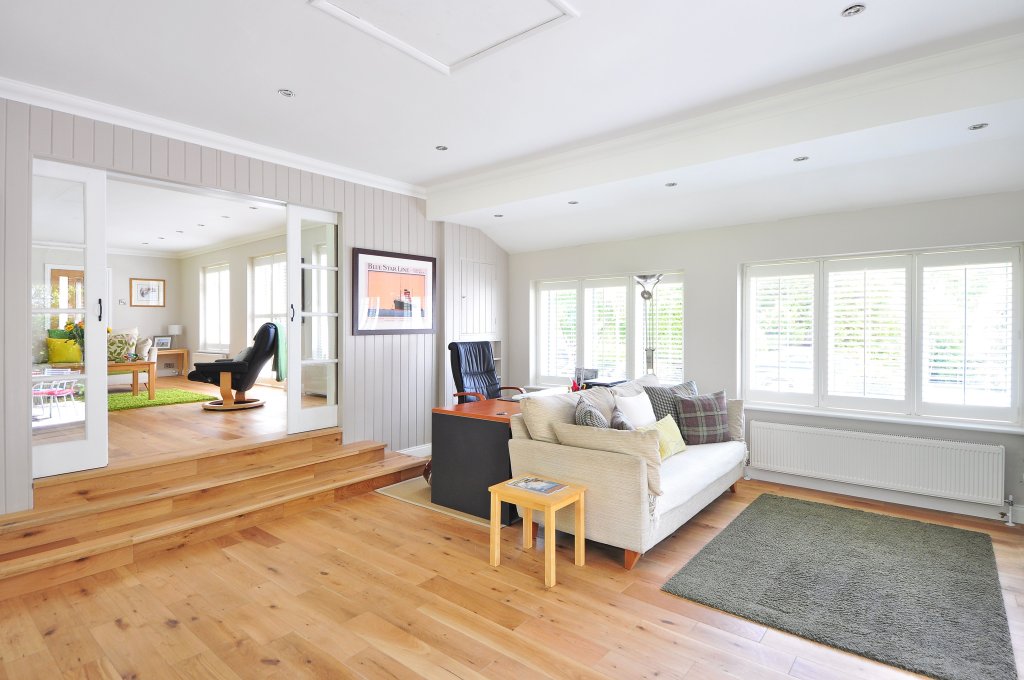
Placement is where most setups fail. A unit can be powerful, but if it’s shoved into a corner behind boxes, it mostly dries the air right around itself.
We place units using these rules:
Give it breathing room: Keep 12 to 18 inches of clearance from walls and furniture, especially at the exhaust.
Avoid dead corners: Corners trap damp air and starve the unit of circulation.
Put it where air can travel: Near the center of the basement or along a main path is usually better than against a back wall.
Plan the drain first: If the hose run is messy or uphill, it won’t get used. Neat, gravity-fed drainage keeps the system running.
Keep doors open (when possible): If the basement has rooms, open doors help equalize humidity.
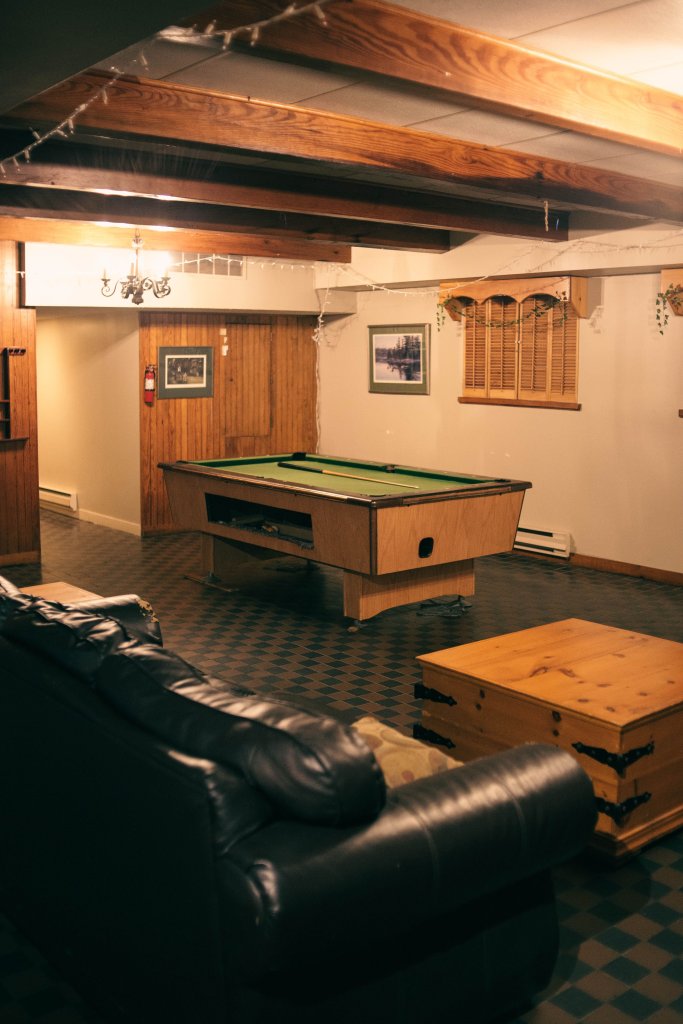
The full basement humidity control plan (beyond the machine)
A dehumidifier is a tool, not a cure. If we want stable wood floors, we tighten the whole moisture story:
Stop bulk water: Downspouts should discharge away from the home, and grading should slope away from the foundation.
Seal air leaks: Rim joists, utility penetrations, and old windows can pull in humid summer air.
Check condensation points: Cold water pipes and uninsulated HVAC ducts can “rain” in summer.
Use a hygrometer you trust: We like units that log highs and lows so we can spot trends.
Keep airflow moving: A supply vent, a return path, or even a small fan can prevent stagnant pockets.
If RH won’t drop below 55% with a correctly sized unit, we treat that as a signal. Something bigger is going on: air leakage, water entry, or a unit that’s undersized for the load.
If humidity already damaged the floor: don’t rush hardwood floor sanding
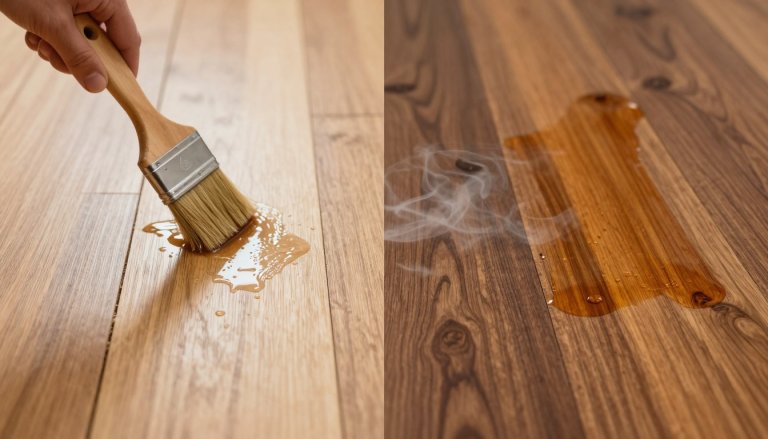
Cupping and crowning can look like a sanding problem, but it’s often a moisture problem first. If we sand too early, the floor can flatten temporarily, then move again when conditions change.
Our approach is simple:
- Stabilize humidity first (often several weeks).
- Confirm subfloor moisture and room RH are stable.
- Then decide whether repair, board replacement, or hardwood floor sanding makes sense.
In many cases, once humidity is controlled, the floor relaxes closer to flat on its own. That can save money and preserve floor thickness for future refinishing.
Planning a basement floor, plus kitchen and bath upgrades (without moisture surprises)
Basement projects rarely happen alone. Many homeowners update floors while also planning to remodel kitchen and bathroom to add to value of house. That’s smart, but timing matters. Big remodels can change indoor moisture loads (new showers, more cooking, different HVAC patterns).
If we’re coordinating multiple upgrades, we can align them with the right pros and scopes, like:
- Flooring installation planning with a Cumming hardwood floor installer
- Storage and surface upgrades like custom kitchen countertops installation
- Moisture-smart bath updates through luxury bathroom remodeling designs
- Larger project planning via comprehensive house renovation services
We also like an “in-home first” workflow: look at real lighting, real airflow, and real moisture readings before final decisions. Samples and measurements taken on-site lead to fewer surprises and cleaner quotes.
Conclusion: make humidity boring, and wood floors stay beautiful
Basement floors don’t fail all at once. They fail one humid week at a time. When we set a clear RH target, size the dehumidifier for real conditions, and place it for airflow, basement humidity control becomes routine, and wood stays steady.
If we’re planning a basement wood floor, repairs, or refinishing, we can call (770) 906-4732 for a free estimate. If you show us any written quote from another contractor, we’ll do it 5% less.