Basement subfloor prep checklist for wood floors, fixing low spots, cracks, and old adhesive
Basements are great for extra living space, but they’re also where floors fail first. Moisture sneaks in, concrete moves, and yesterday’s glue turns into today’s headache.
If we want a wood floor that stays quiet, flat, and good-looking, basement subfloor prep has to come before any planks come out of the box. This checklist focuses on the three troublemakers we see most: low spots, cracks, and old adhesive.
The goal is simple: a clean, dry, flat slab that’s ready to install new flooring the right way, with fewer surprises once the job starts.
Start with the two basement deal-breakers: moisture and flatness
Concrete isn’t “dry” just because it looks dry. And a slab isn’t “flat” because it feels okay under sneakers. Wood reacts to both.
Basement wood installs usually perform best when we treat prep like a system:
- Moisture control (testing first, then choosing the right barrier and products)
- Surface flatness (so boards don’t rock, click, or separate)
For a practical overview of what good subfloor prep includes, we like this breakdown on subfloor preparation steps for successful flooring installation.
Basement subfloor prep checklist (what we verify before wood goes in)
This is the “don’t skip it” list. We can move fast later, but only after we slow down here.
| Prep item | What we’re checking | Why it matters |
|---|---|---|
| Moisture test results | Meter readings and basic plastic sheet test | Helps prevent cupping, swelling, glue failure |
| Flatness mapping | High spots, low spots, ridges, birdbaths | Prevents hollow sounds, movement, broken joints |
| Crack review | Width, displacement, active movement | Stops telegraphing and future splits |
| Adhesive and contaminants | Old mastic, paint, curing compounds | Patch and glue won’t bond to dirty concrete |
| Clean surface | HEPA vacuum, no grit, no loose material | Underlayment and patch need solid contact |
| Plan for transitions | Doors, stairs, posts, mechanical rooms | Avoids rushed cuts and awkward height changes |
If we’re hiring help, we also ask for a true pre-install visit: bring samples, measure carefully, and provide a custom quote that clearly lists prep, underlayment choices, trim work, and final cleanup. That kind of scope makes pricing easier to compare and reduces last-minute add-ons.
Map low spots and high spots before “fixing” anything
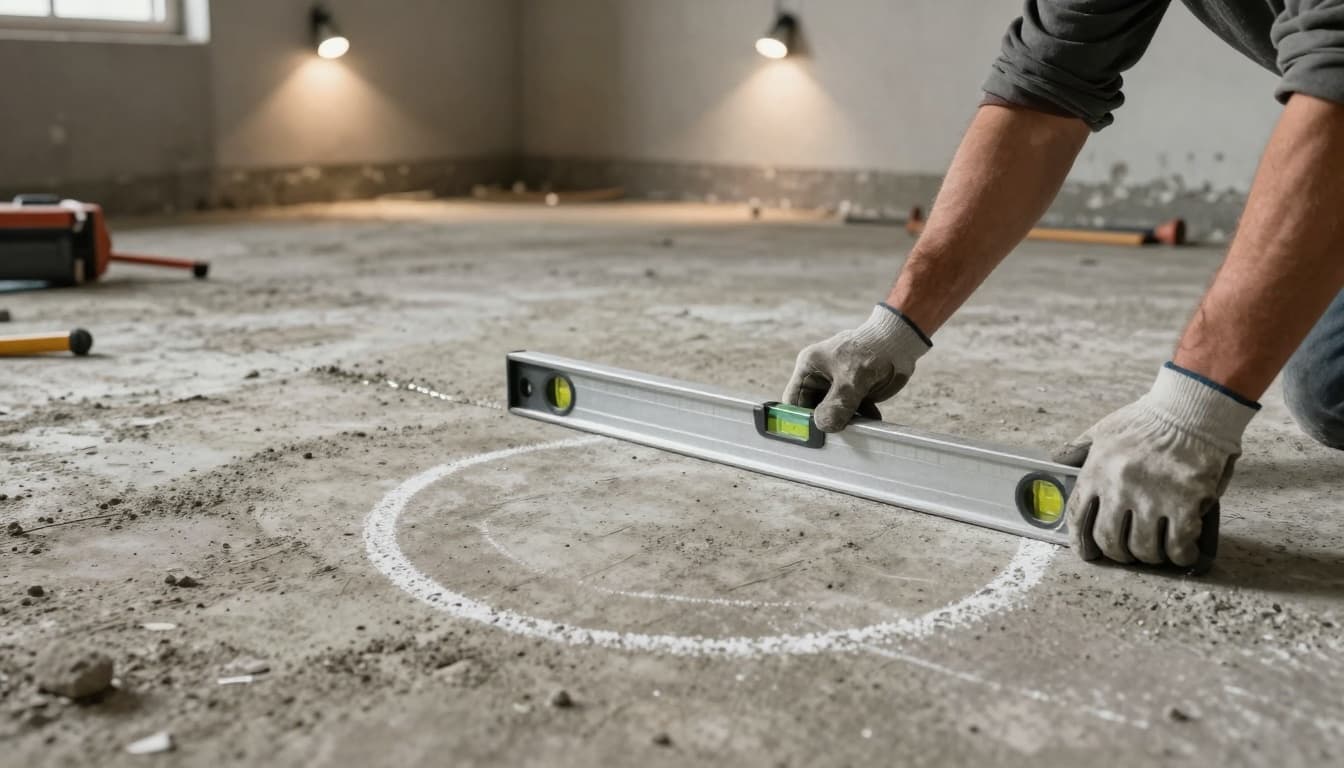
Low spots are sneaky. We don’t spot them by eyeballing the slab, we spot them by checking it like a countertop.
We use a long straightedge (often 6- to 8-foot) and slide it across the slab in multiple directions. Then we mark:
- Low areas (gaps under the straightedge)
- High ridges (where the straightedge teeters)
- Edges and control joints (often where lippage starts)
Fix low spots the right way (patch vs self-leveler)
Once we’ve marked the floor, the fix depends on depth and size.
For small dips, a patch compound is often the cleanest solution. We mix it tight, trowel it smooth, and feather edges wide so the floor doesn’t “hump.”
For larger areas, a self-leveling underlayment may be a better fit. The key is prep: primer when required, sealed edges so it doesn’t run, and a planned pour so we keep a wet edge.
One mistake we avoid is “spot filling” random holes without checking the full room. It’s like fixing potholes without noticing the road is sloped.
Treat cracks like signals, not cosmetic flaws
A basement slab will crack. The question is what kind of crack it is.
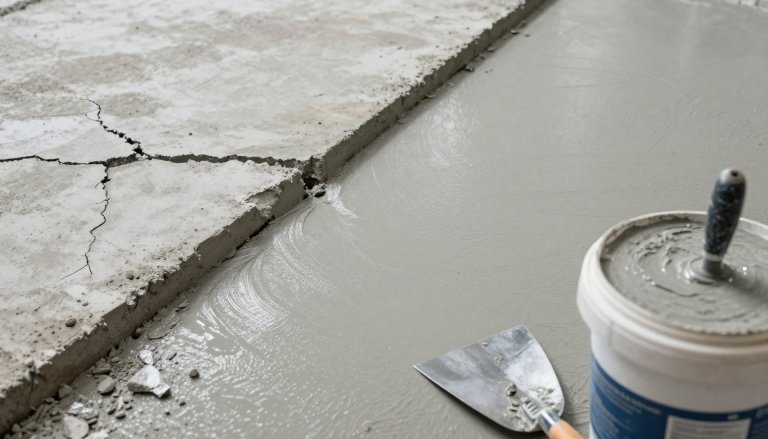
Hairline shrinkage cracks are common. Wider cracks, cracks with vertical movement, or cracks that keep growing are different. When we see displacement (one side higher than the other), we slow down and decide whether the slab needs professional evaluation before any wood goes in.
For stable cracks that are ready for repair, we typically:
- Open and clean the crack (often with a shallow V-groove)
- Remove dust completely
- Fill with an appropriate concrete crack filler or epoxy system
- Smooth it flush so it won’t telegraph through underlayment
For deeper guidance on jobsite conditions and flooring standards, we reference wood industry guidelines like the NWFA installation guidance PDF, then we match details to the product we’re installing.
Old adhesive (mastic) removal: bond is everything
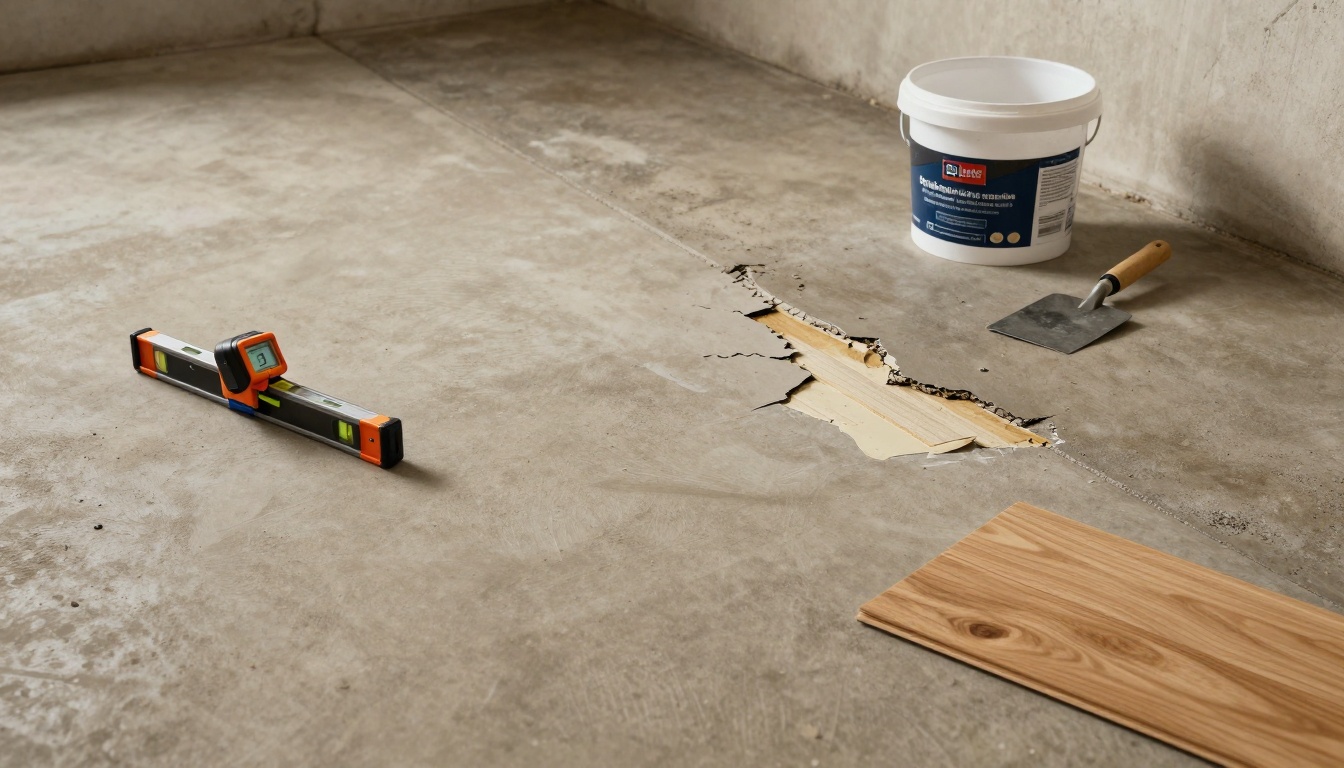
Old adhesive is one of the biggest reasons patch fails. If the slab still has black or amber residue, new compounds may not bond, and glue-down products can release later.
First, we identify what we’re dealing with. If the home is older and the adhesive is suspicious, we don’t grind it blindly. We use safer methods and, when needed, recommend testing through a qualified lab or following local safety guidance.
For typical removal work, we focus on:
- Mechanical scraping with sharp blades
- Dust control, ideally with a HEPA vacuum
- PPE (respirator, gloves, knee pads)
- A final clean so patch and primer can grab the concrete
If we’re planning a glue-down engineered hardwood, adhesive removal and moisture control become even more important because glue is unforgiving. Manufacturer instructions matter here, and we like having a clear reference such as these hardwood installation instructions and sub-floor preparation notes.
Moisture testing: don’t guess in a basement
Basements change with seasons, rain, and HVAC use. We test before prep products and again before installation if conditions shift.
Two common checks:
- Concrete moisture meter readings (quick, repeatable spot checks)
- Plastic sheet test (taped down for a set period to look for condensation)
Moisture control is also why many basement projects use engineered wood instead of solid. That choice can still deliver classic hardwood floor benefits like warmth underfoot and a real wood look, while being more stable in below-grade spaces.
Don’t forget the “after the install” reality
Subfloor prep isn’t just about today. It affects sound, comfort, and future upgrades.
If we later plan hardwood floor sanding upstairs or on the main level, we want the basement to feel equally solid and quiet, not like a separate house with a different standard.
And if we’re renovating for resale, floors matter most when they match the rest of the home’s story. Many homeowners also choose to remodel kitchen and bathroom to add to value of house, and consistent flooring prep helps those upgrades feel connected, not patched together.
Conclusion: prep is where a great basement floor begins
A basement hardwood floor can look amazing, but it only performs well when basement subfloor prep is treated like the main event. When we test for moisture, flatten low spots, repair cracks correctly, and remove old adhesive down to a bondable surface, we give the floor a fair chance to last.
If we’d like a free estimate for prep and installation, call (770) 906-4732. If we show an existing quote from another contractor, we’ll do the job at 5% less.