Floor Flatness for LVP and Engineered Wood, How to Measure High Spots and Low Spots Fast, and What Tolerance You Actually Need
A new LVP or engineered wood floor can look perfect in the box, then feel wrong the first time we walk it. A soft “click” underfoot, a hollow spot near the fridge, a seam that won’t stay tight, those problems often trace back to the same root cause: floor flatness tolerance that wasn’t met before installation.
We don’t need a subfloor that’s “perfect.” We need one that’s predictably flat, so the locking joints stay supported and the finish stays smooth over time. Below, we’ll break down what “flat” really means, the tolerance most of these floors actually need, and a fast way to find high spots and low spots without turning the whole project into a week-long science experiment.

Flat vs level, and why LVP and engineered wood fail on uneven subfloors
“Level” and “flat” get mixed up all the time. A floor can slope (not level) and still be flat enough to install LVP or engineered wood. Flatness is about bumps and dips over a short distance, the stuff that makes planks flex. Think of it like laying a credit card over a wrinkled bedsheet. Even if the bed is “level,” the wrinkles still telegraph.
With click-lock LVP and engineered wood, the joints are strong, but they’re not meant to bridge waves in the subfloor. When a plank rides over a low spot, the edges can flex. That leads to movement, noise, and sometimes broken locking tabs. On glue-down products, low spots create weak bond areas, and high spots become pressure points that wear faster.
Unevenness also shows up in places we don’t expect:
- Doorways and transitions: minor humps make trims look crooked and cause lippage.
- Long hallways: repeating dips can “pump” the joints as we walk.
- Kitchen runs: heavy appliances compress weak areas and highlight soft spots.
When we’re planning a full home refresh, we see this most during tear-outs tied to a kitchen remodeling company Cumming homeowners call first, because moving walls, cabinets, or islands exposes old patchwork in the slab.
For readers who want a deeper, industry-style explanation of how flatness is discussed across flooring types, the Floor Covering Reference Manual discussion on flatness is a solid reference.
The floor flatness tolerance we actually target (and what most specs resemble)
Most homeowners aren’t trying to hit commercial concrete numbers. Still, we need a clear target before we install new flooring Cumming homes can live on for years.
Across many LVP and engineered wood installation guides, the most common requirement we see looks like this:
- No more than 3/16 inch variation over 10 feet
- No more than 1/8 inch variation over 6 feet
That “over distance” part matters. A 3/16-inch dip over ten feet is usually manageable. A 3/16-inch dip over two feet is a problem.
One straightforward published example comes from Urban Surfaces, which states subfloor unevenness cannot exceed 3/16 inch over 10 feet or 1/8 inch over 6 feet in its guidance on how flat a subfloor must be. That’s a practical benchmark because it matches what many product lines call for.
Here’s a quick way we frame it when choosing methods and materials:
| Flooring type (typical installs) | Common flatness target we plan around | What usually happens if we miss it |
|---|---|---|
| Floating click LVP | 3/16 inch in 10 feet (max) | Joint stress, bounce, gaps, noise |
| Glue-down LVP | 1/8 inch in 6 feet (often needed) | Telegraphing, weak bond, visible seams |
| Floating click engineered wood | 3/16 inch in 10 feet (max) | Squeaks, soft spots, separated ends |
| Glue-down engineered wood | 1/8 inch in 6 feet (often needed) | Hollow spots, uneven wear, adhesive issues |
We always confirm the exact spec for the specific product, because warranties tend to follow the manufacturer’s wording.
If we ever see FF/FL numbers brought up, that’s more in the world of measured concrete floors. The formal test method is laid out in ASTM E1155. For most homes, the straightedge method is the practical tool we can actually use room to room.
How we measure high spots and low spots fast (without fancy gear)
We like fast checks that don’t depend on guesswork. The goal is simple: find the worst areas quickly, mark them clearly, then choose the right fix.
The quick straightedge method we use in real houses
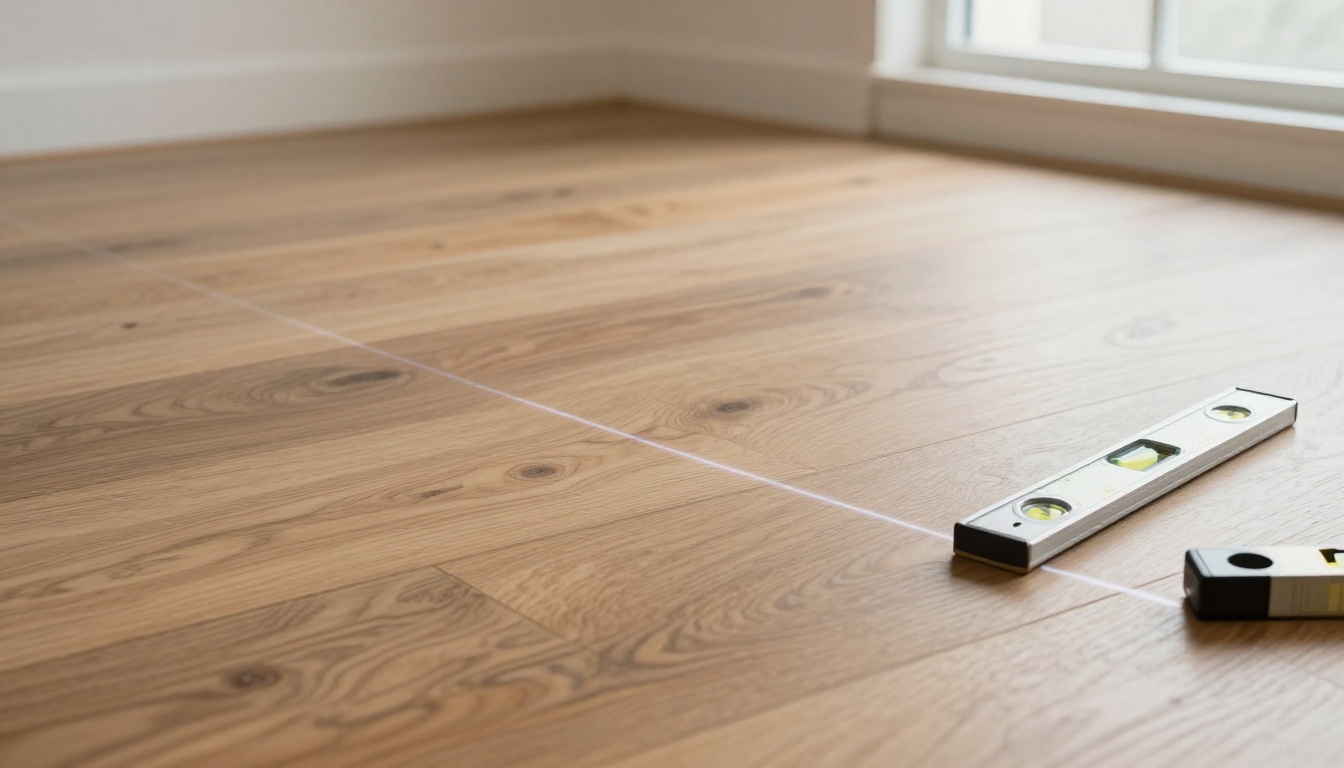
We can do this with a 6-foot level, a 10-foot straightedge, or even a long, rigid aluminum screed.
- Pick the right span: Use a 6-foot level for tight rooms, a 10-foot straightedge for big areas.
- Set it down, don’t press: Let the tool rest on the surface so we don’t “force flatness.”
- Check the gap: Slide a ruler or feeler gauge under the low spot, or stack coins to estimate.
- Mark the floor: Painter’s tape for low spots (needs fill), a pencil circle for high spots (needs grinding or sanding).
- Repeat in a grid: Every 2 to 3 feet in the direction planks will run, then cross-check the other direction.
If the straightedge rocks like a seesaw, we’ve found a high spot. If it bridges while leaving daylight under the middle, we’ve found a low spot. It’s like checking a countertop with a yardstick. We’re not admiring it, we’re hunting the one warp that will ruin the day.
On concrete, high spots usually get ground down. Low spots get patch or self-leveling underlayment, depending on depth and how wide the dip is. On plywood, we often use floor patch for small areas, and address squeaks or loose panels before we cover anything.
When we’re installing downstairs over concrete, moisture and flatness travel together. Our approach to underlayment and slab prep is laid out in our basement hardwood underlayment guide, and the same thinking applies to many LVP builds.
A fast “spot check” for remodels and refinishing
If we’re refinishing instead of replacing, flatness still matters because sanding machines will exaggerate humps and dips. Homeowners looking for a hardwood floor sanding company Cumming neighbors recommend often want the floor to “look even” again, which starts with finding crowns and low seams before finish work. Our hardwood floor refinishing guide is a helpful next read if we’re deciding between a recoat, a full sand, or replacement.

What this means when we’re hiring a local contractor in Cumming
Most of us don’t want to buy tools and learn patch chemistry just to get a quiet floor. We want the installer to check flatness early, explain what needs correcting, and price it clearly.
When we talk with neighbors searching phrases like hardwood floor company Cumming, remodeling company in Cumming, or kitchen and bathroom remodeling company Cumming Ga, the frustration is usually the same: the “cheap install” quote didn’t include subfloor prep, then problems show up later.
We also hear from homeowners in Windermere who want the job done right the first time, especially when they’re comparing a hardwood floor company servicing Windermere to crews that rush through prep.
If we’re considering LVP, our Luxury Vinyl Plank flooring in Cumming GA page covers how we match product type to real-life conditions, including subfloor checks that protect the click system.
Conclusion: flatness first, then everything else gets easier
When we hit the right floor flatness tolerance, LVP and engineered wood feel solid, sound quieter, and keep their joints tight. We don’t need perfection, we need a measurable target, a fast way to find the worst spots, and a clear plan to correct them before the first plank goes down.
For free estimates, call (770) 906-4732. If we show any existing quote from another contractor, we’ll do it at 5% less.