Floor Transition Strips for Tile, Hardwood, and LVP
A beautiful floor can lose its finished look at a single rough doorway joint. Poorly fitted floor edging can catch a toe, pinch a floating plank, or leave a visible gap beside tile.
The best floor transition strips match the actual heights, movement, and edge conditions of both flooring materials. Color matters, but it comes after the profile fits the floor correctly.
Key Takeaways
- Measure the finished floor heights, including tile, mortar, underlayment, adhesive, and plank thickness, before choosing transition trim.
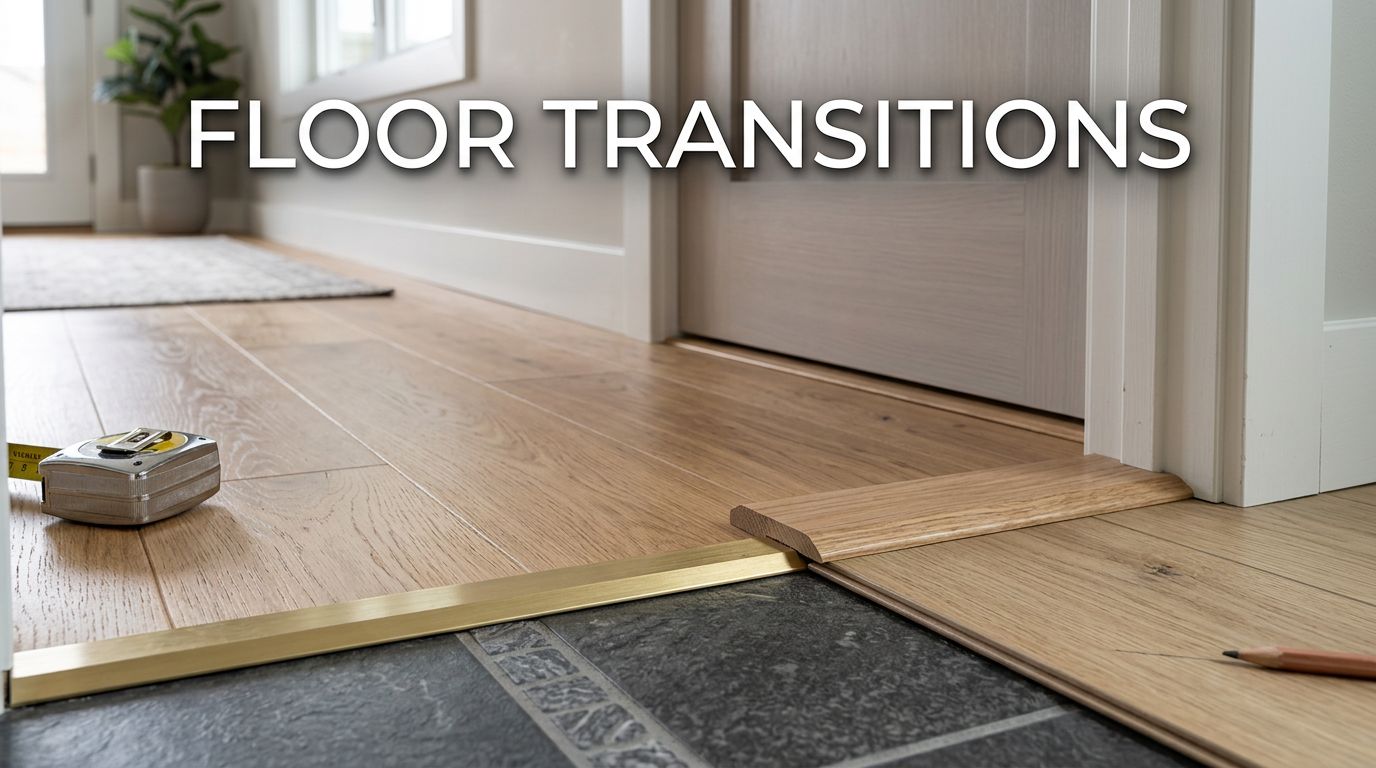
- Match the profile to the joint: use T-molding for nearly level floors, reducers for gradual height changes, end caps for exposed edges, and thresholds or saddles at doorways.
- Floating hardwood and LVP need room to move, so fasten transition pieces to the substrate without pinching or trapping the flooring edge.
- Install tile-edge profiles with the tile and thin-set mortar, and choose the profile height based on the actual tile thickness.
- Correct major substrate or height problems before installing floor edging, since a transition strip cannot hide an uneven floor or steep lip.
Measure Finished Height Before Choosing Transition Trim
We measure the finished surfaces, not boxed flooring materials. Tile height includes the tile, thin-set mortar, and any uncoupling membrane. Hardwood and LVP heights can include underlayment, adhesive, and the thickness of the plank itself.
Set a straightedge across the joint and measure the height difference at several points along the opening. A doorway can look level while one side rises near the jamb. Also inspect how the floors meet across the full width before ordering floor edging or a profile. A gradual slope needs a different solution than an abrupt lip.
Hardwood and floating LVP both need room to move, so wood grain reducers, vinyl reducers, or rubber reducers may suit a gradual slope. An overlap reducer can help cover a movement gap on a modest slope. Tile is fixed in place, so it doesn’t move the same way. That difference shapes the joint. A transition piece should cover the movement gap without fastening through or trapping the edge of a floating floor.
If the room is carpeted, measure the carpet pile before selecting carpet edging.
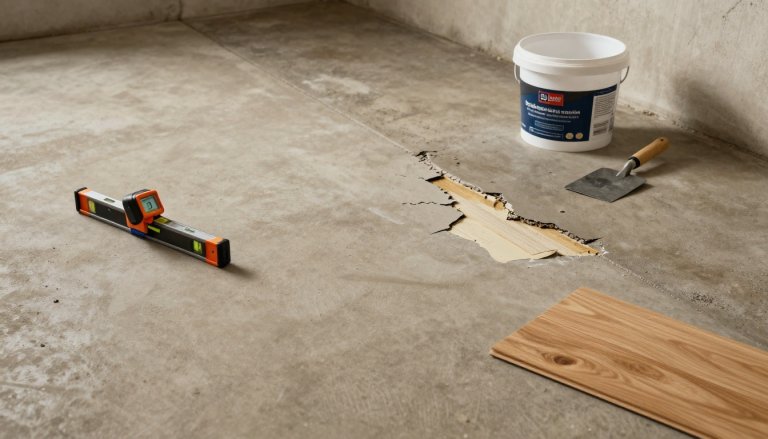
A reducer can soften a minor height change, but it cannot correct a floor that is uneven underneath.
If one side sits substantially higher, fix the substrate before installing trim. Patching compound, approved floor leveler, or a change in underlayment may solve the problem more cleanly. Our local flooring cost guide includes typical preparation costs for floors that need leveling in Cumming and Forsyth County.
Choosing the Best Floor Transition Strips by Height
The right profile creates a safe path between surfaces while letting each material perform as intended. Choose transition trim based on the location and the height difference.
| Flooring condition | Best transition pieces | What it does |
|---|---|---|
| Tile and LVP at nearly equal height | T-molding | Covers the gap while allowing movement on both sides |
| Tile or hardwood sits higher | Reducer or overlap reducer | Creates a gentle slope down to the lower floor |
| LVP ends at a fireplace, slider, or raised surface | End cap | Finishes and protects the exposed plank edge |
| Bathroom, bedroom, or exterior doorway | Threshold or saddle | Covers the material change at the opening |
| Tile edge remains exposed | Metal tile trim | Protects the tile edge and creates a clean border |
| Carpet meets tile, hardwood, or LVP | Carpet edging | Finishes and supports the carpet edge at the joint |
These transition pieces address different joint conditions, and a T-molding works best when the finished floors are close to level. Its center stem or track fits between the surfaces, while the top cap covers both edges. It is a common choice between tile and floating vinyl plank, provided the tile height does not create a sharp edge.
A reducer slopes from the higher floor down to the lower one. Many wood grain reducers and vinyl reducers overlap the lower surface slightly, which helps hide an expansion gap. End caps differ because they finish a floor where no adjoining floor continues.
If carpet meets a hard floor, carpet edging is appropriate when the carpet needs a finished, supported edge.
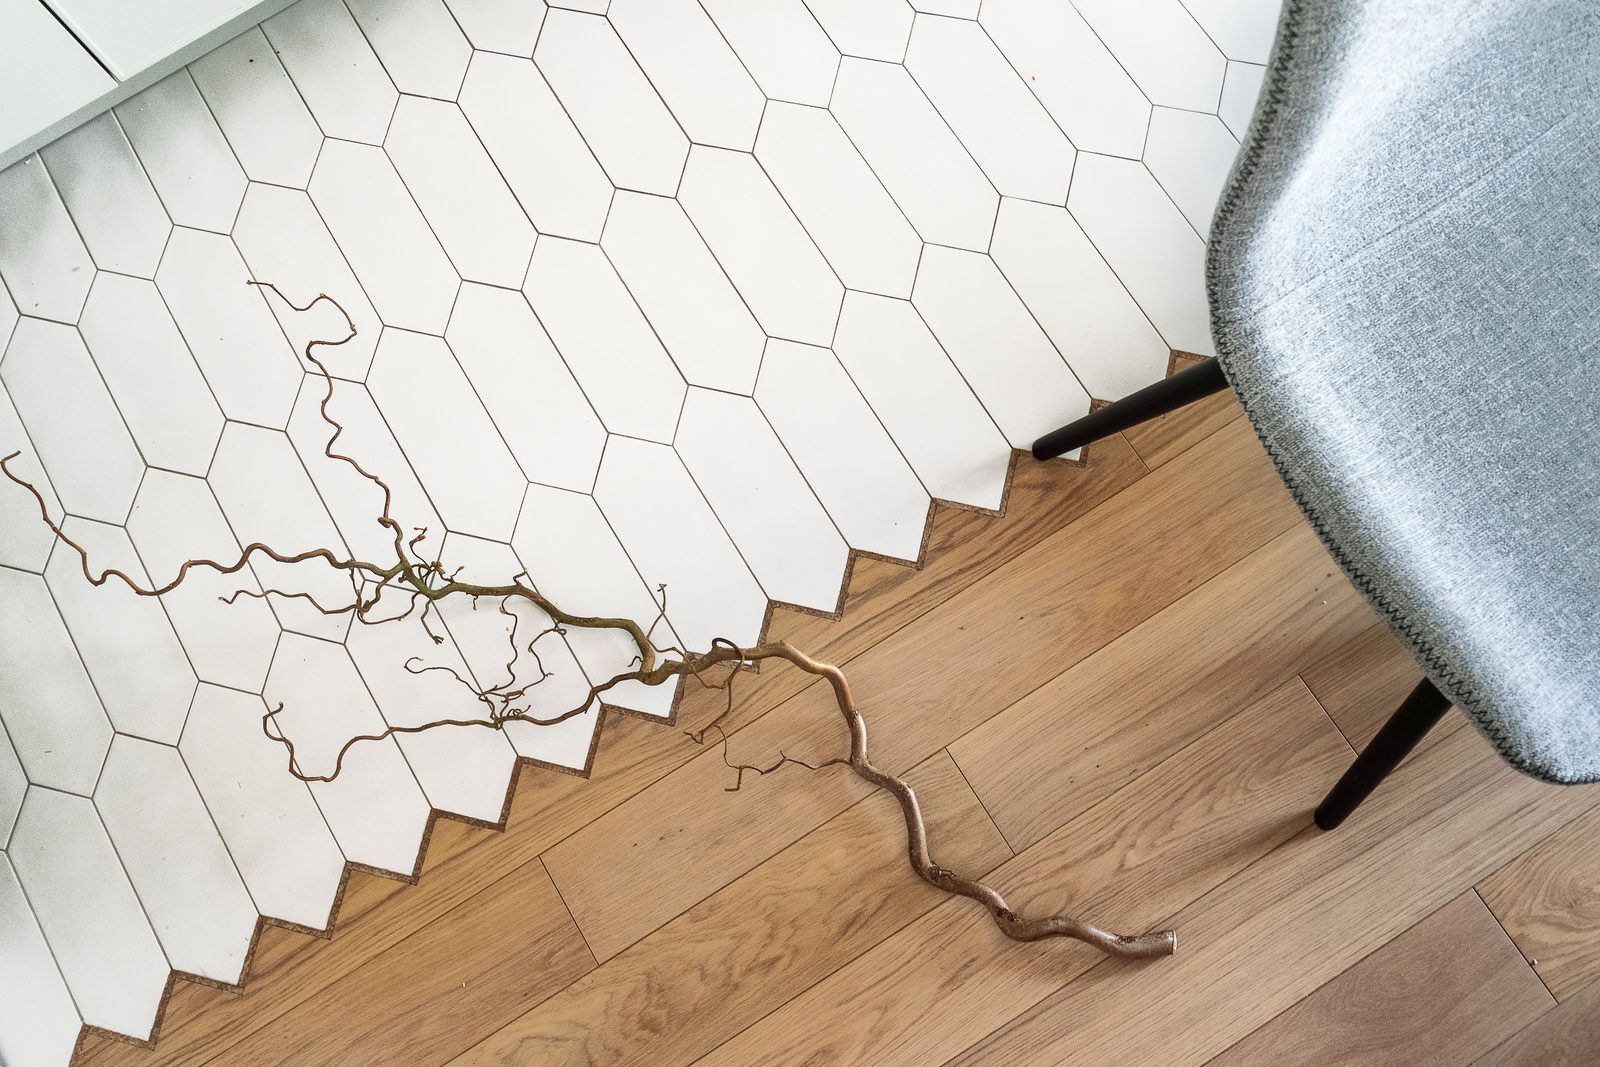
Photo by Sasha Pshenkov
Match the Material to the Room
Aluminum floor edging is durable, thin, and easy to pair with tile, while low-profile metal transitions suit clean, narrow seams. Brushed nickel, black, bronze, and stainless-look finishes often work well around kitchens and bathrooms. The profile also holds its shape at busy doorways. Metal seam binders cover a narrow, nearly flush seam when the manufacturer approves that application.
Wood transitions blend naturally with hardwood, especially when they match the species, stain, and grain direction. However, the strip must mount to the subfloor or fixed surface, not lock the hardwood or LVP edge in place.
Rubber reducers work well in utility areas, commercial spaces, and high-traffic entries because they flex slightly and resist scuffing. For residential applications, their look is more practical than decorative, so we rarely choose them for a formal hardwood-to-tile transition.
For an exposed tile edge, metal tile trim is often cleaner than a wood reducer. Schluter RENO profiles are one option for tile-to-adjacent-floor transitions. Confirm the exact profile’s intended height and use before ordering it.
Ceramic Tile Profiles and Thin-Set Mortar Details
Tile trim must be planned before the tile goes in. A metal profile has an anchoring leg that sits beneath the tile in thin-set mortar. Once the tile cures, you can’t add that type of edge profile without removing tile.
Choose the profile height based on actual tile thickness and follow the manufacturer’s mortar-bed instructions. Thin-set bonds the tile to the substrate and supports the anchoring leg; adhesive application may bond some profiles, but can’t replace mortar beneath it. Too little mortar leaves the profile unsupported, while a profile sitting proud of the tile creates a hard edge underfoot.
We dry-fit the tile, profile, and adjoining floor sample, adding carpet edging when tile meets carpet. We check the exact profile height and installation instructions for a schluter reno profile. This floor edging test shows whether the finished transition will sit flush, feel comfortable, and protect the tile edge. It also helps you see whether wood, aluminum, or painted edging fits the room better.
When tile ends below hardwood or LVP, don’t build a steep ramp with loose shims under the trim. Correct the height with approved underlayment or subfloor preparation first. Consider vinyl reducers only after the substrate is sound and the finished levels match. LVP manufacturers also set flatness requirements, so a transition can’t hide a dip that will make planks flex or separate.
Installing Floor Transition Strips Without Pinching the Floor
A neat floor edging result starts with a clean, stable joint. Remove thin-set ridges, old adhesive, loose fasteners, and debris before measuring the opening. For a visual refresher on the process, this floor transition strip installation guide shows the basic sequence.
- Verify the required installation materials, then dry-fit the strip and mark the cut line before fastening anything. Leave enough clearance at each end so the trim does not bind against door jambs or walls.
- Cut wood grain reducers with a fine-tooth blade, and follow the profile maker’s instructions for carpet edging at a carpet-to-hard-floor joint. For aluminum profiles, use the blade recommended for nonferrous metal and smooth sharp cut edges with a file.
- Install tile-edge profiles while setting tile. Keep mortar out of the finished face, then clean excess before it hardens.
- Screw-mount metal tracks, metal seam binders, and wood reducers only into a sound substrate. On concrete slabs, use anchors designed for concrete rather than ordinary wood screws.
- Use controlled beads for adhesive application when screw heads would look out of place. Adhesive should bond the transition to the fixed substrate, not bridge across the expansion gap of floating LVP.
- Snap track-mounted caps into place after both floors are complete. Follow the profile maker’s sequence for vinyl reducers, because some tracks must go down before the finished floor.
A bead of adhesive squeezed onto the visible surface is difficult to remove cleanly. We use painter’s tape to hold a glued transition while it cures, then remove the tape after the adhesive has set. Flexible rubber reducers need approved adhesive or track methods, while this LVP molding installation video shows how snap-in track-and-cap systems fit together.
Doorways, Bathrooms, and Stair Edges Need Different Answers
A doorway does not always need transition pieces. If the same surface continues through adjacent rooms in the same direction, it may run through the opening without interruption. Manufacturer expansion requirements and room dimensions still apply.
When materials change, center the joint under the closed door whenever possible, using vinyl reducers for modest LVP-to-tile conditions. Carpet edging can suit carpet-to-hard-floor doorways, and each room then shows its own surface when the door is shut. In a bathroom, a threshold can protect the flooring edge at the doorway, but it does not replace shower waterproofing or a properly built curb.
Stair nosing is not a substitute for ordinary doorway edging. Stairs need a nosing designed to support the tread edge and provide a secure walking surface. We also plan floor edging with jambs, cabinets, appliances, and door clearance in mind before surfaces arrive.
Coordinating Flooring and Remodeling Work in Cumming
As a hardwood floor company in Cumming, we plan transition locations early in residential applications, before tile, wood, and LVP orders are finalized. Homeowners who install new flooring in Cumming during a kitchen project should confirm finished floor heights and floor edging details before cabinet installation and appliance delivery. As a kitchen remodeling company in Cumming, we coordinate those details early.
Refinishing changes the calculation too. A Cumming hardwood floor sanding company should inspect the existing wood before selecting a new adjacent floor. Our hardwood floor sanding and refinishing services can restore worn boards before a new tile or LVP transition is added. Our hardwood floor company also services Windermere homes with flooring updates, including stair nosing.
Many homeowners begin by searching for a Cumming, GA kitchen and bathroom remodeling company, while others need a basement finishing company near them. In either project, ask how the transition, threshold, and final floor height will meet. When you compare a bathroom remodeling contractor near you, include those details in the written scope.
Call (770) 906-4732 for a free estimate, or request an in-home flooring estimate. Show us an existing quote from another contractor, and we will do the same project for 5% less.
Frequently Asked Questions
Do I need a transition strip between tile and LVP?
A transition strip is usually appropriate when tile and LVP meet, especially at a doorway or where the flooring heights differ. T-molding suits nearly level floors, while a reducer works better when one surface sits higher.
How do I choose the correct transition strip height?
Measure the finished surfaces at several points, including tile, thin-set mortar, underlayment, and plank thickness. Choose a profile that matches the actual height difference rather than relying on the flooring material’s boxed dimensions.
Can I install a transition strip over an uneven floor?
A transition strip can soften a minor height change, but it cannot correct a substantial dip, lip, or unstable substrate. Use approved patching compound, floor leveler, underlayment, or other substrate preparation before installing the trim.
How do I install transition trim without damaging floating LVP?
Fasten the track or transition piece to the fixed substrate instead of securing it through the floating floor. Leave the required movement gap and avoid using adhesive in a way that bridges or traps the LVP edge.
When should I use metal tile trim instead of a reducer?
Metal tile trim is useful when the tile edge remains exposed and needs protection or a clean border. A reducer is more appropriate when the tile meets a lower adjoining floor and the joint needs a gradual slope.
A Better Transition Starts Below the Surface
With major substrate problems corrected, the right transition trim matches the joint, protects exposed edges, accommodates movement, and prevents trip points.
Use carpet edging where carpet meets hard floors, stair nosing for stair edges, or metal seam binders at nearly flush seams.
A well-fitted floor transition strip should feel natural underfoot and look intentional at every doorway.